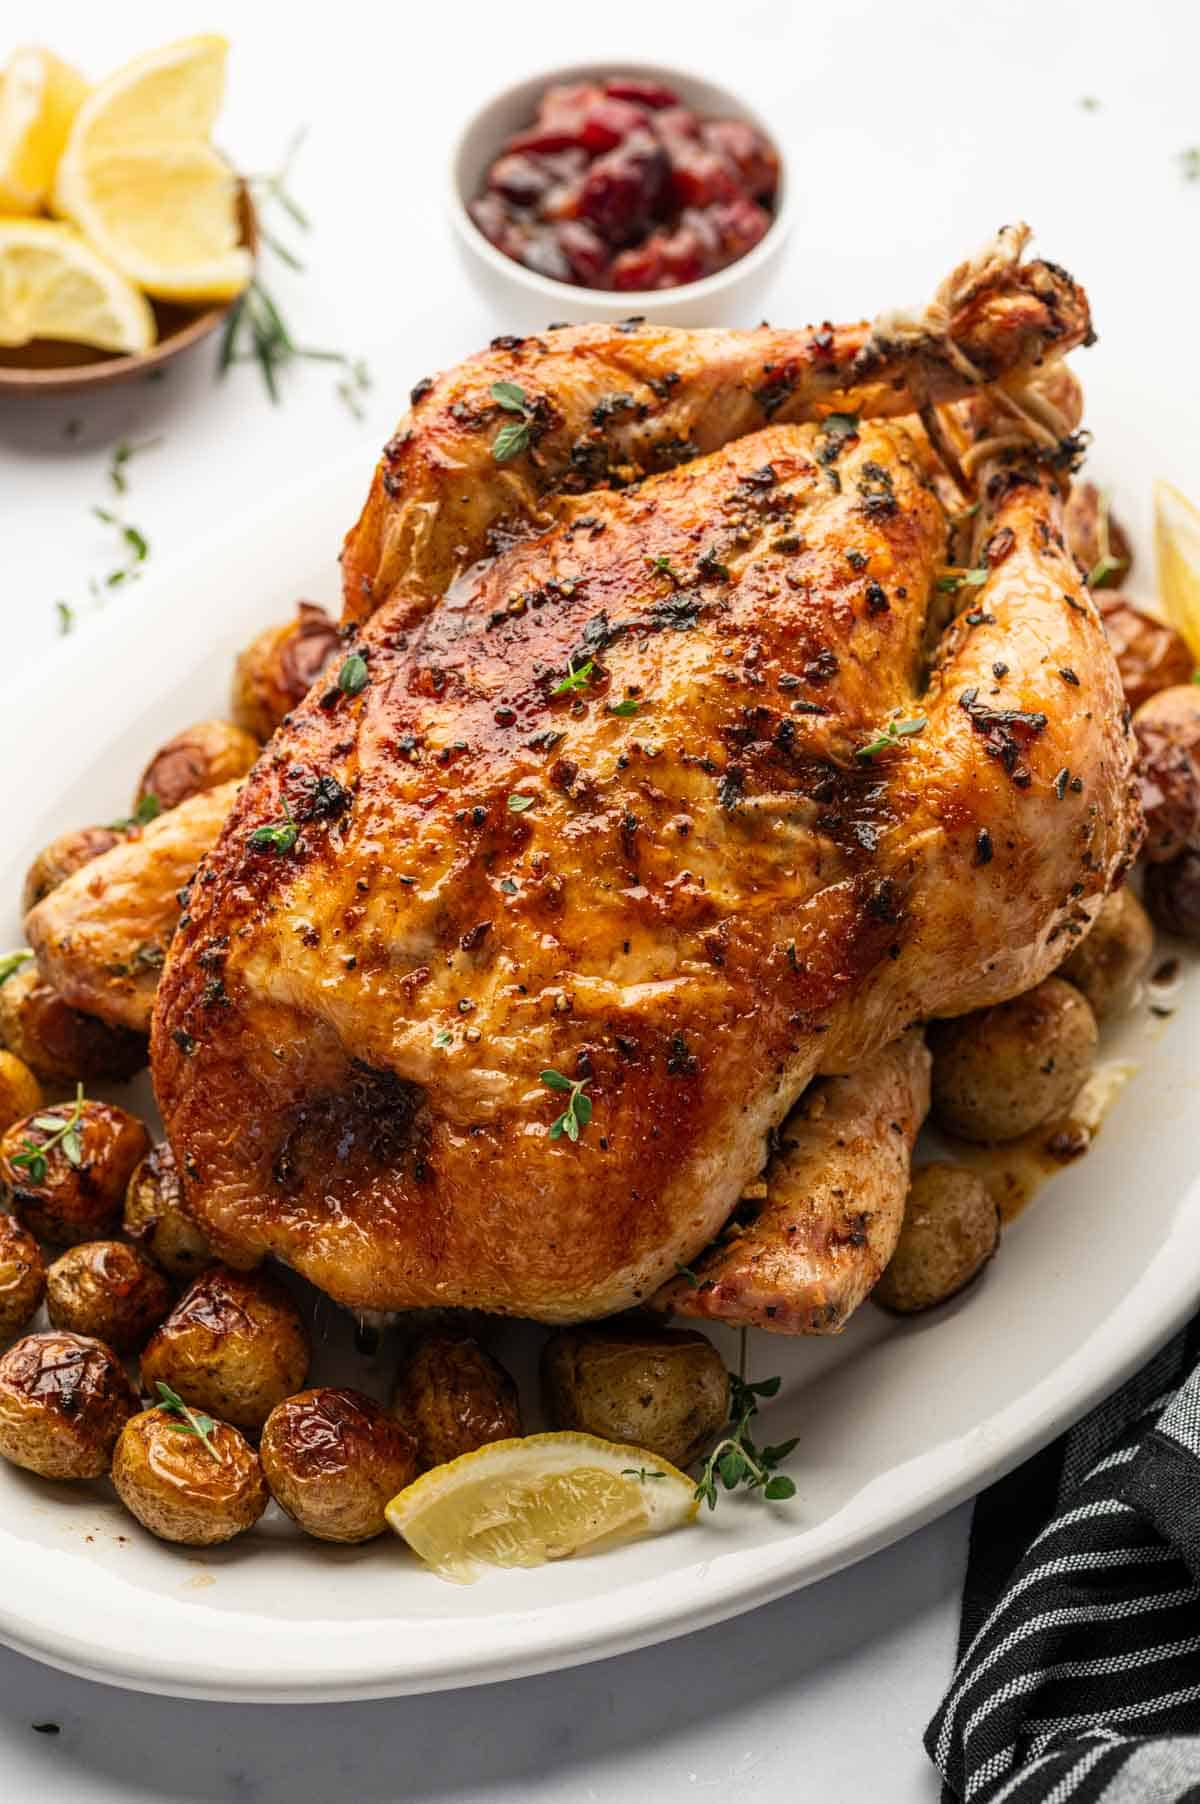
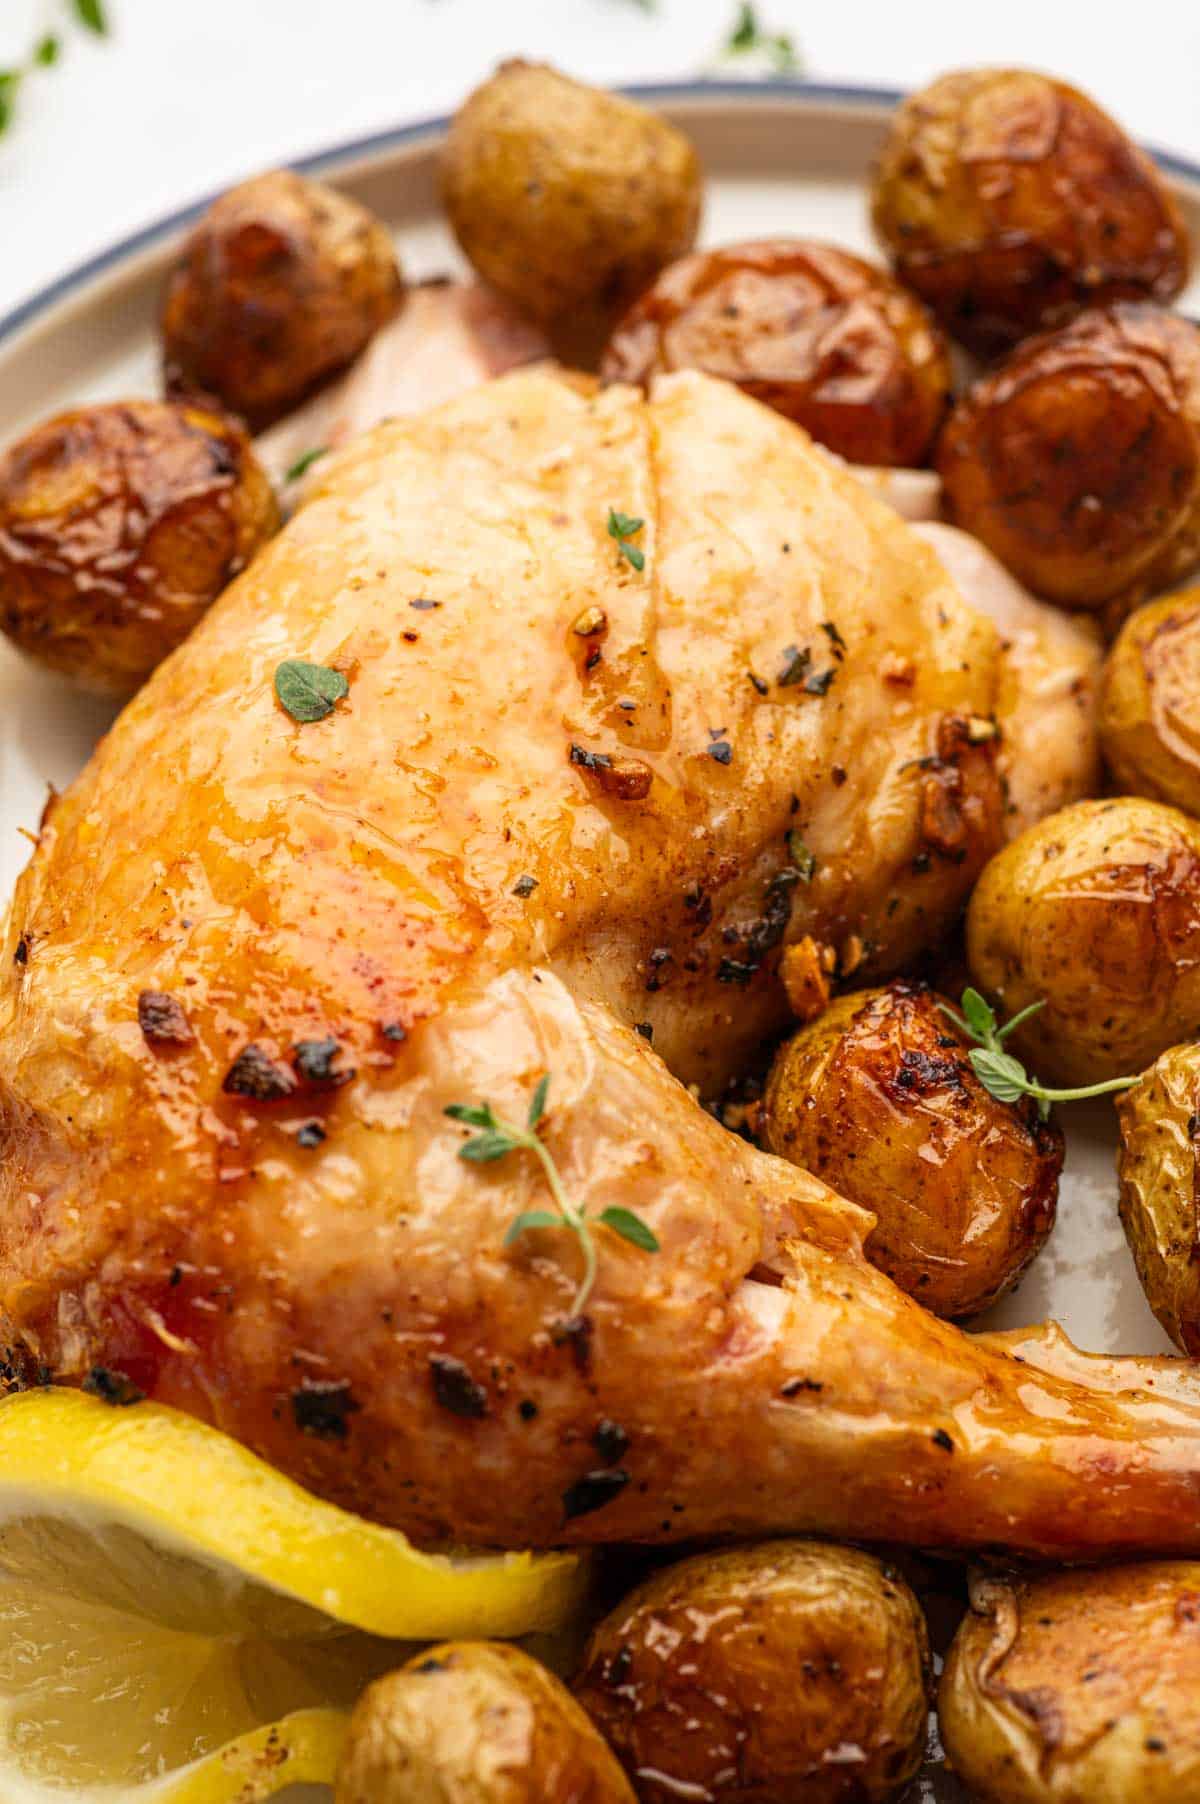
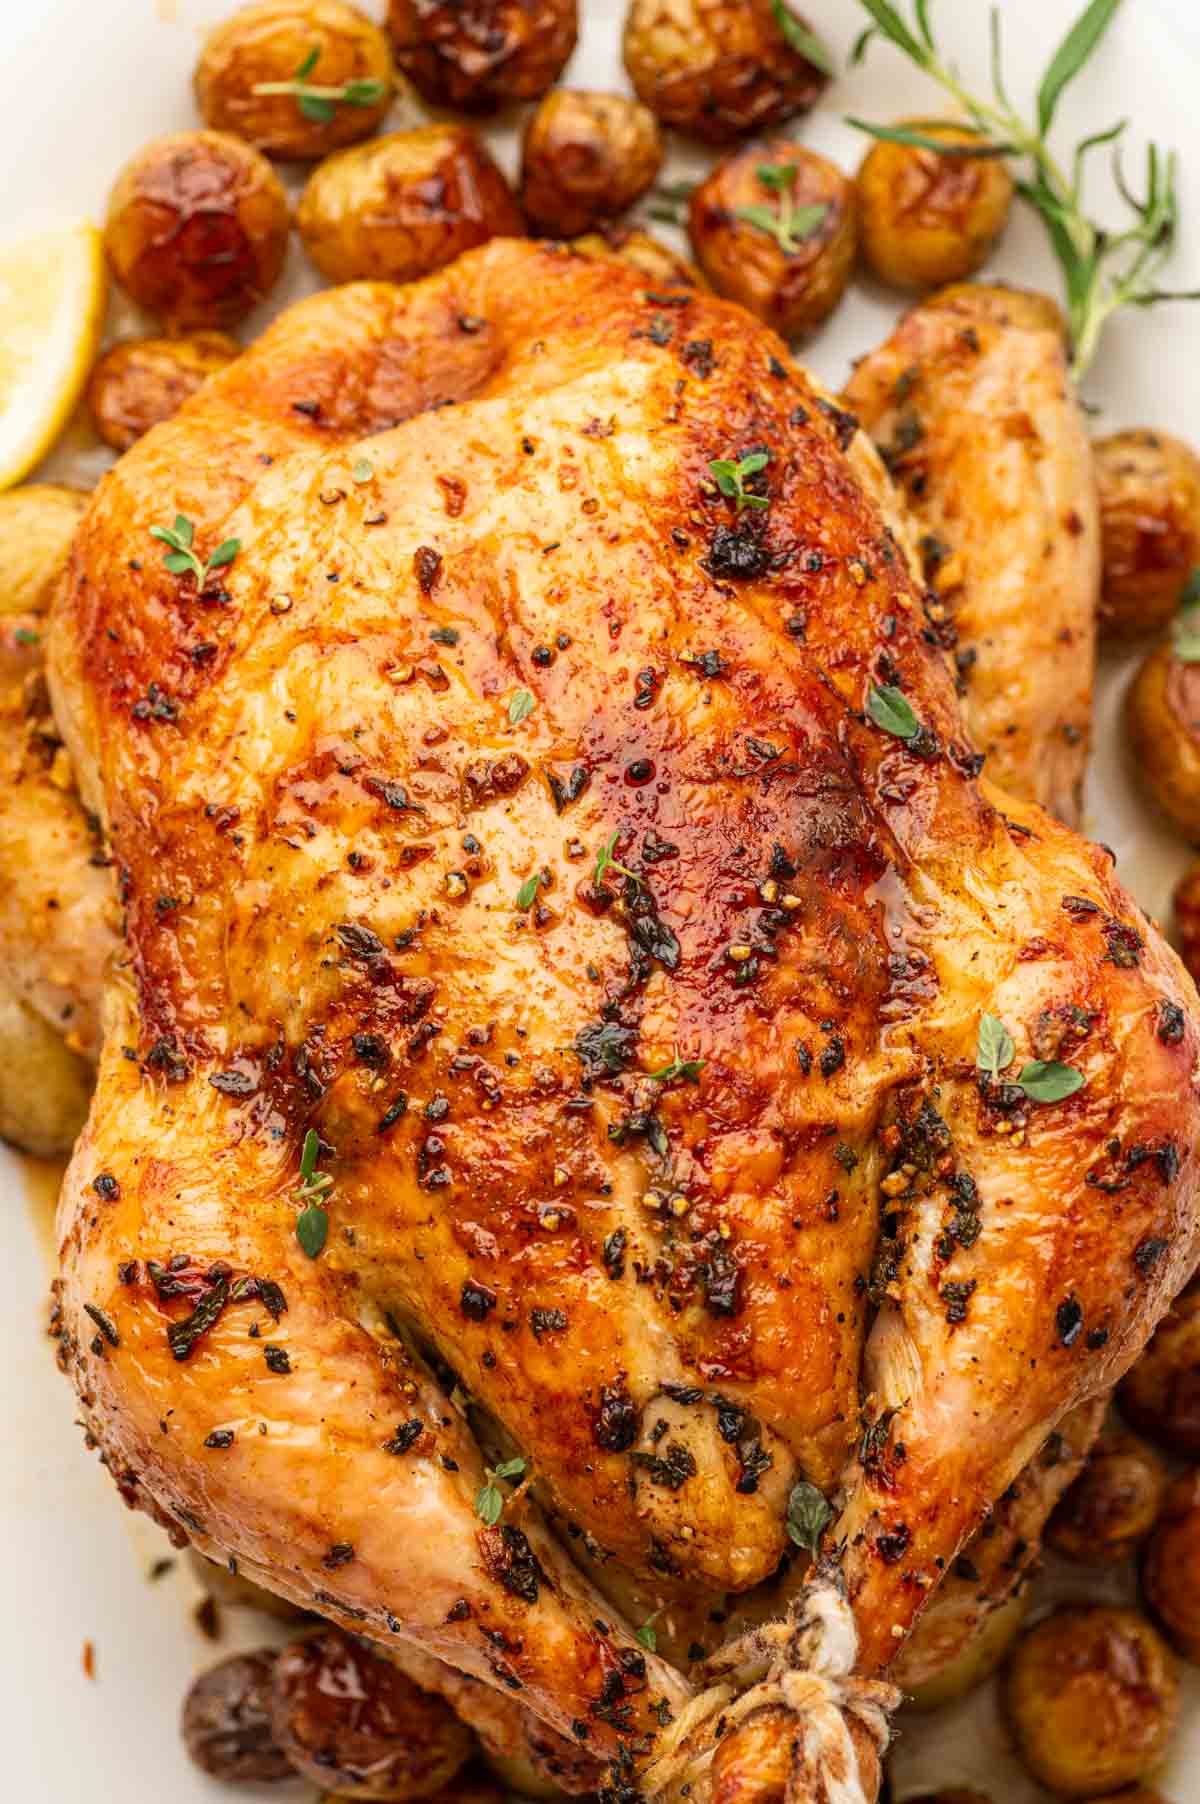
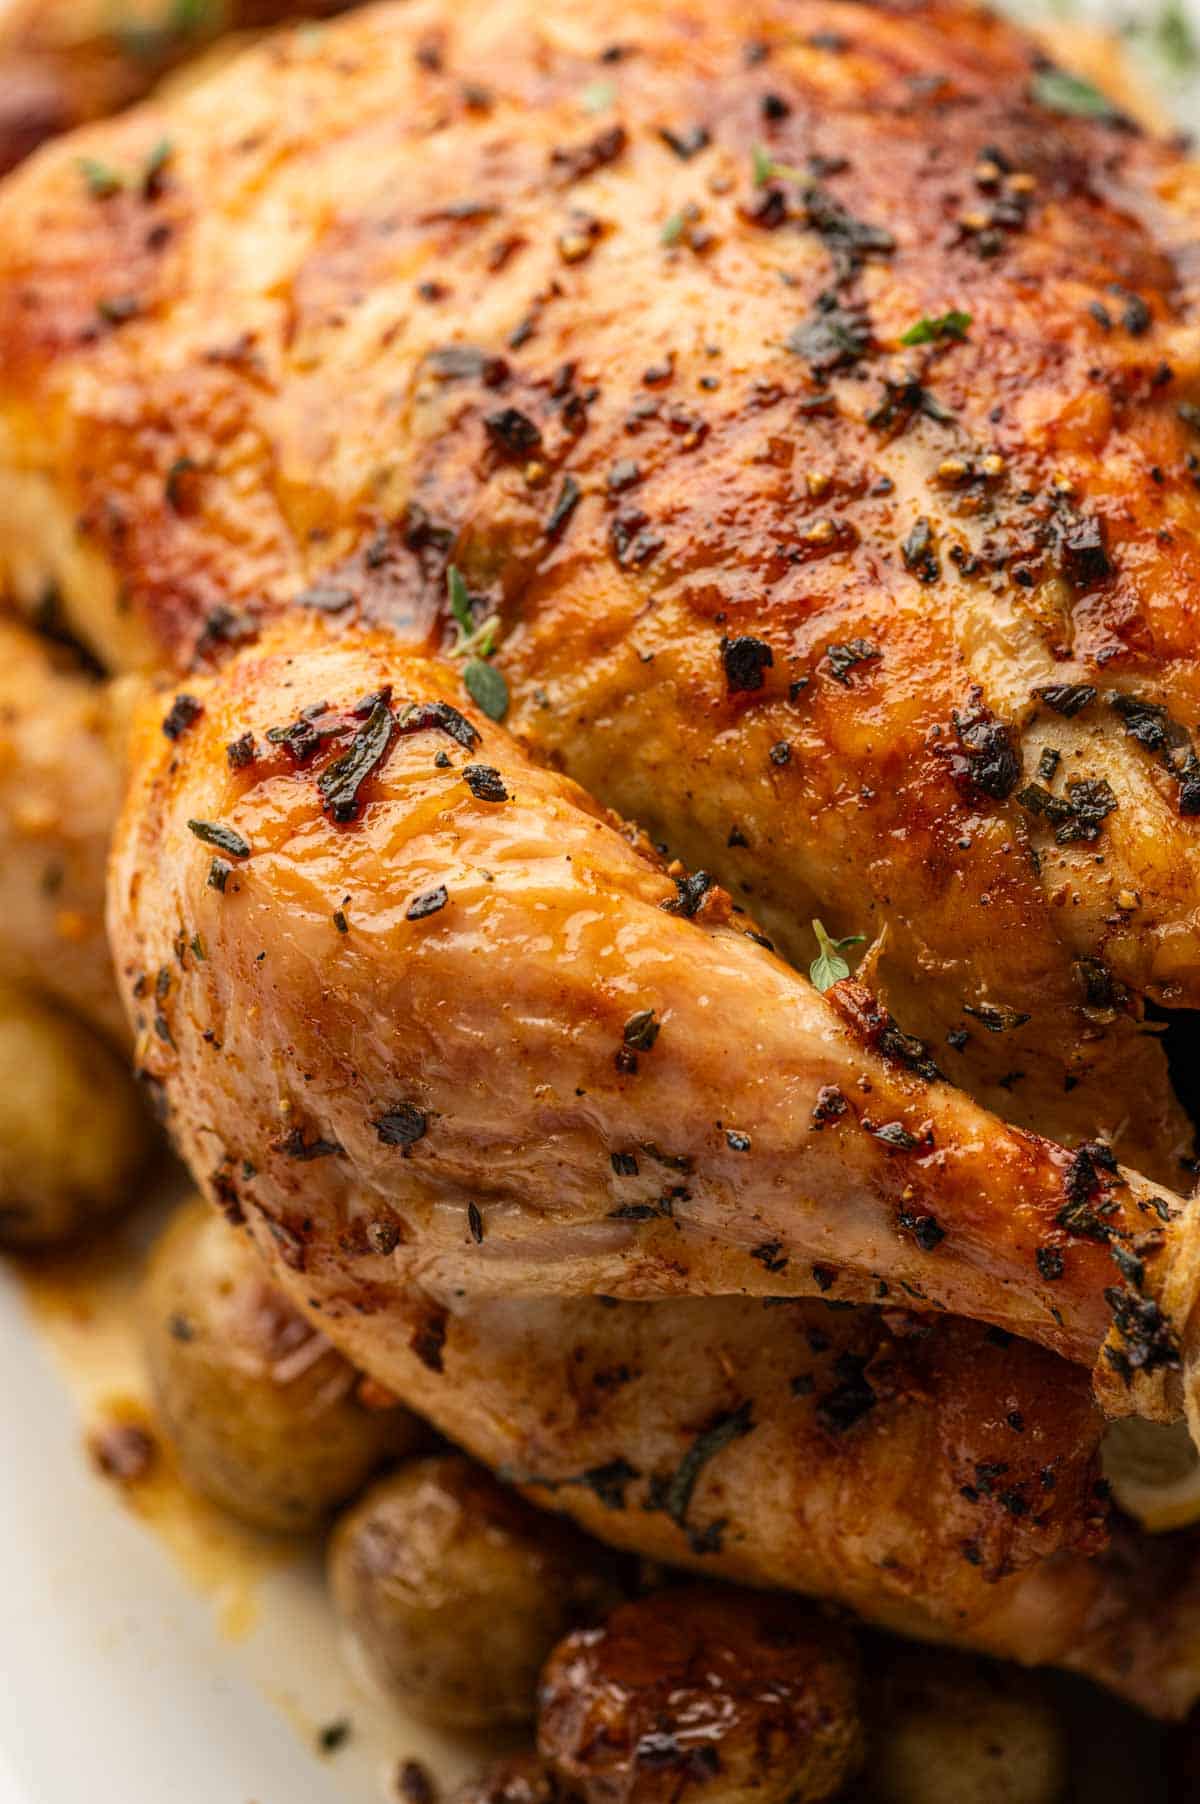
These baked honey garlic chicken thighs have become one of my most made weeknight dinners, and once you try them, you'll understand why. There’s something incredibly satisfying about pulling a pan of honey garlic chicken thighs from the oven when the edges of the sauce are bubbling, the skin has turned deep golden, and the kitchen smells like sweet roasted garlic and savory spices.
What makes this recipe especially good is the choice of bone-in, skin-on chicken thighs. As they bake, the fat from the skin naturally bastes the meat, keeping it juicy while the top becomes beautifully crisp. Meanwhile, the honey garlic sauce for the chicken thickens to a sticky, glossy consistency that’s perfectly spooned over rice, potatoes, or veggies.
These baked honey garlic chicken thighs look impressive enough for a weekend dinner but are simple enough to make on a busy Tuesday night. With a few pantry staples and very little prep, you’ll have a comforting meal that feels like you put in much more effort than you actually did.
If you love making easy chicken dinners and lunch meals in your oven or air fryer, you should definitely try:
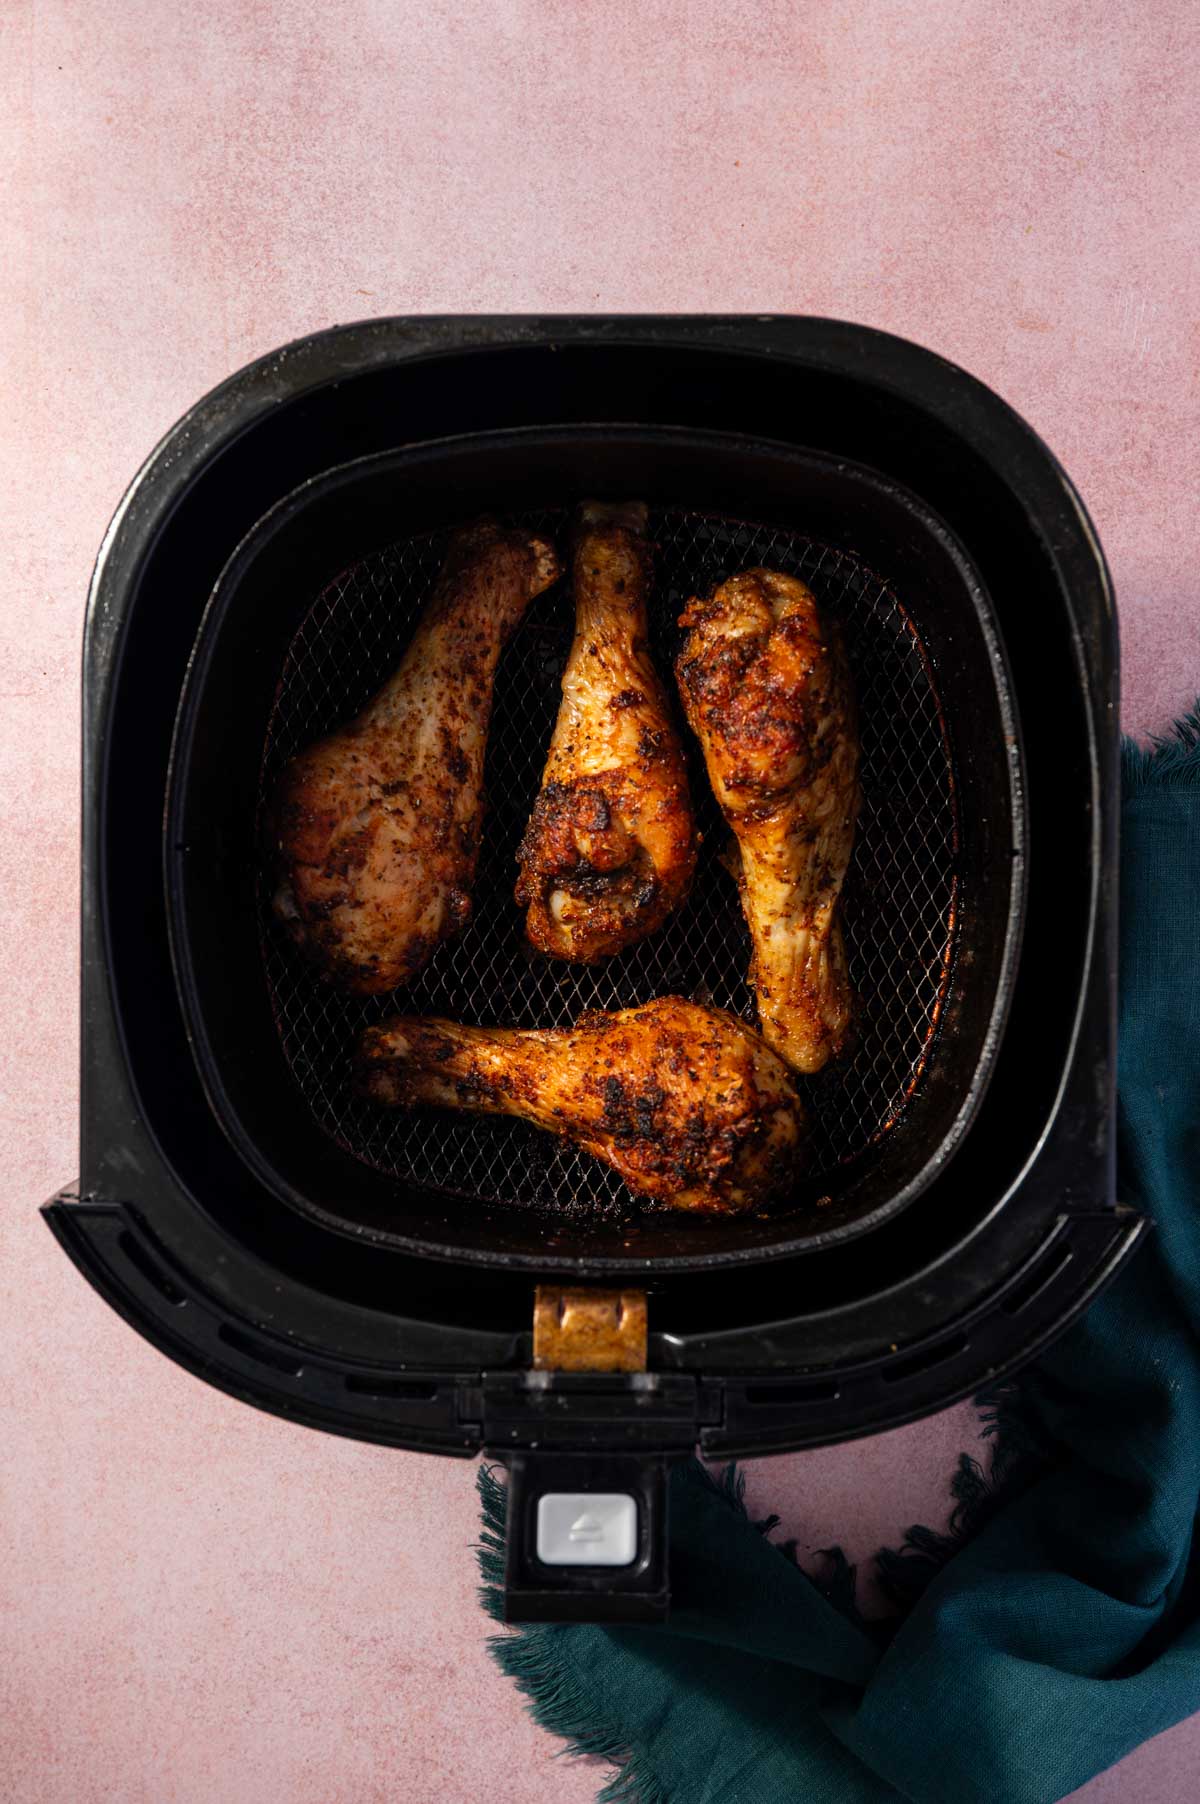
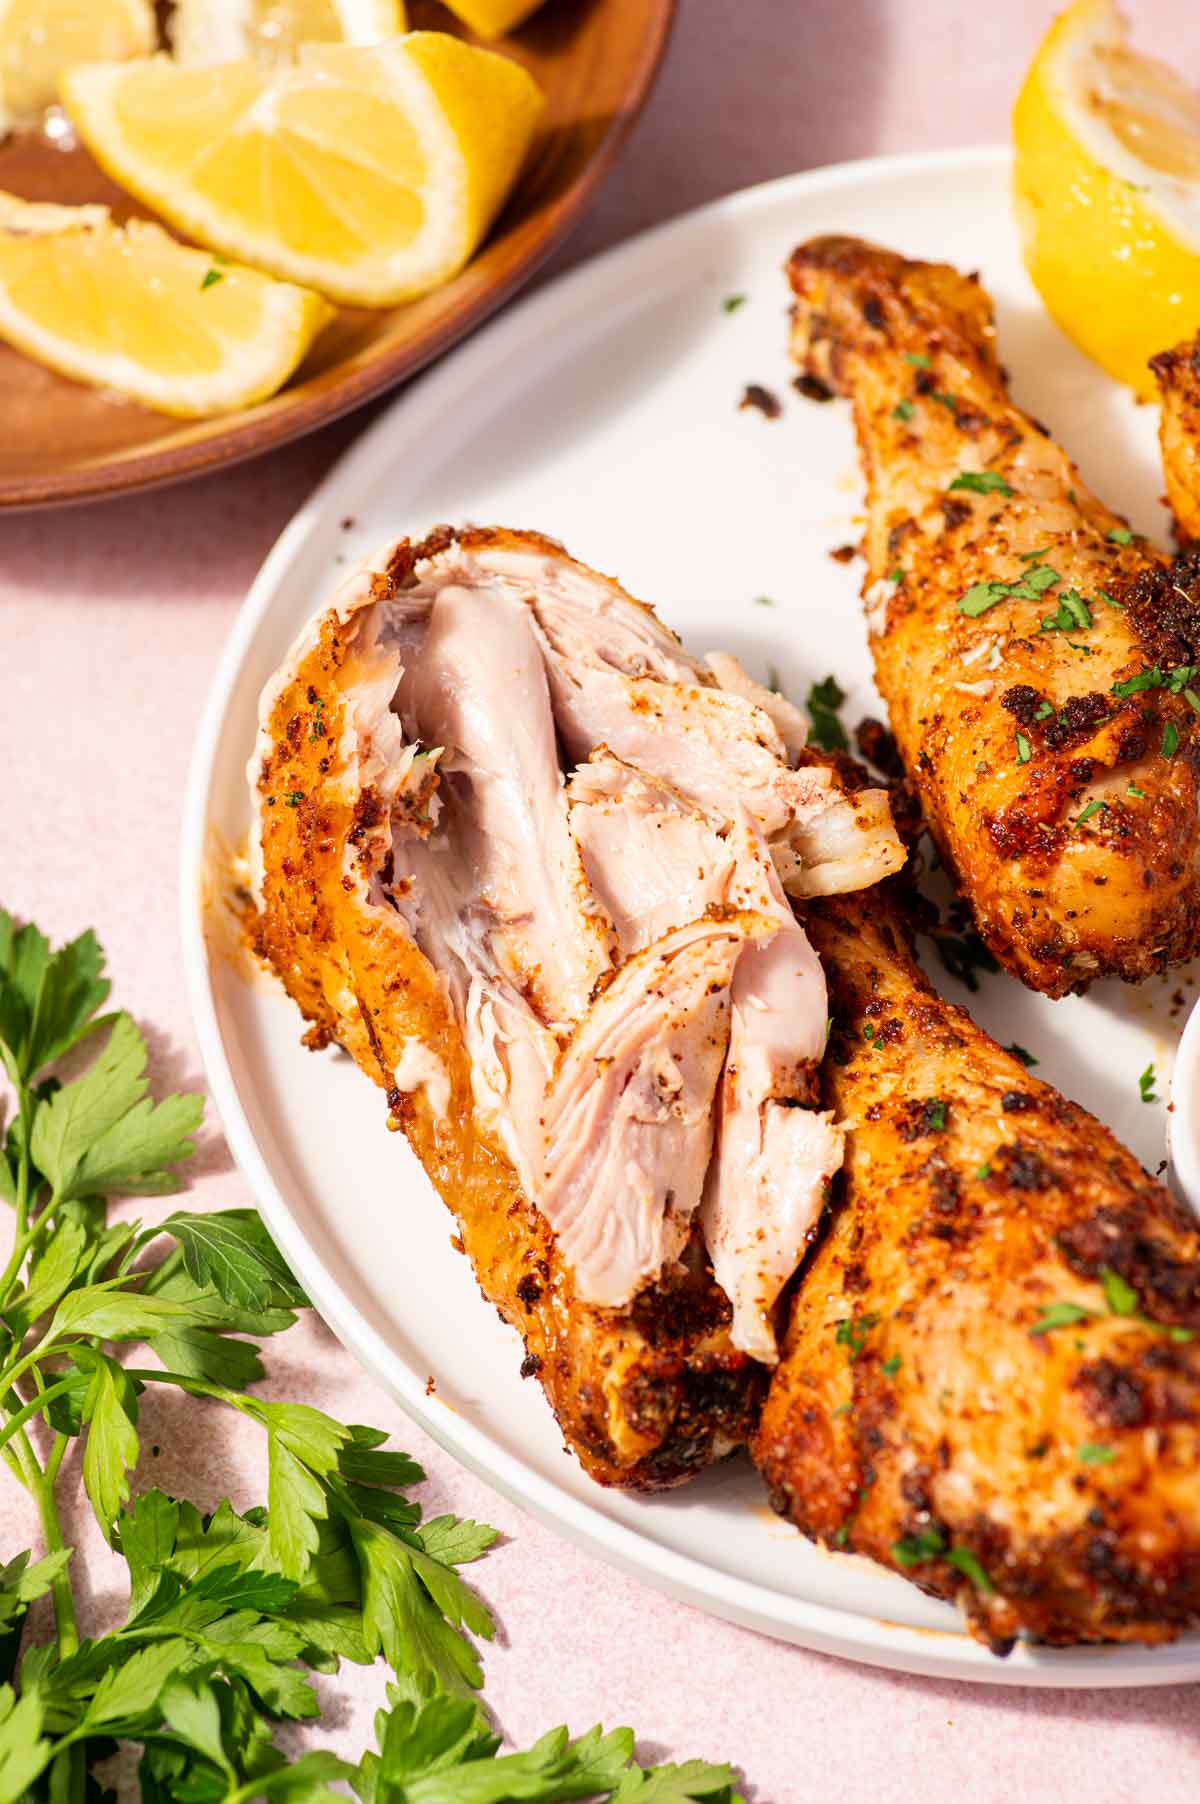
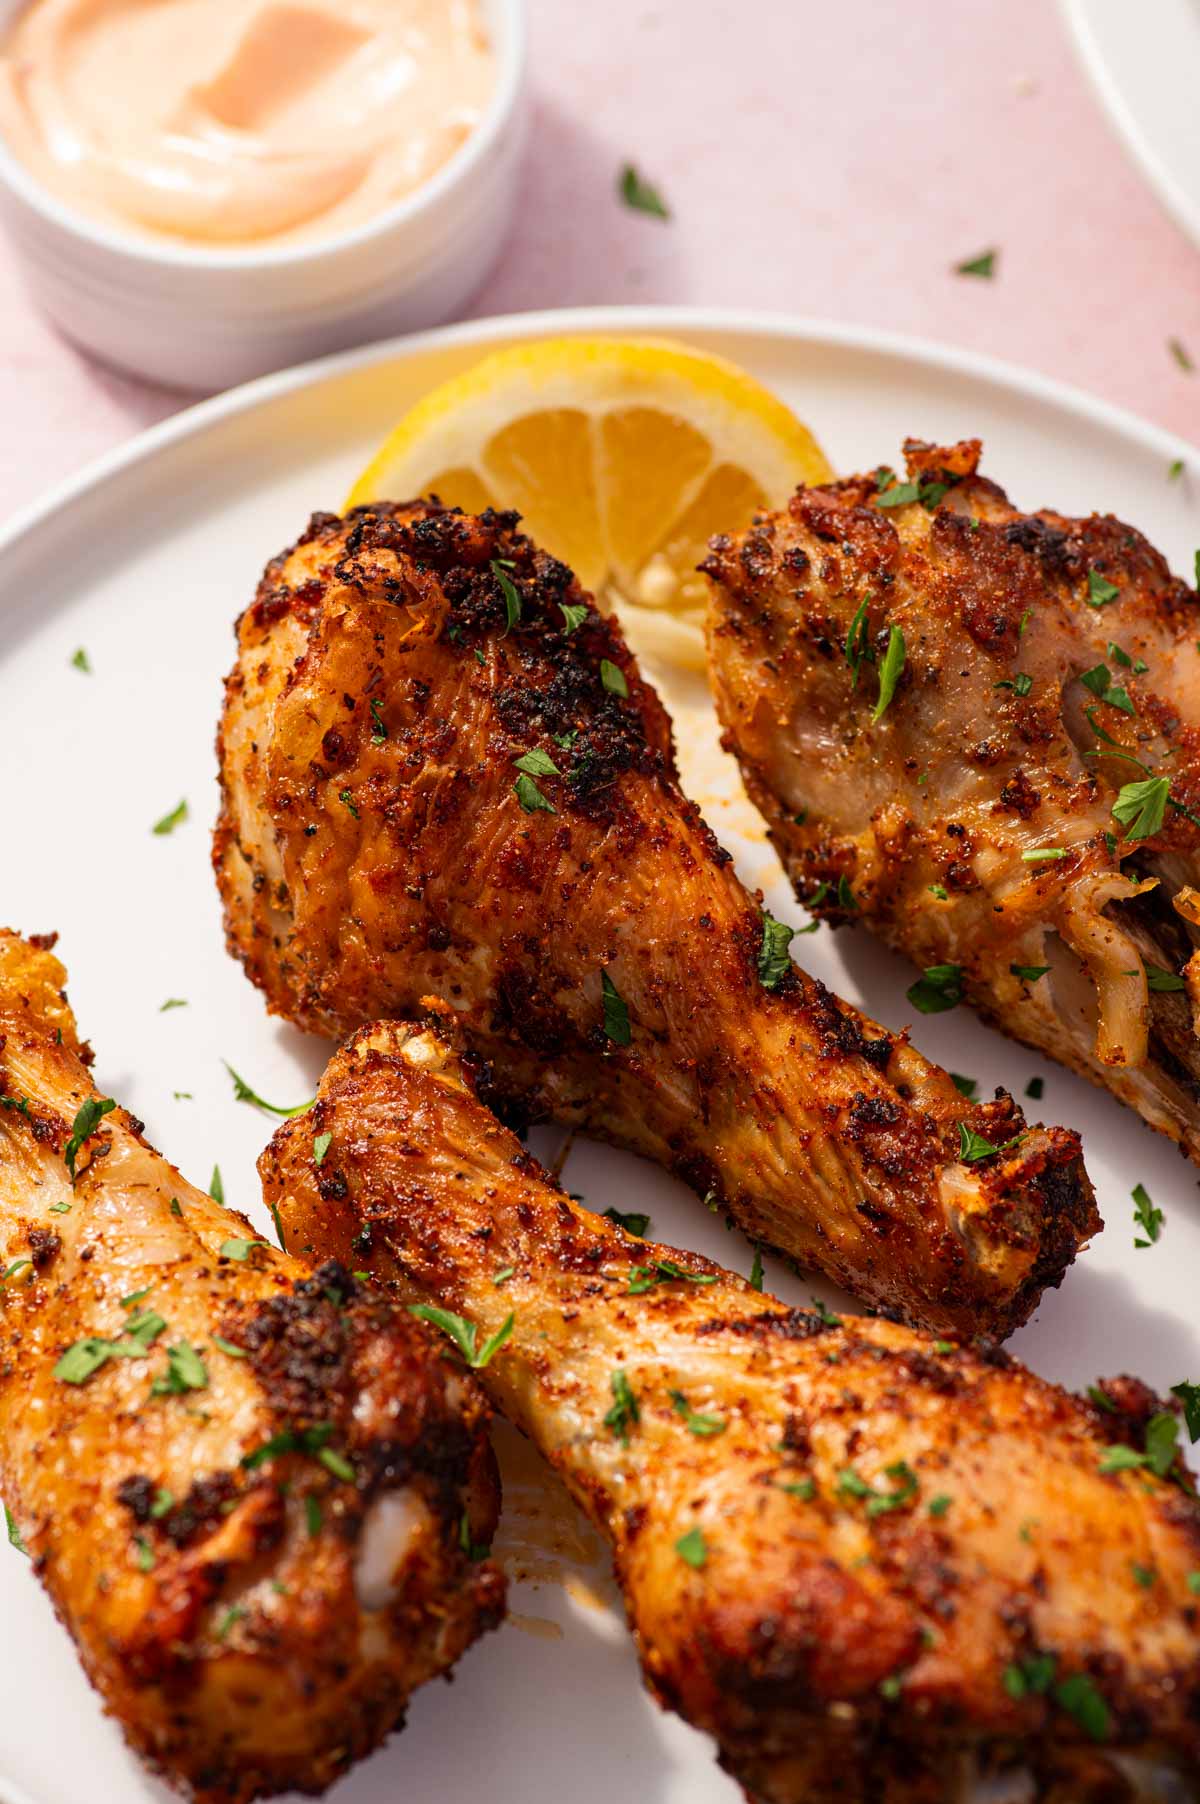
- Crispy Air Fryer Chicken Drumsticks
- Air Fryer BBQ Chicken Thighs
- Air Fryer Teriyaki Chicken Thighs
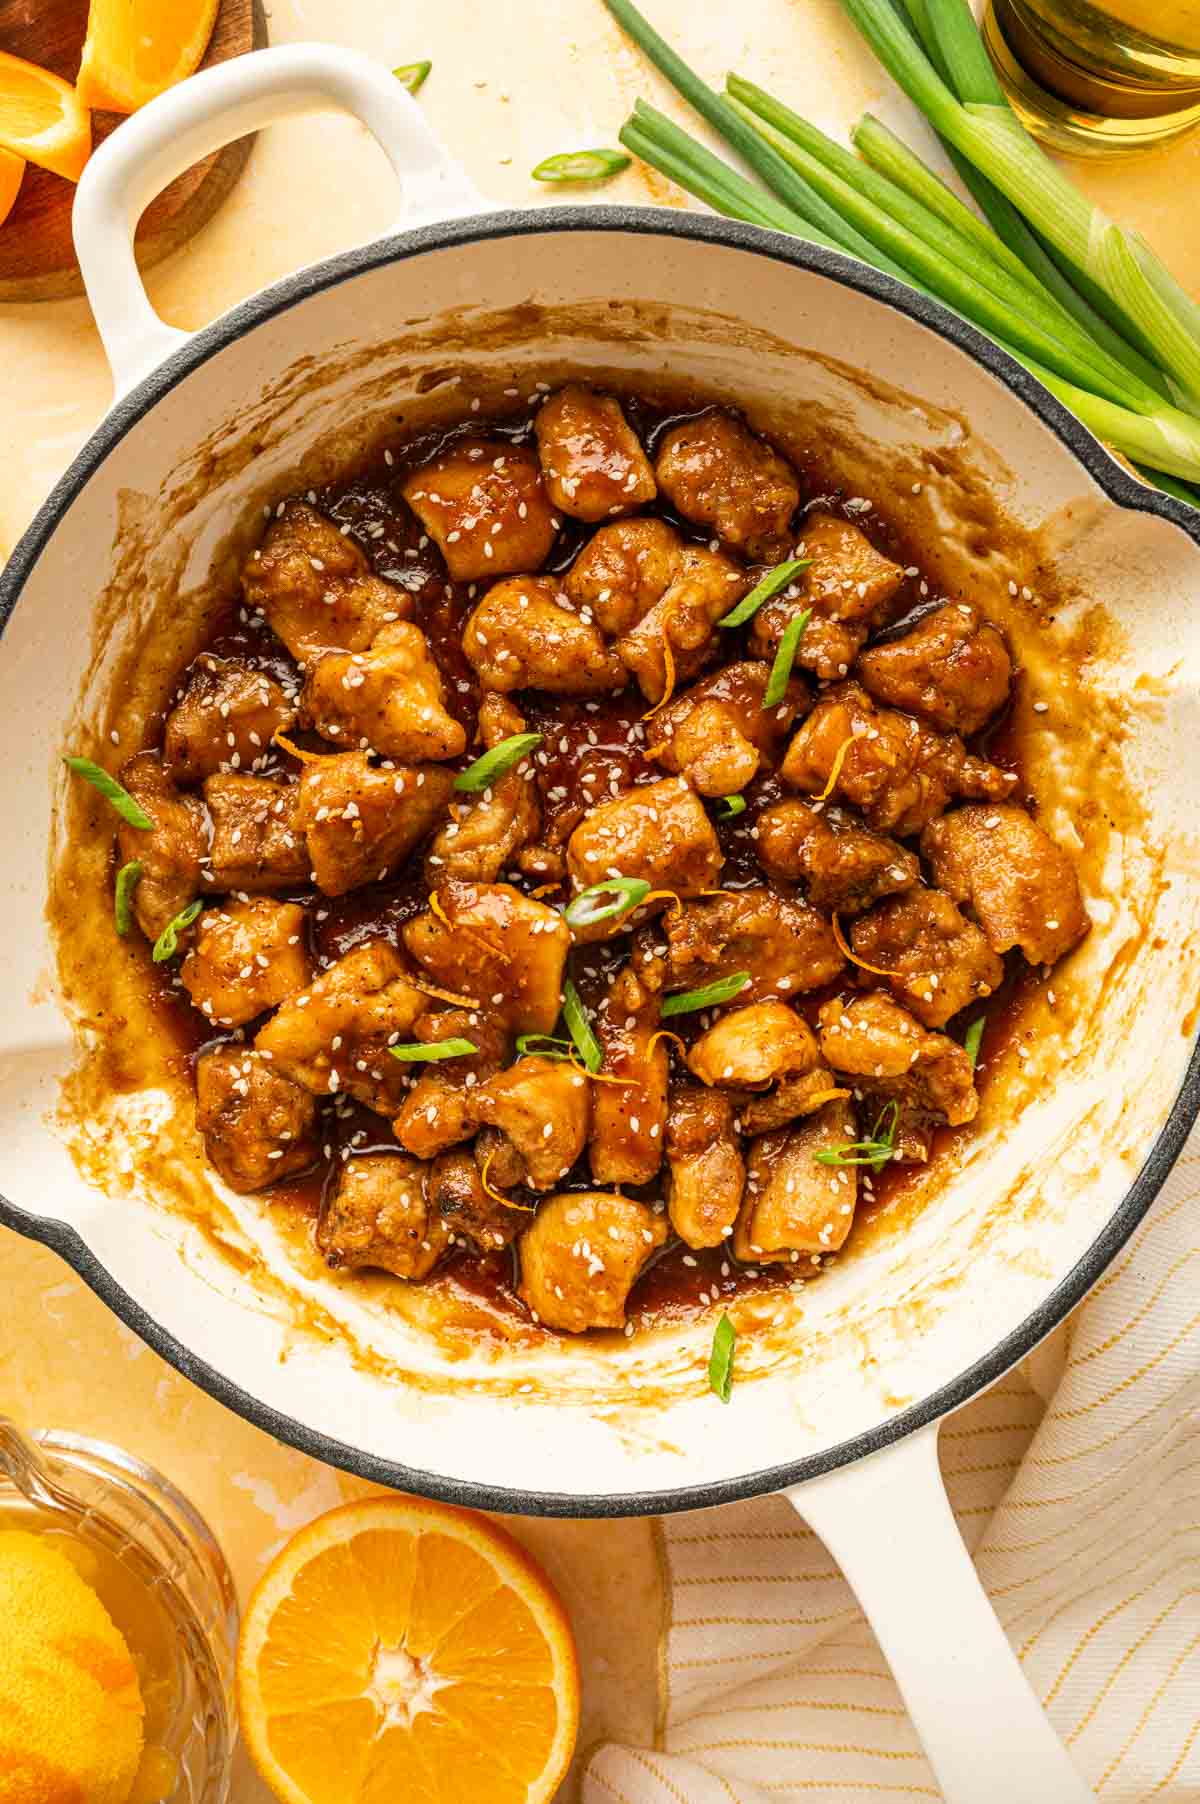
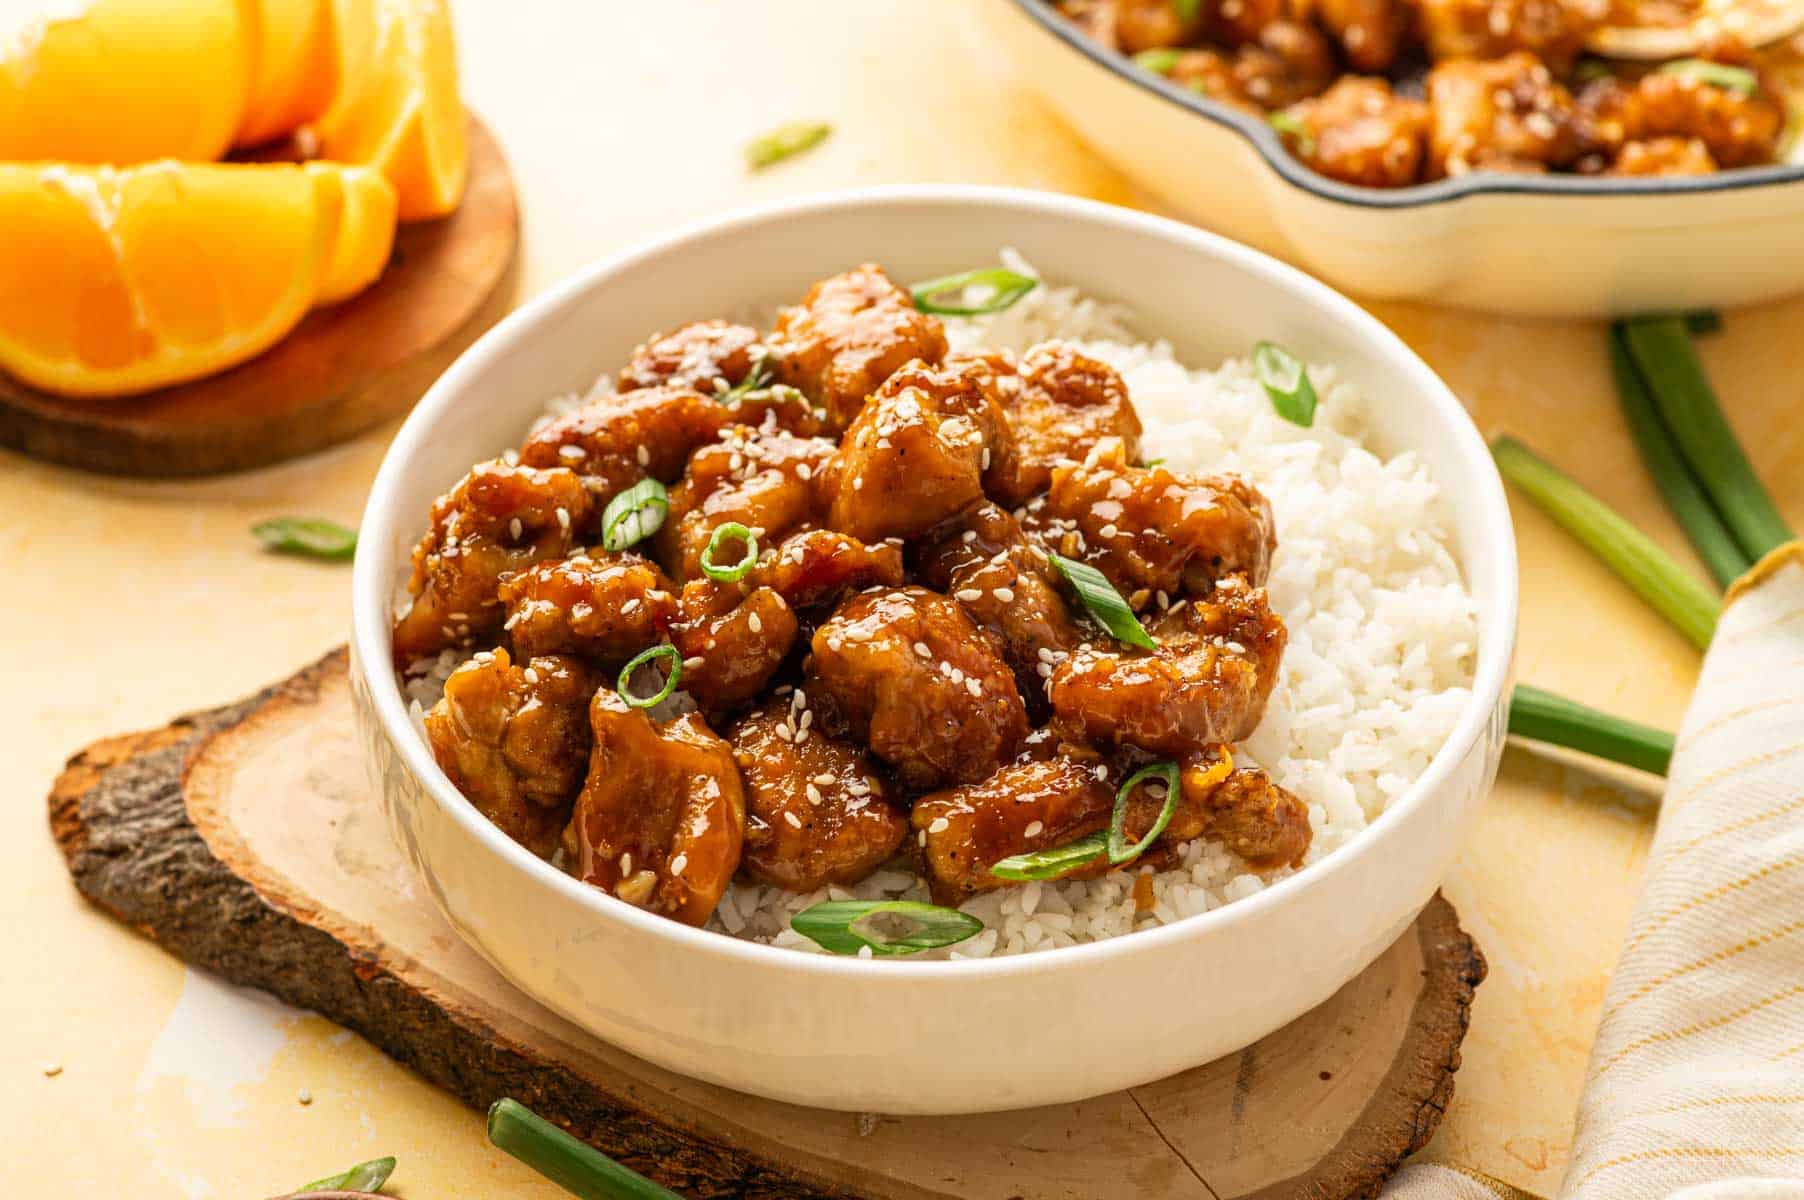
- Orange Chicken and Rice
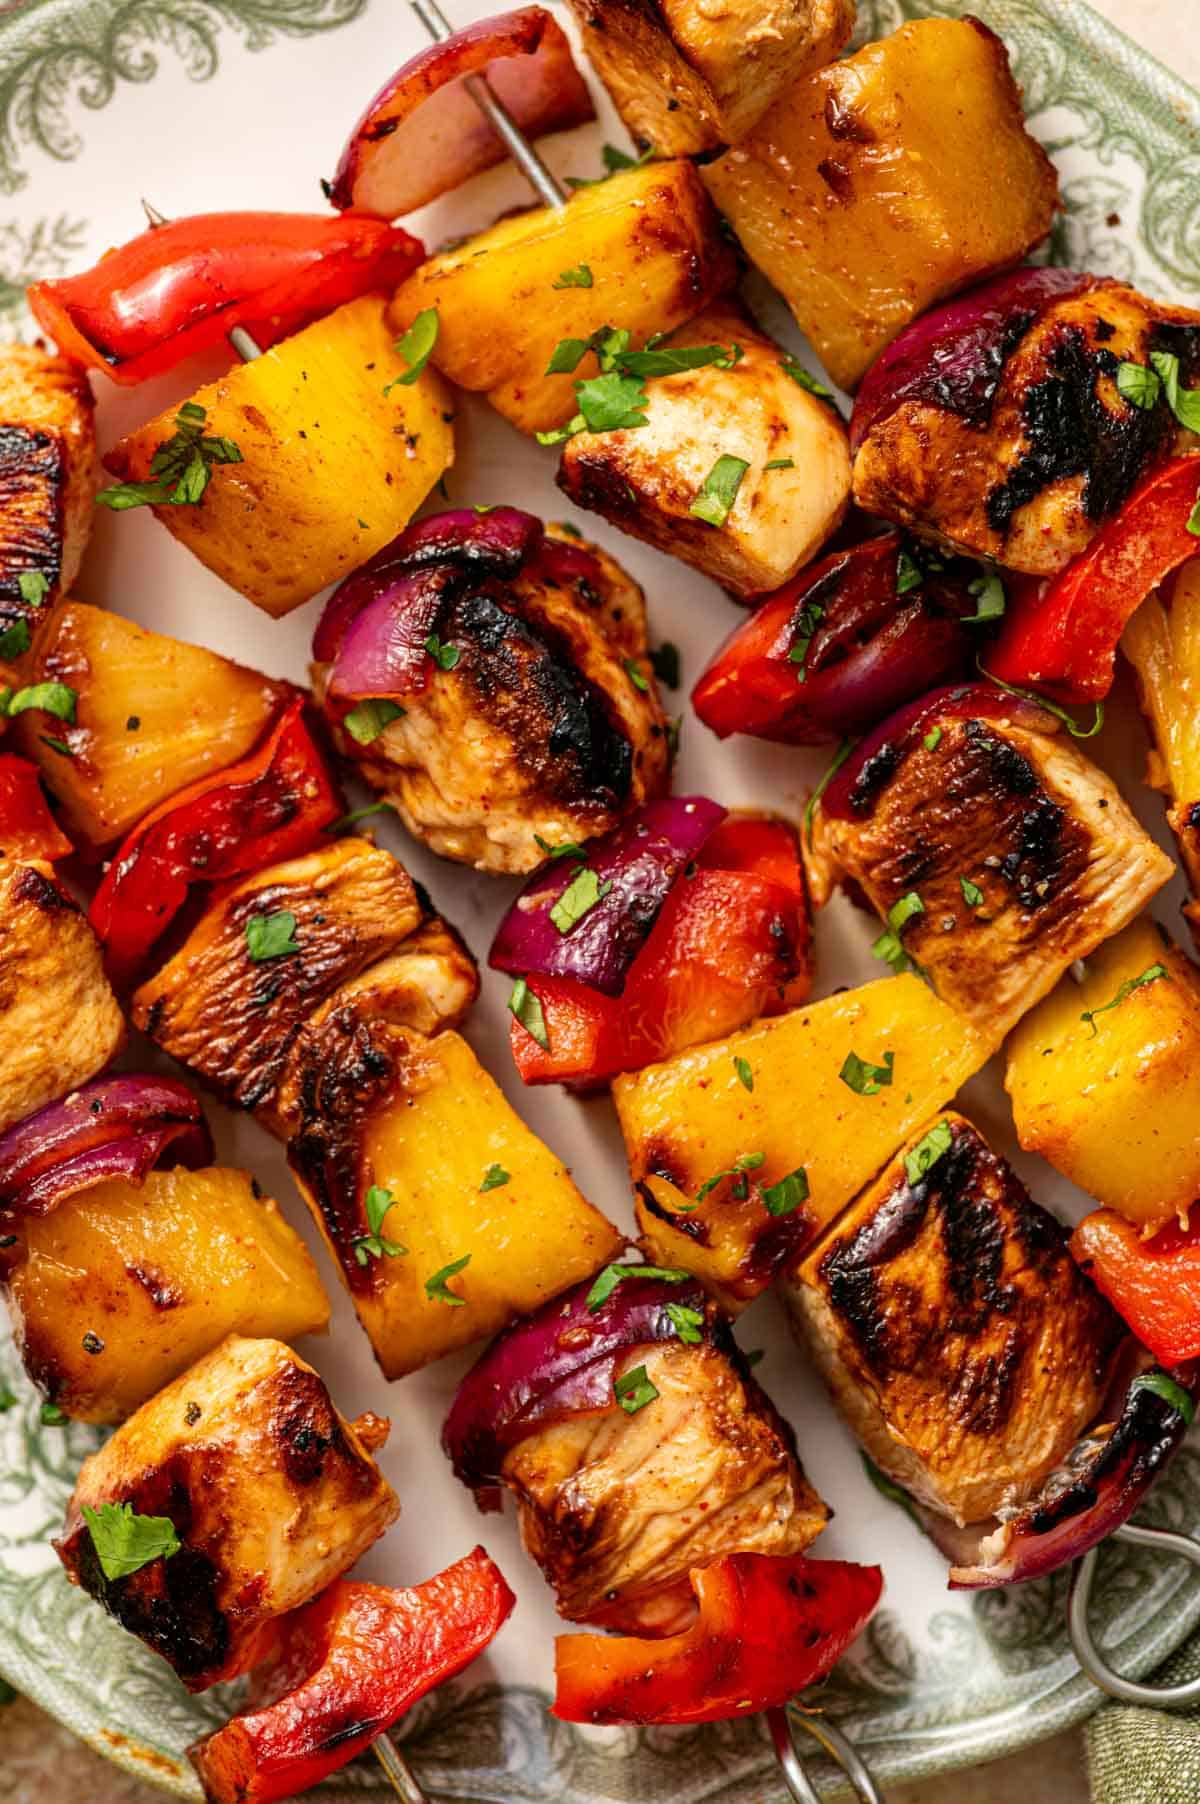
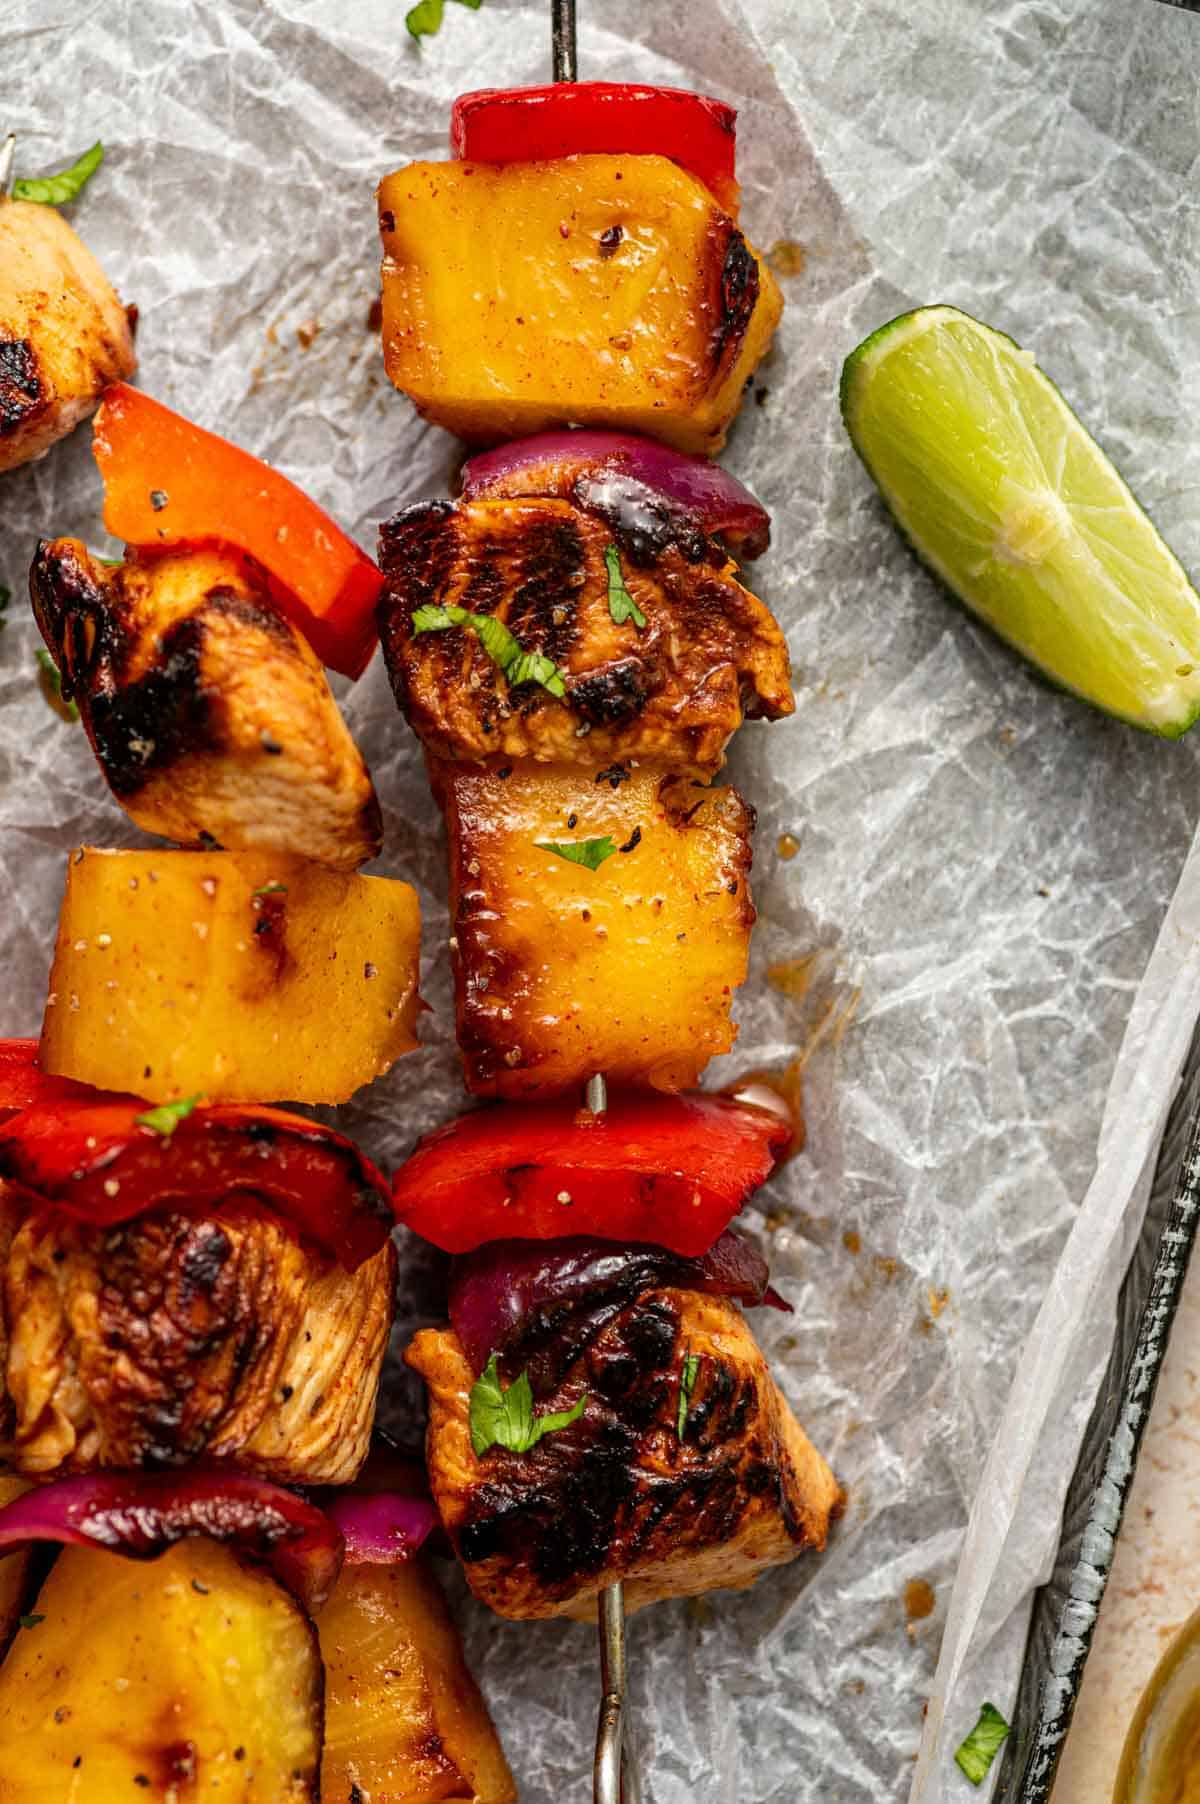
- Pineapple Chicken Kabobs
- Oven Roasted Chicken and Potatoes
- Baked Lemon Pepper Chicken Thighs
Why You’ll Love This Recipe
- Crispy Skin and Juicy Meat: Bone-in thighs are full of flavor, giving you juicy tender chicken with a beautifully golden exterior. The kind of chicken your family asks for again the next week.
- A Balanced Glaze: The combination of honey, fresh garlic, soy sauce, Dijon mustard, and a touch of acidity creates a rich honey garlic sauce for chicken that is sweet, savory, and slightly tangy.
- Made with Simple Ingredients: There’s no need to run to the grocery store and hunt for a long list of ingredients. Most of the ingredients used in this recipe are already lying around in your pantry.
- Great for Busy Evenings: These are truly easy honey garlic chicken thighs because the oven does most of the work while you prepare your sides. Because they’re simple and quick to make, they’re ideal for busy weekday dinners. The oven does the work while you help with homework.
- Family-Friendly: The sweet and savory sauce is mild enough for kids but flavorful enough that adults will keep reaching for another piece.
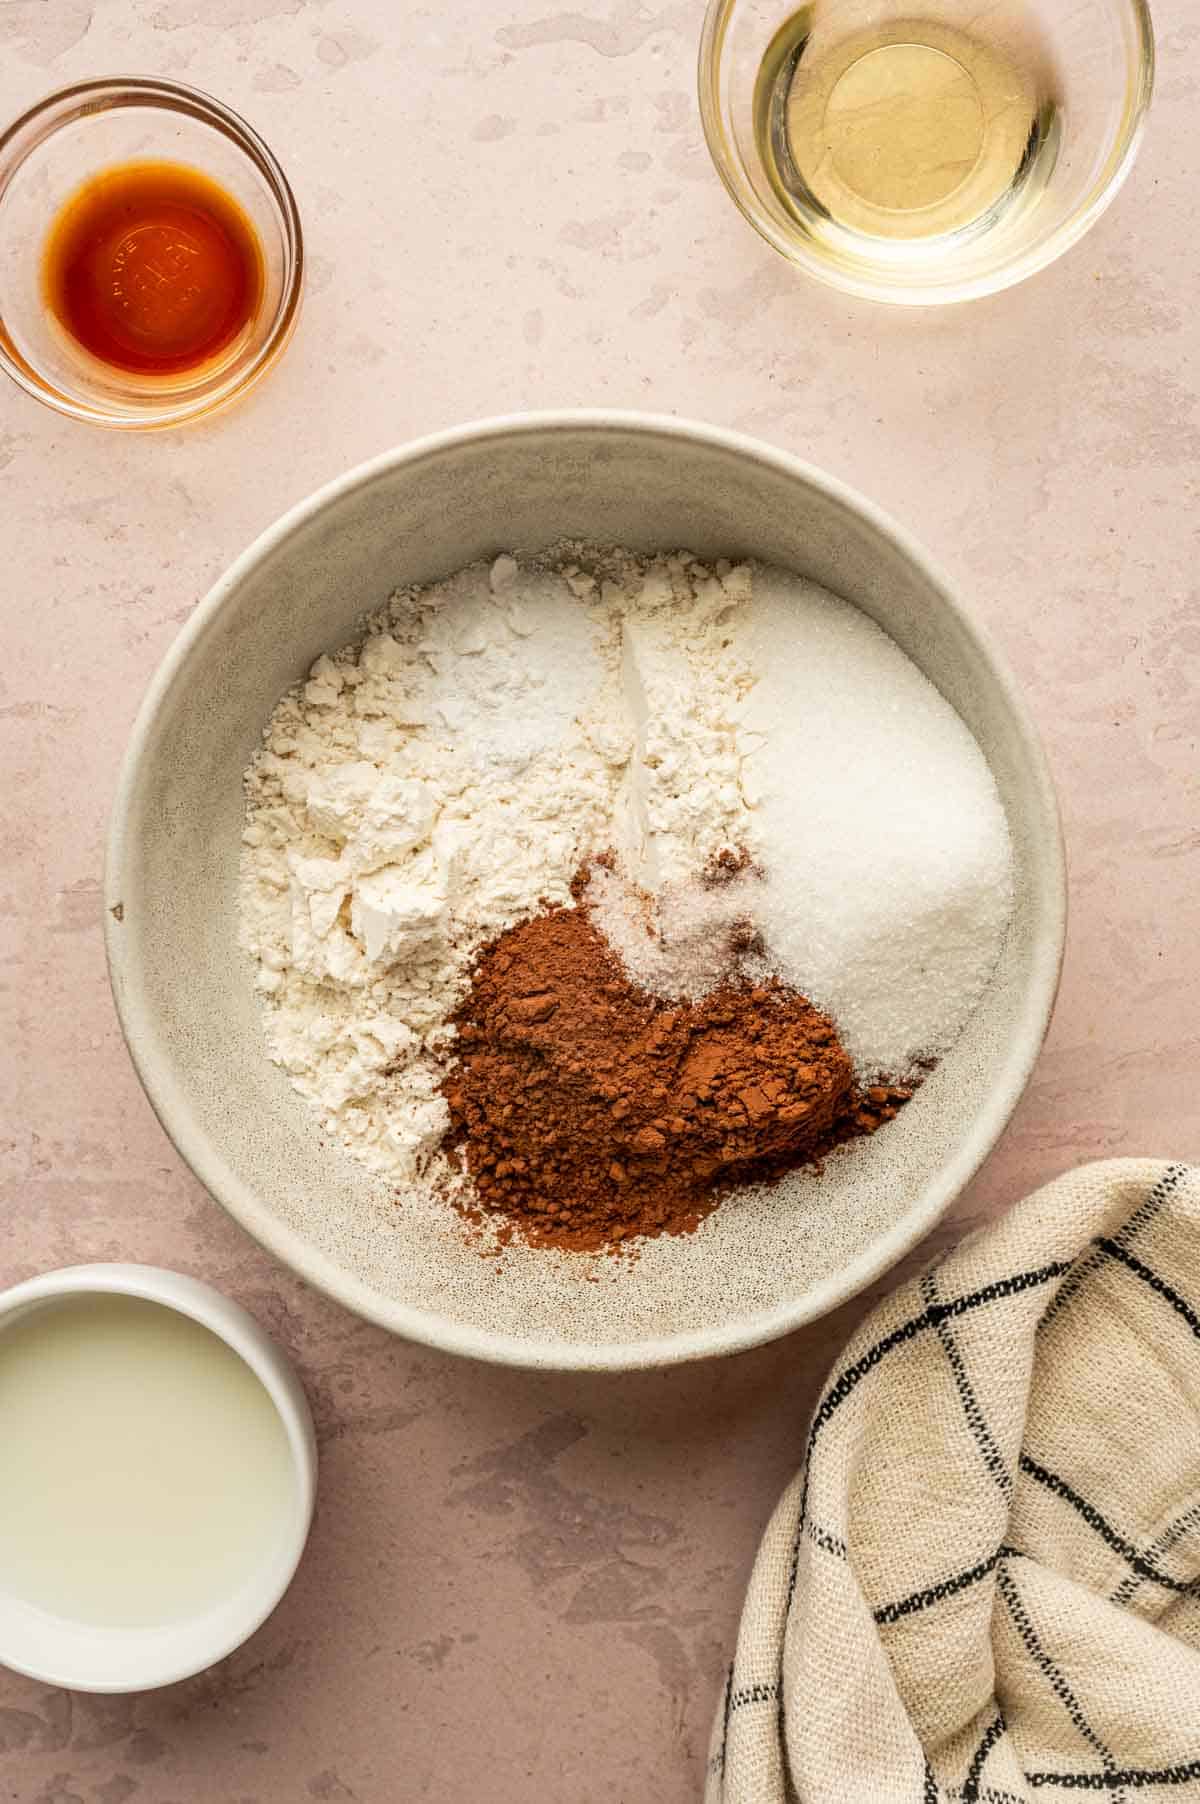
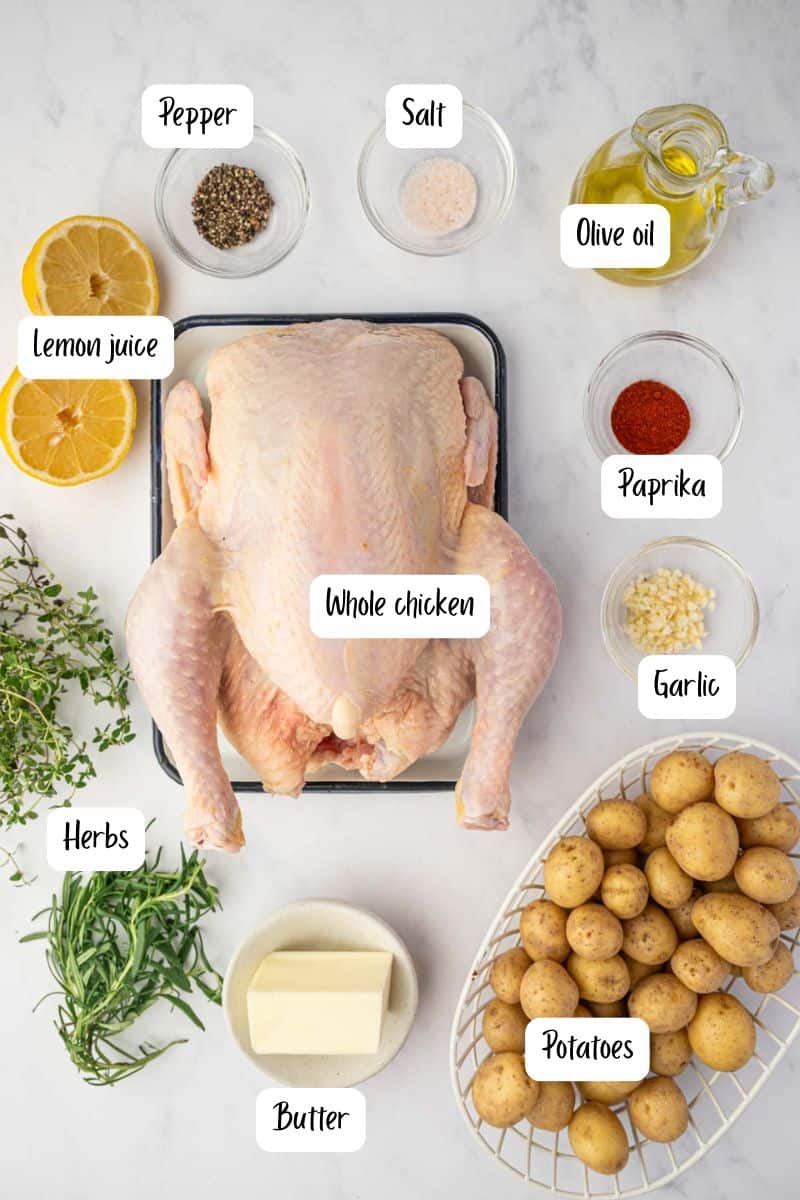
Ingredients and Substitutions
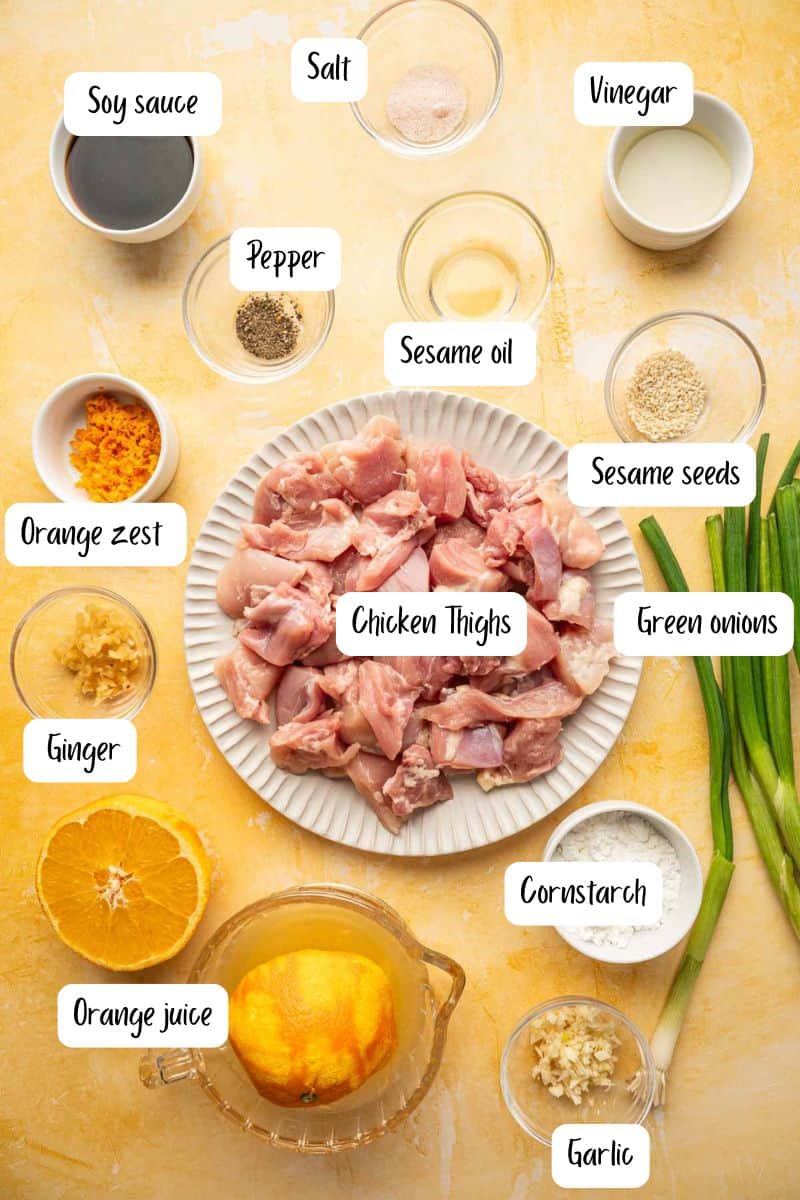
For the Chicken
- Chicken Thighs: This recipe uses bone-in, skin-on chicken thighs, and they are the secret to getting that combination of crispy skin and tender meat. Compared to chicken breast, thighs have more fat and connective tissue, which means they stay juicy even with the higher heat used in the oven. You can also use whole skin-on, bone-in chicken legs or boneless chicken thighs with skin-on.
- Olive Oil: It helps the seasonings stick to the chicken and makes the skin crispy and golden. You can substitute it with vegetable oil.
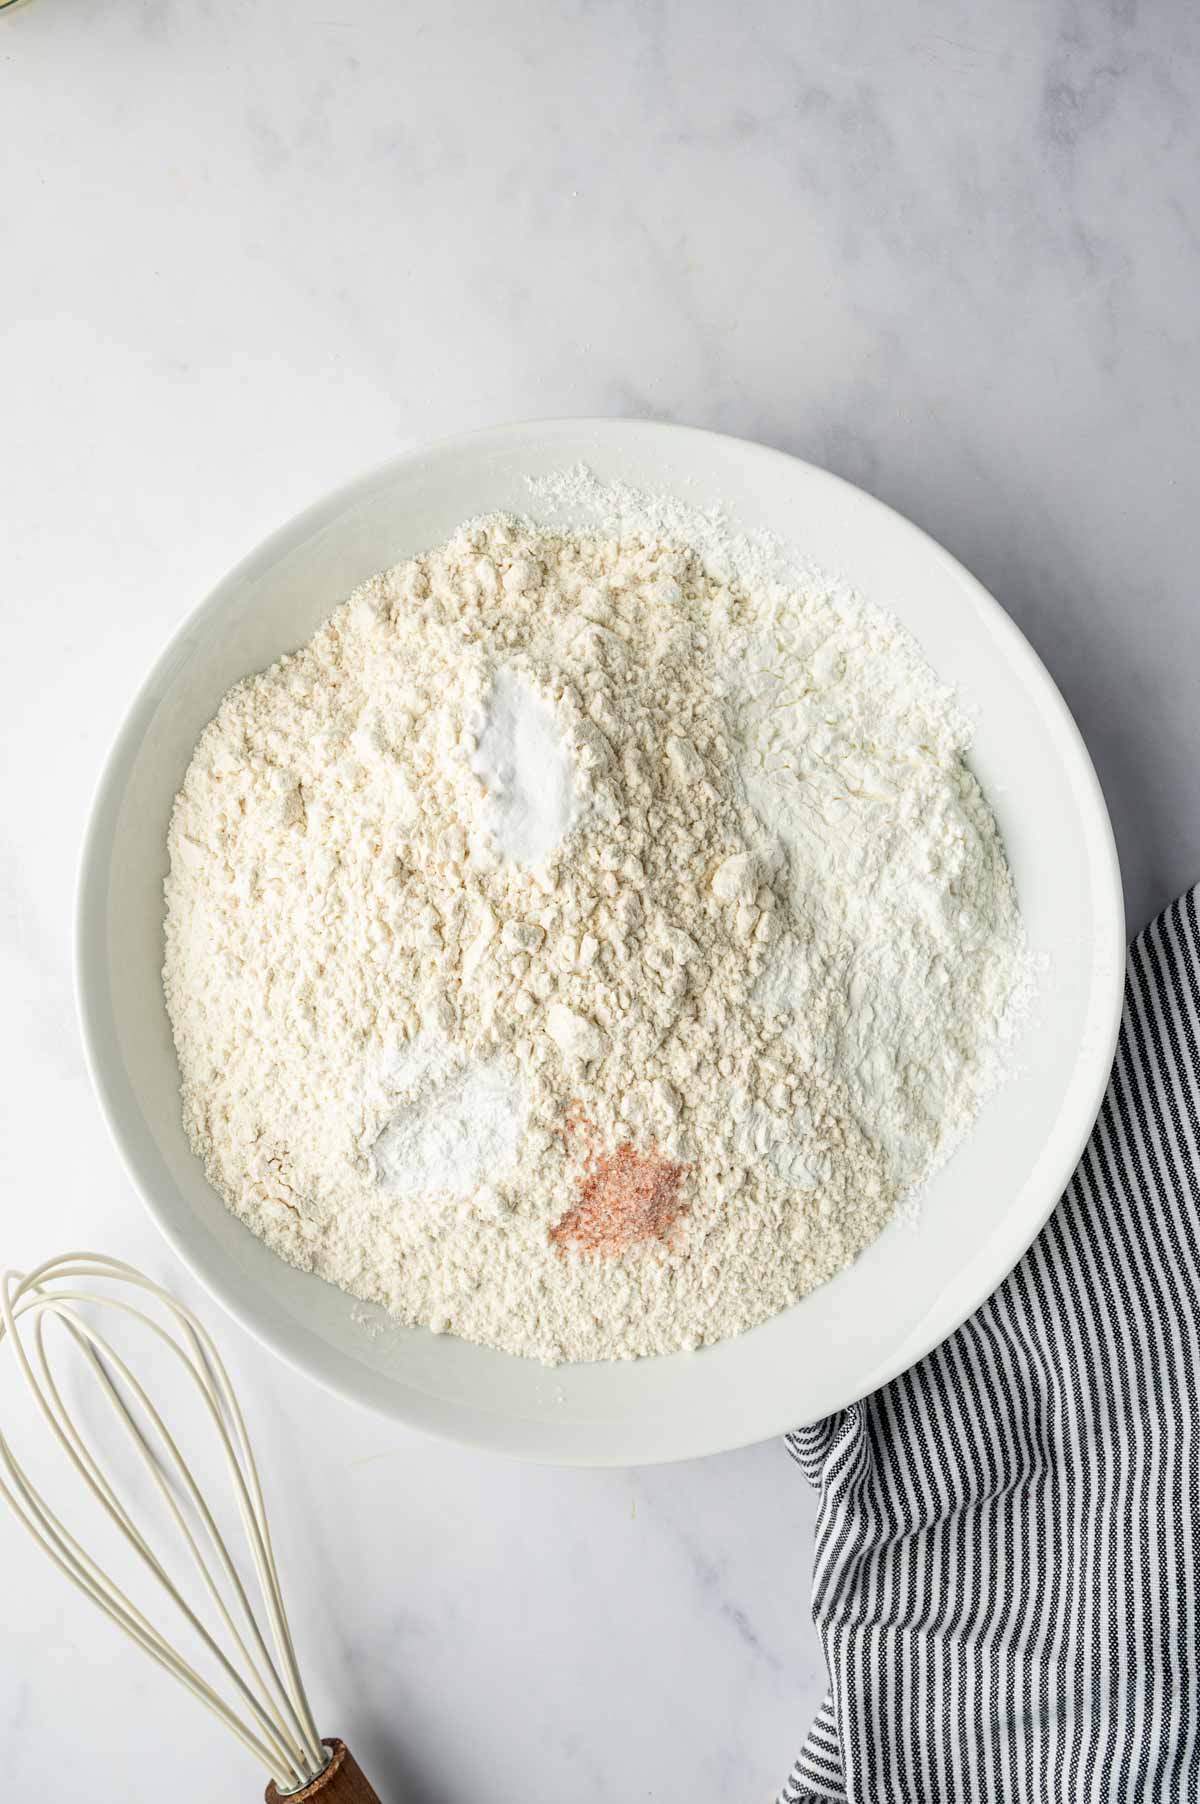
- Salt and Black Pepper: For mild seasoning so that the flavour of the sauce can stand out.
- Paprika: It adds gentle warmth and gives the skin a beautiful color as it roasts.
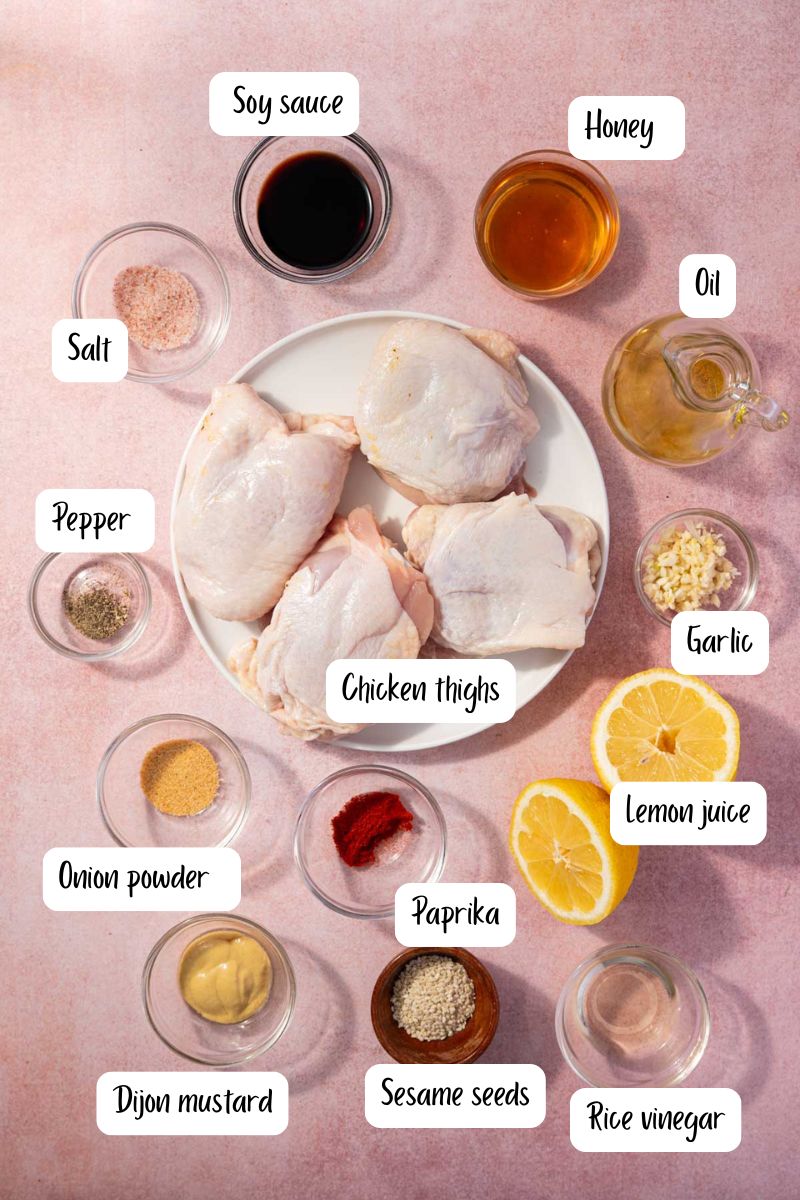
For the Honey Garlic Sauce
- Honey: The ingredient that creates the signature coating on these sticky honey garlic chicken thighs. As it bakes, the honey caramelizes and creates those delicious golden edges around the pan.
- Fresh Garlic: Use freshly minced garlic whenever possible for the strongest aroma and flavor. Garlic powder can be used as a substitute.
- Soy Sauce: Brings saltiness and umami, balancing the sweetness of the honey. Substitute it with Tamari (1:1) if you’re looking for a gluten-free option.
- Rice Vinegar: Adds brightness and prevents the sauce from becoming overly sweet. Apple cider vinegar can also work if that’s what you have on hand.
- Lemon juice: Adds a fresh citrus note that lifts the entire sauce. You can also use lime juice instead.
- Dijon mustard: Gives the glaze extra depth and a subtle tang.
- Onion powder: It rounds out the savory flavors without overpowering the garlic.
See recipe card for quantities.
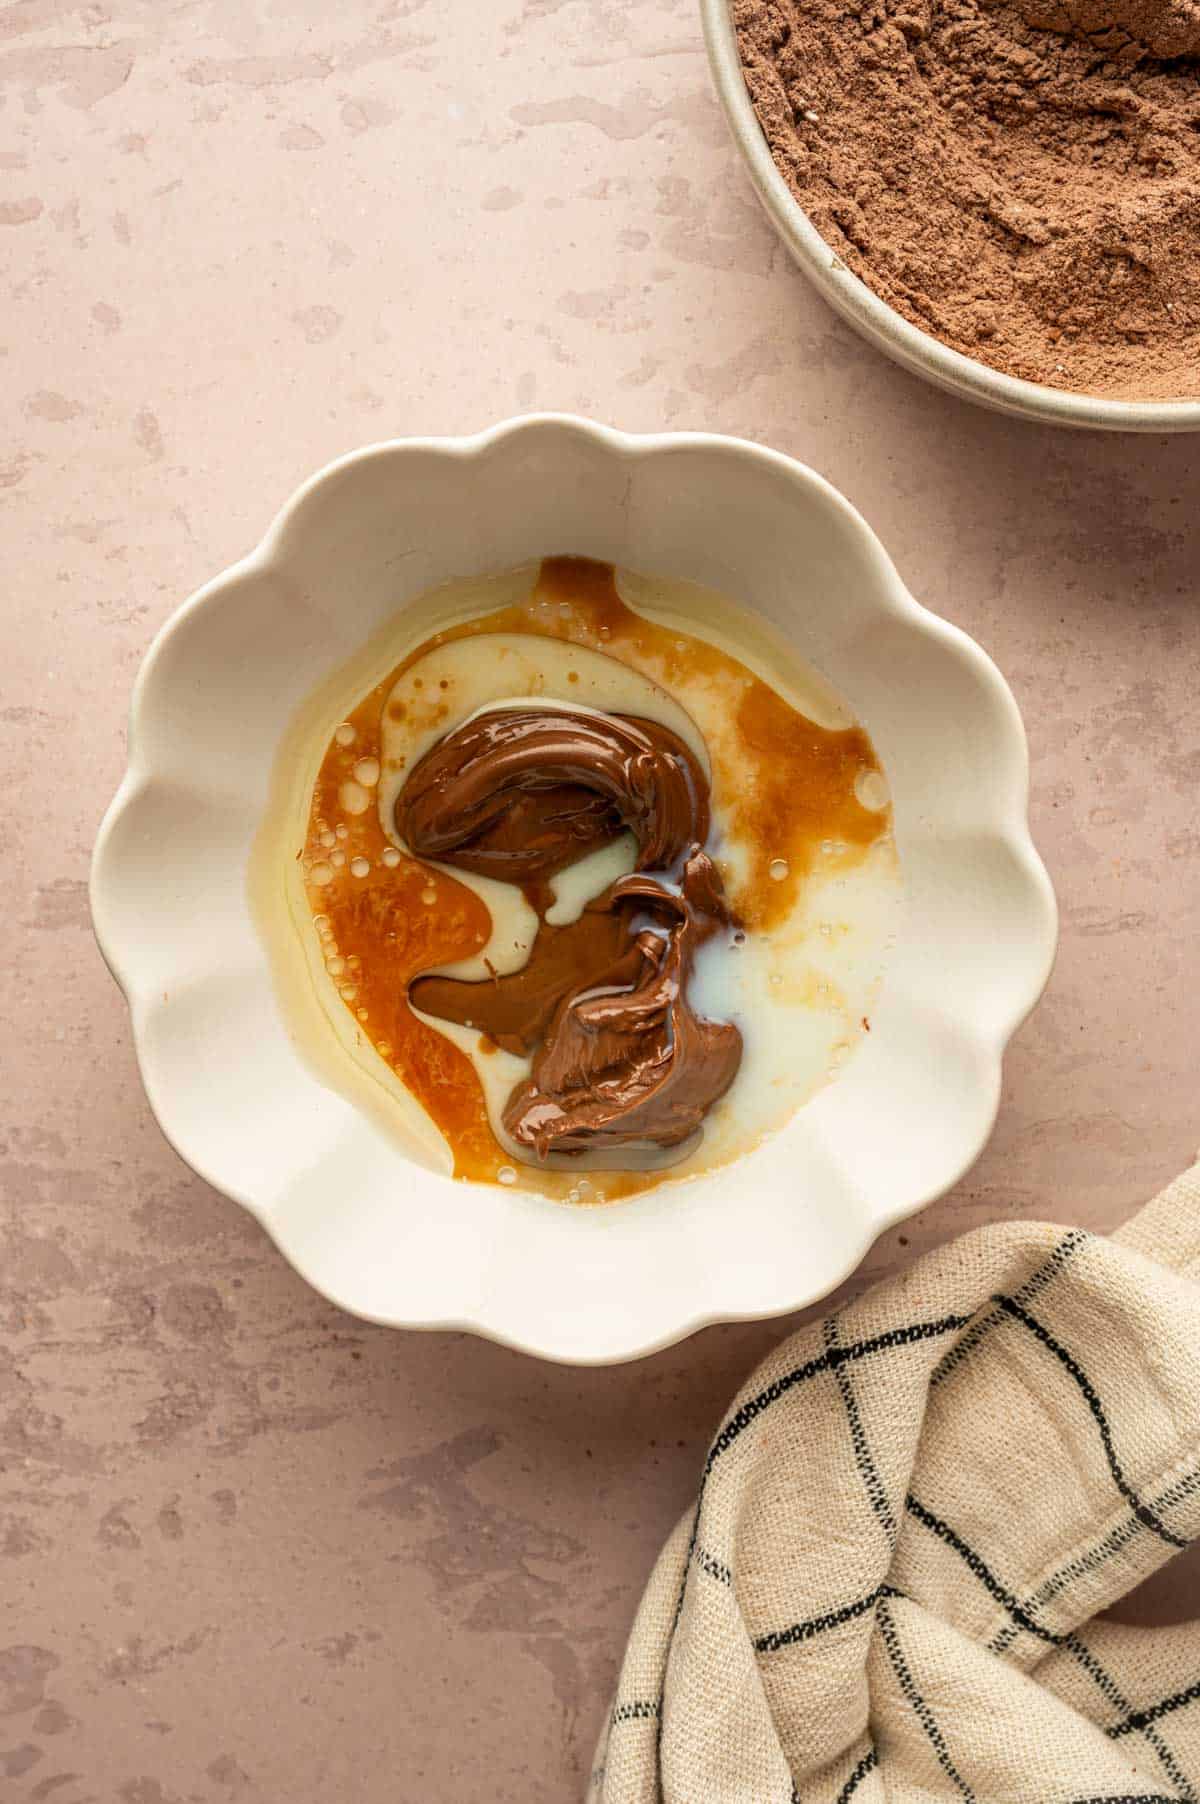
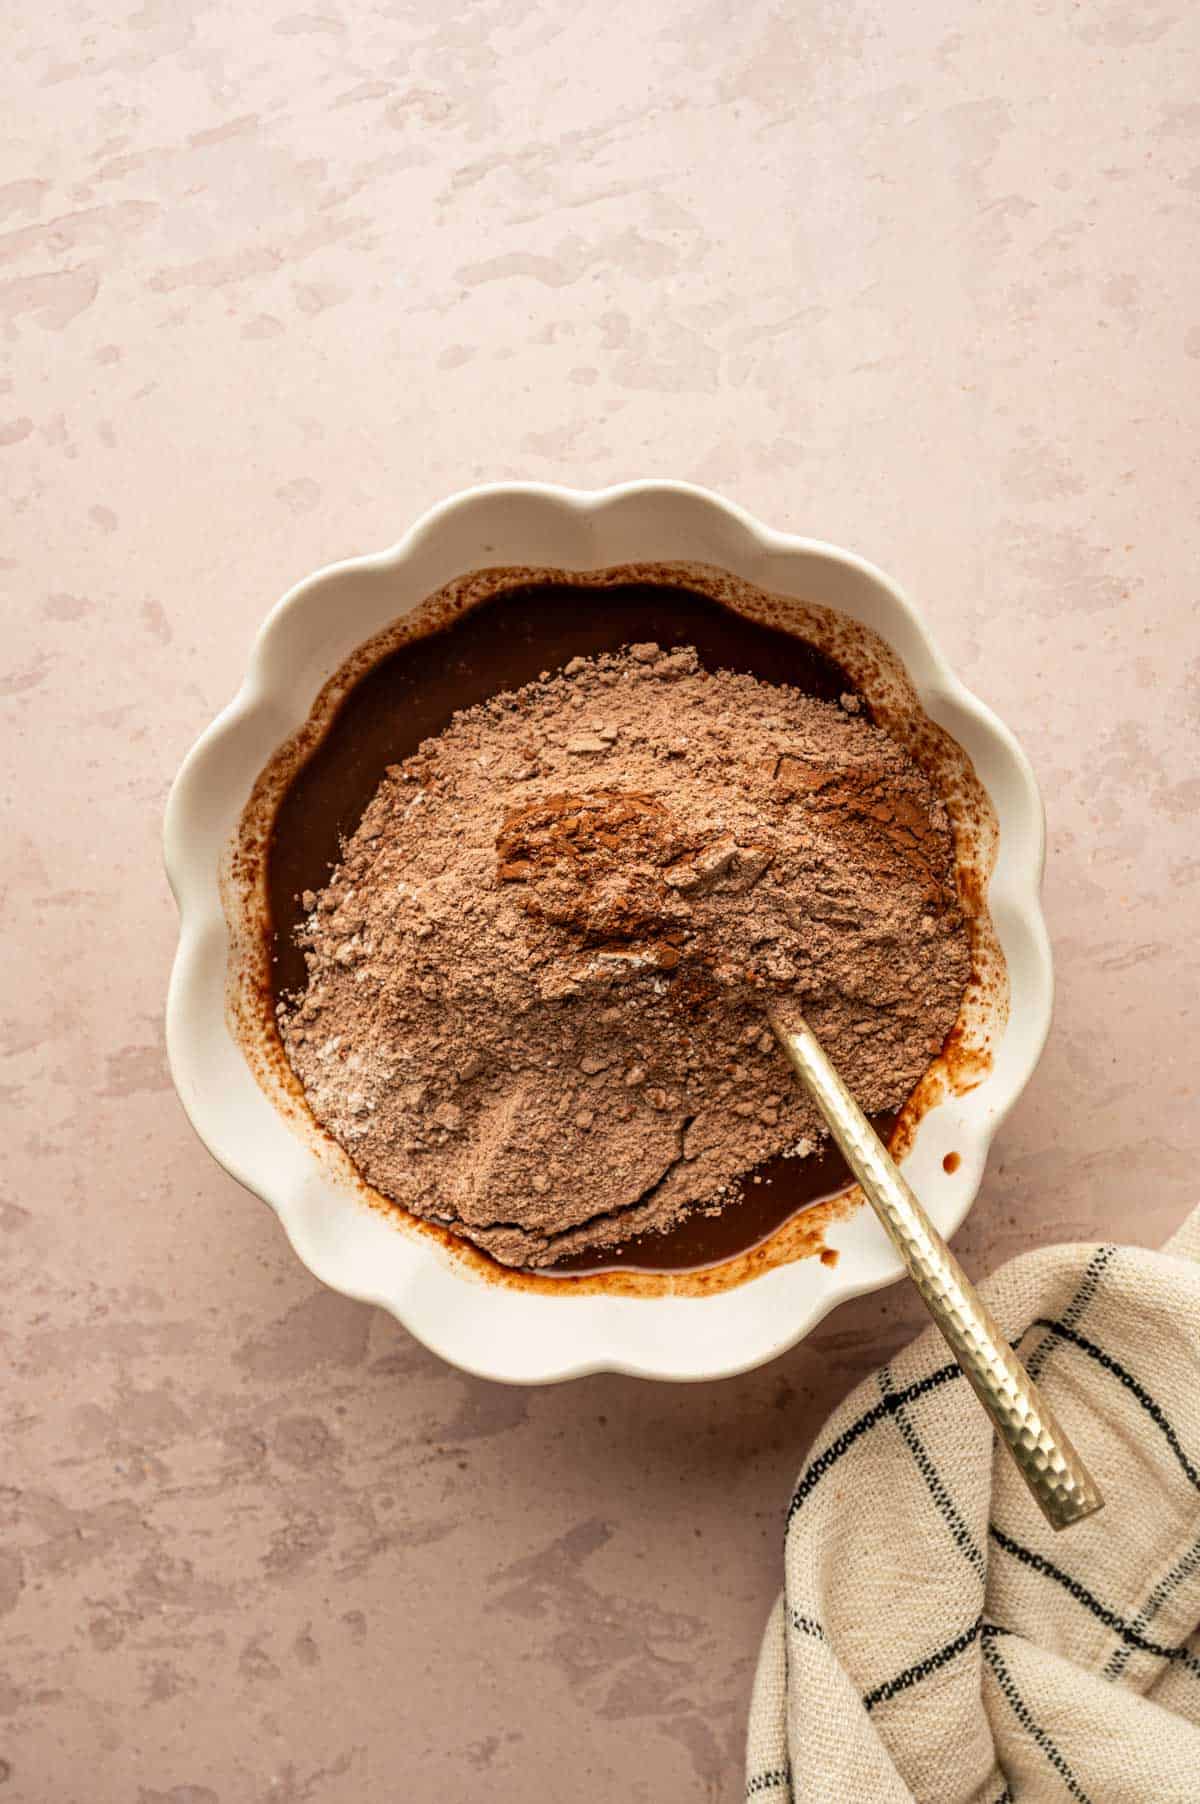
The Honey Garlic Sauce for Chicken
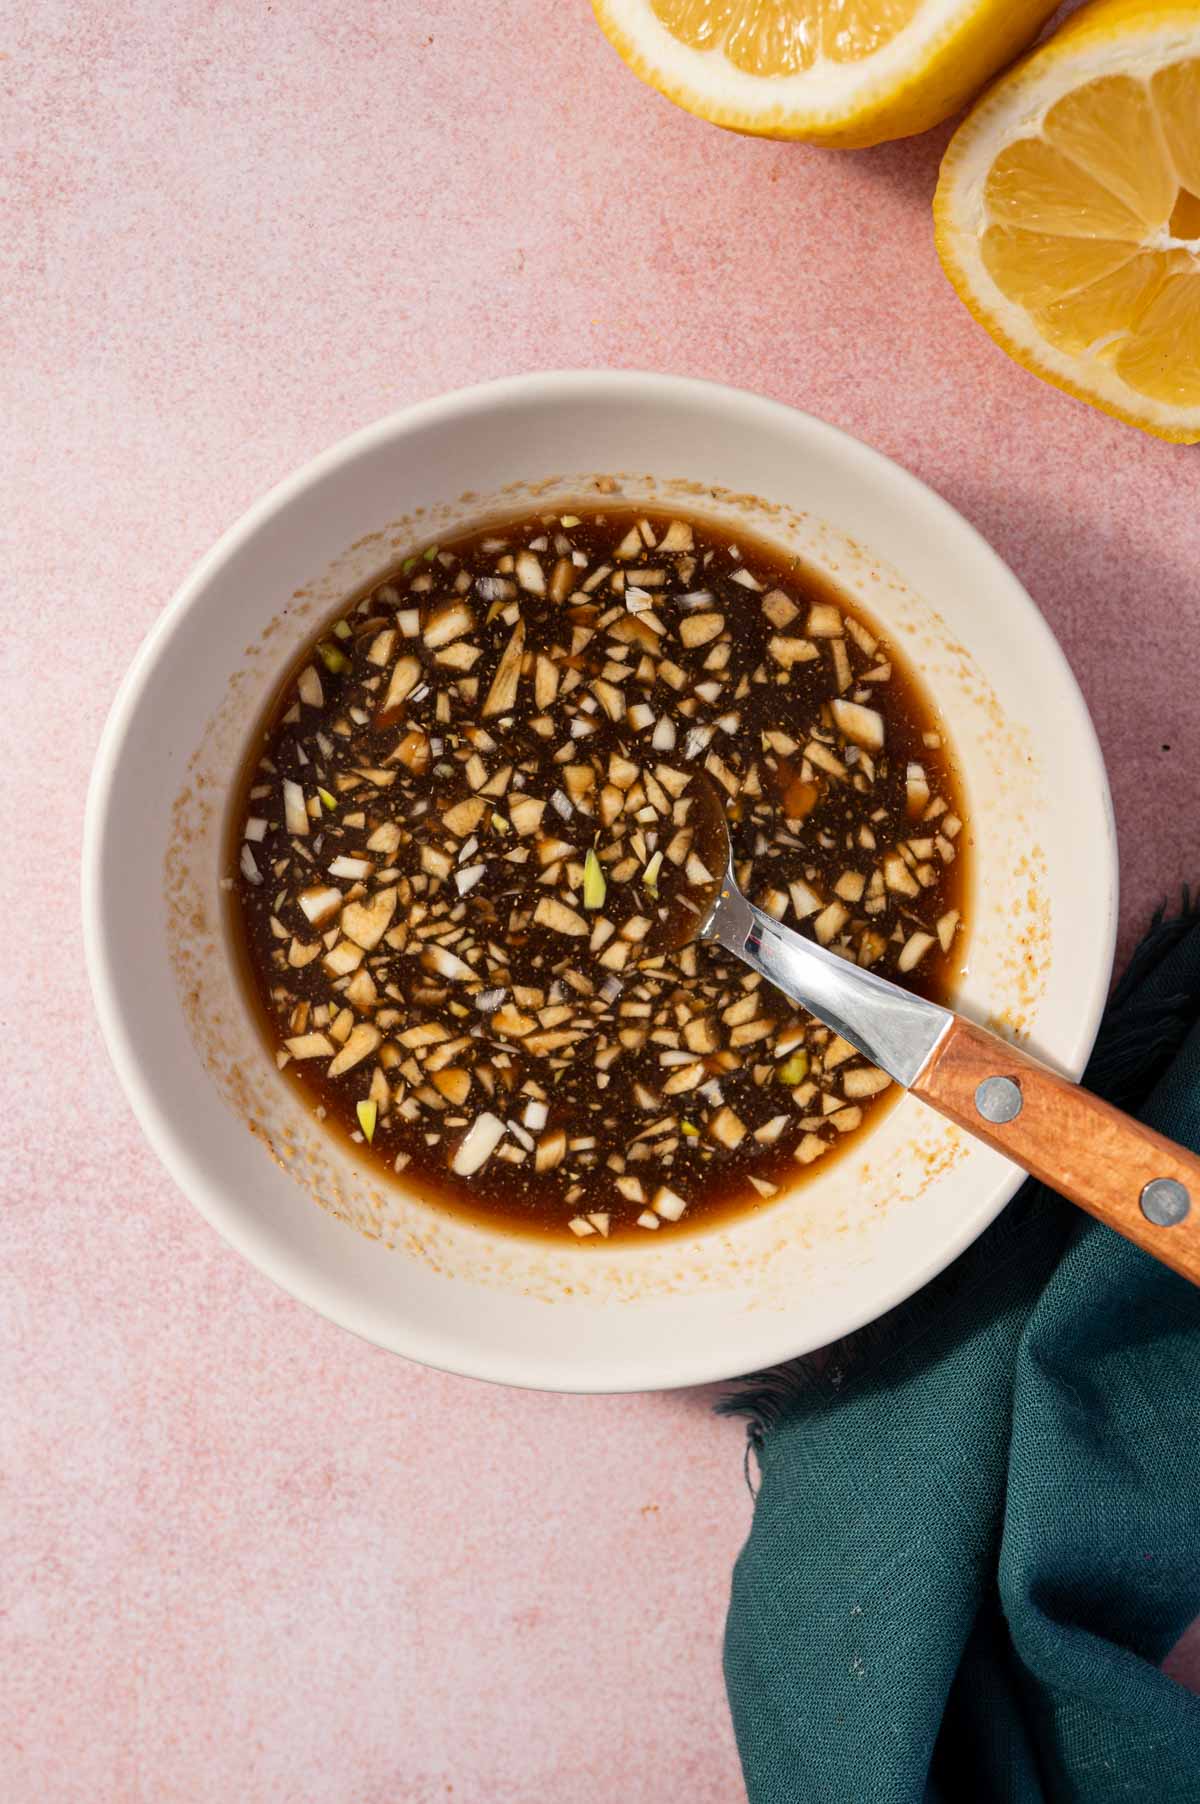
This sauce is the heart of the whole recipe and the best part is it comes together in one bowl in under two minutes.
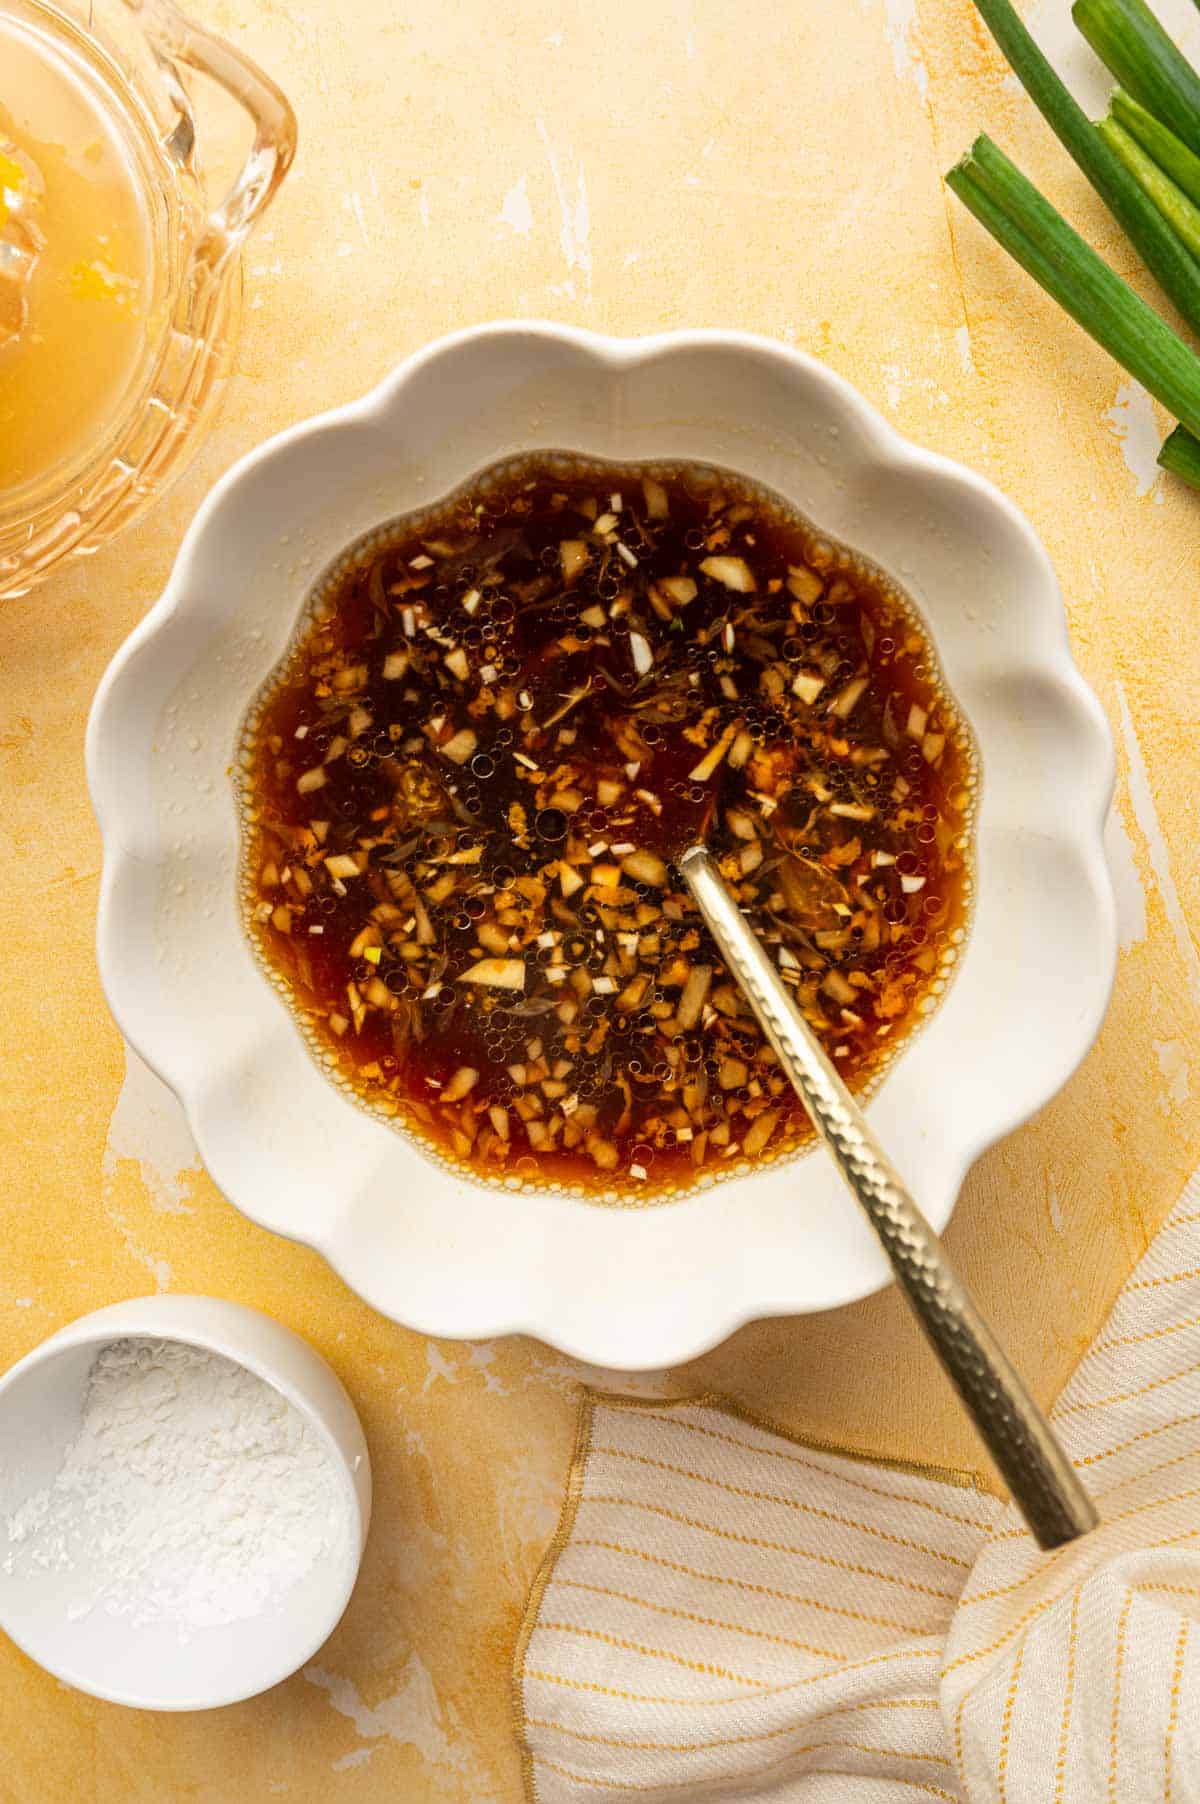
Whisk together honey, freshly minced garlic, soy sauce, rice vinegar, Dijon mustard, lemon juice, and onion powder until smooth and glossy. That's it. The honey brings the sticky sweetness, the soy sauce adds that deep savory depth, and the Dijon and lemon juice cut through the richness so the glaze never feels heavy or overly sweet.
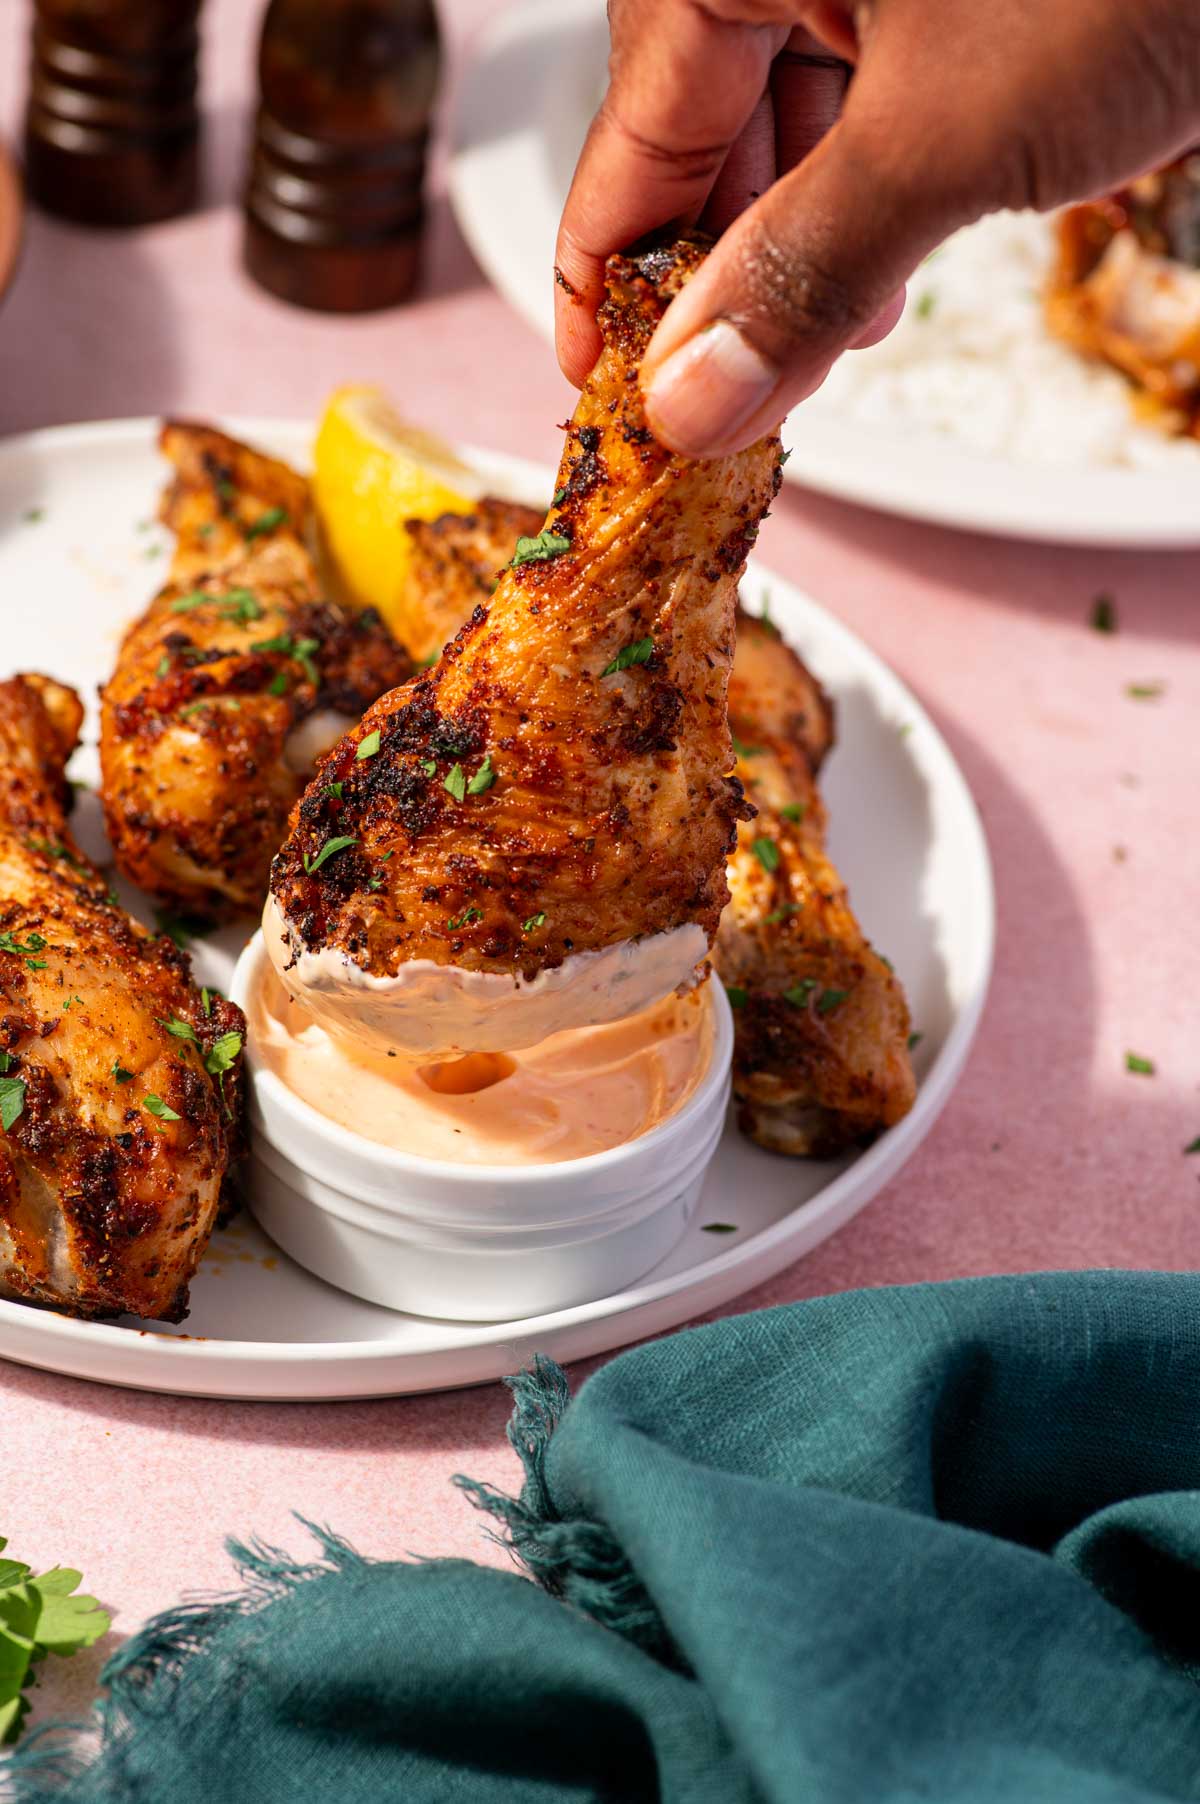
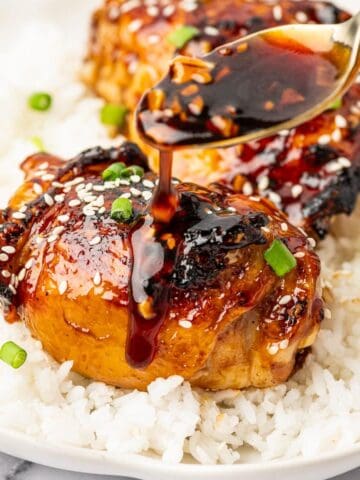
One important tip, reserve about 2 tablespoons of the sauce before it touches the raw chicken. You'll brush this over the thighs right after they come out of the oven for a fresh, glossy finish that makes them look just as good as they taste.
Instructions: How to Make Baked Honey Garlic Chicken Thighs, Bone-in
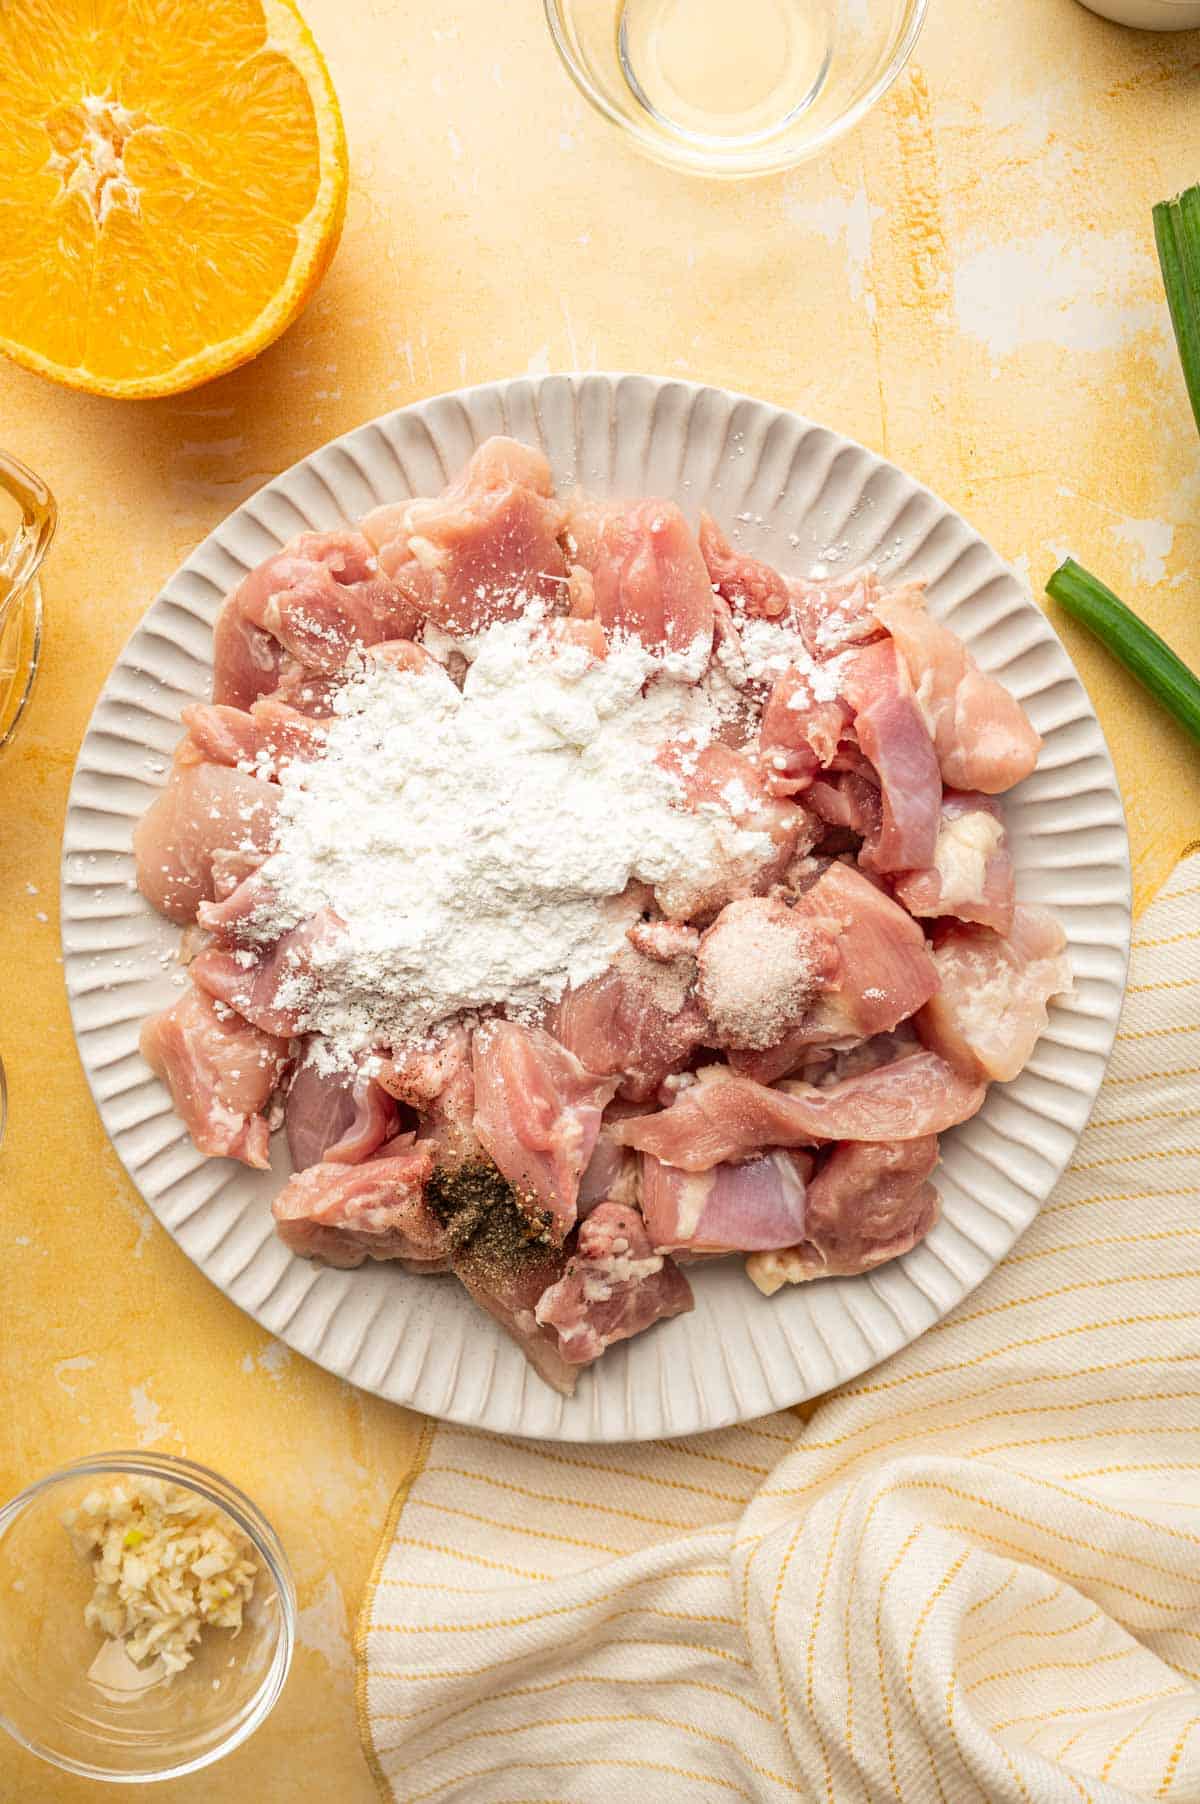
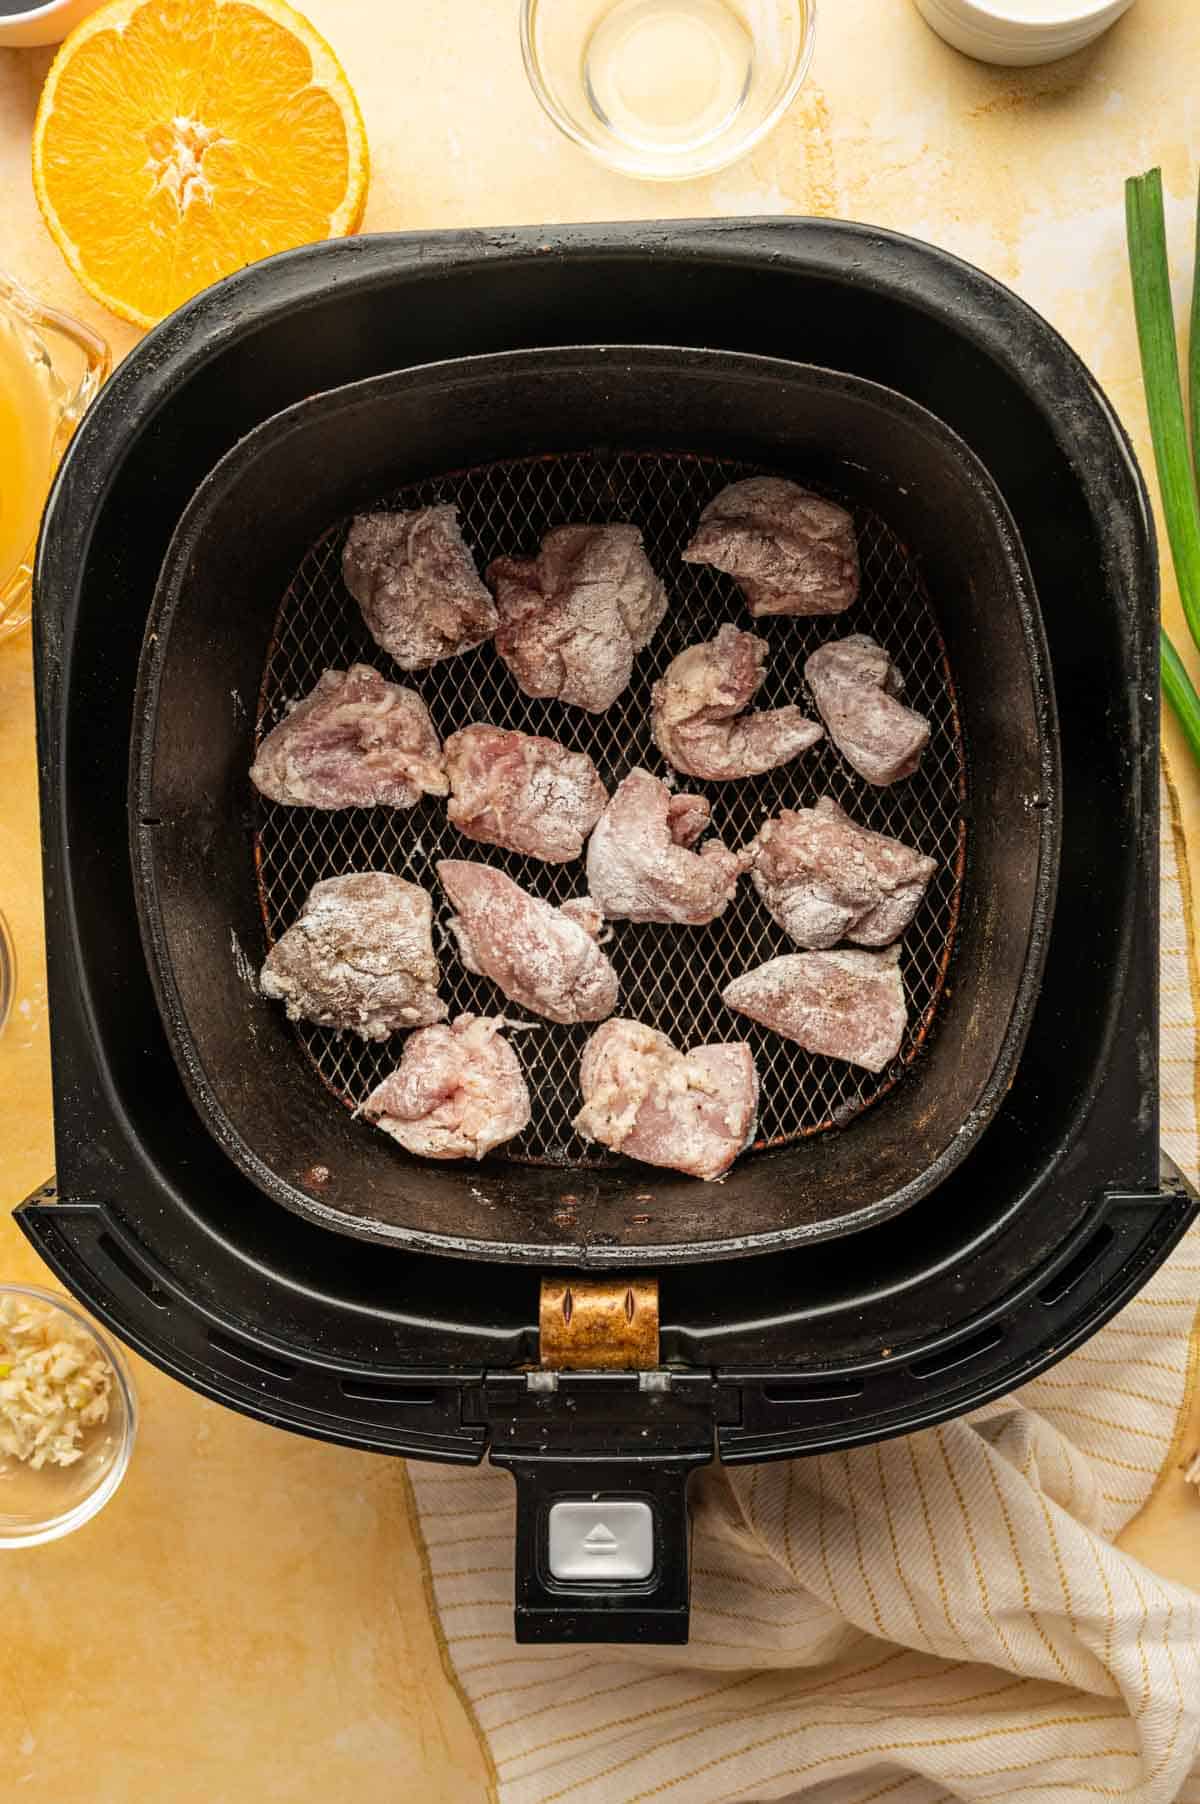
Preheat the oven to 400°F (200°C). Pat the chicken thighs dry with paper towels and place them in a large baking dish.

Drizzle with olive oil and season with salt, pepper, and paprika.
In a small bowl, whisk together the honey, garlic, soy sauce, rice vinegar/apple cider vinegar, Dijon mustard, and onion powder.
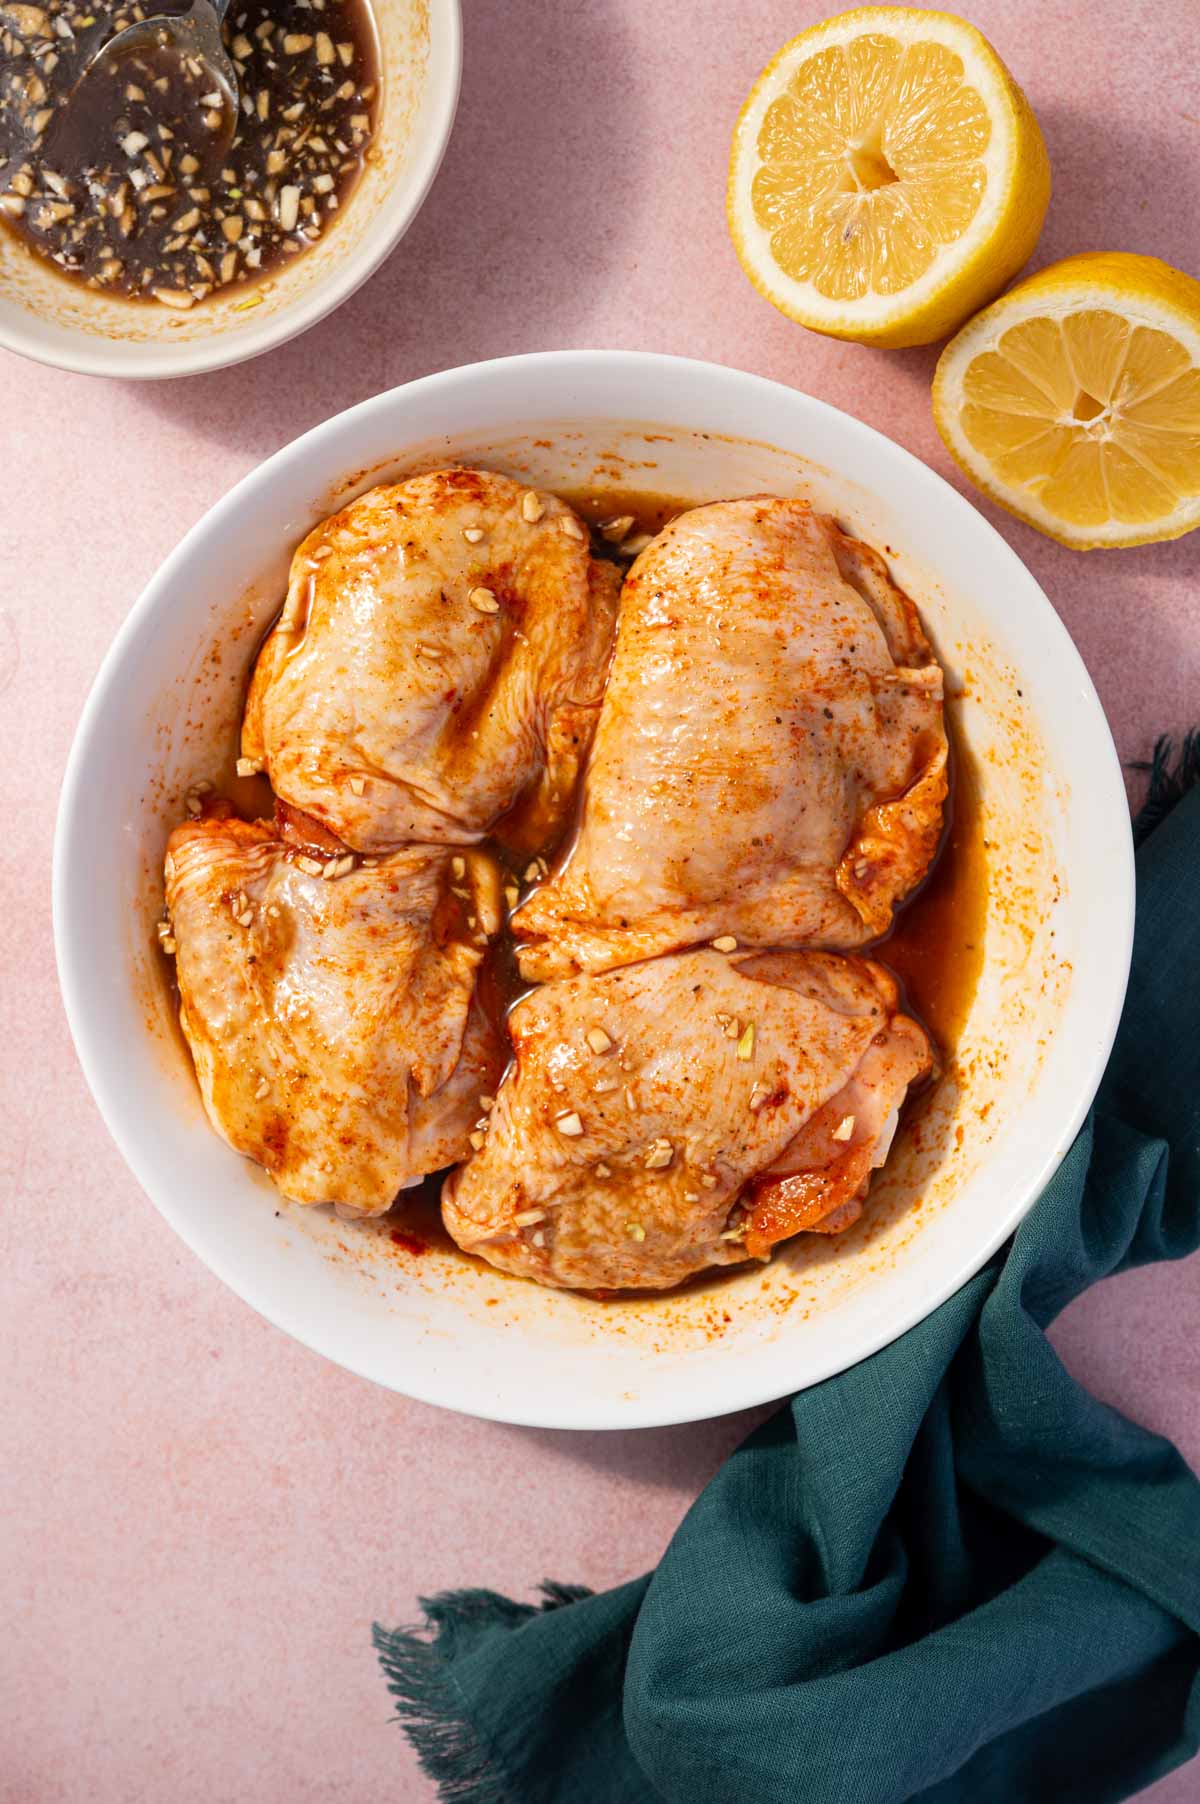
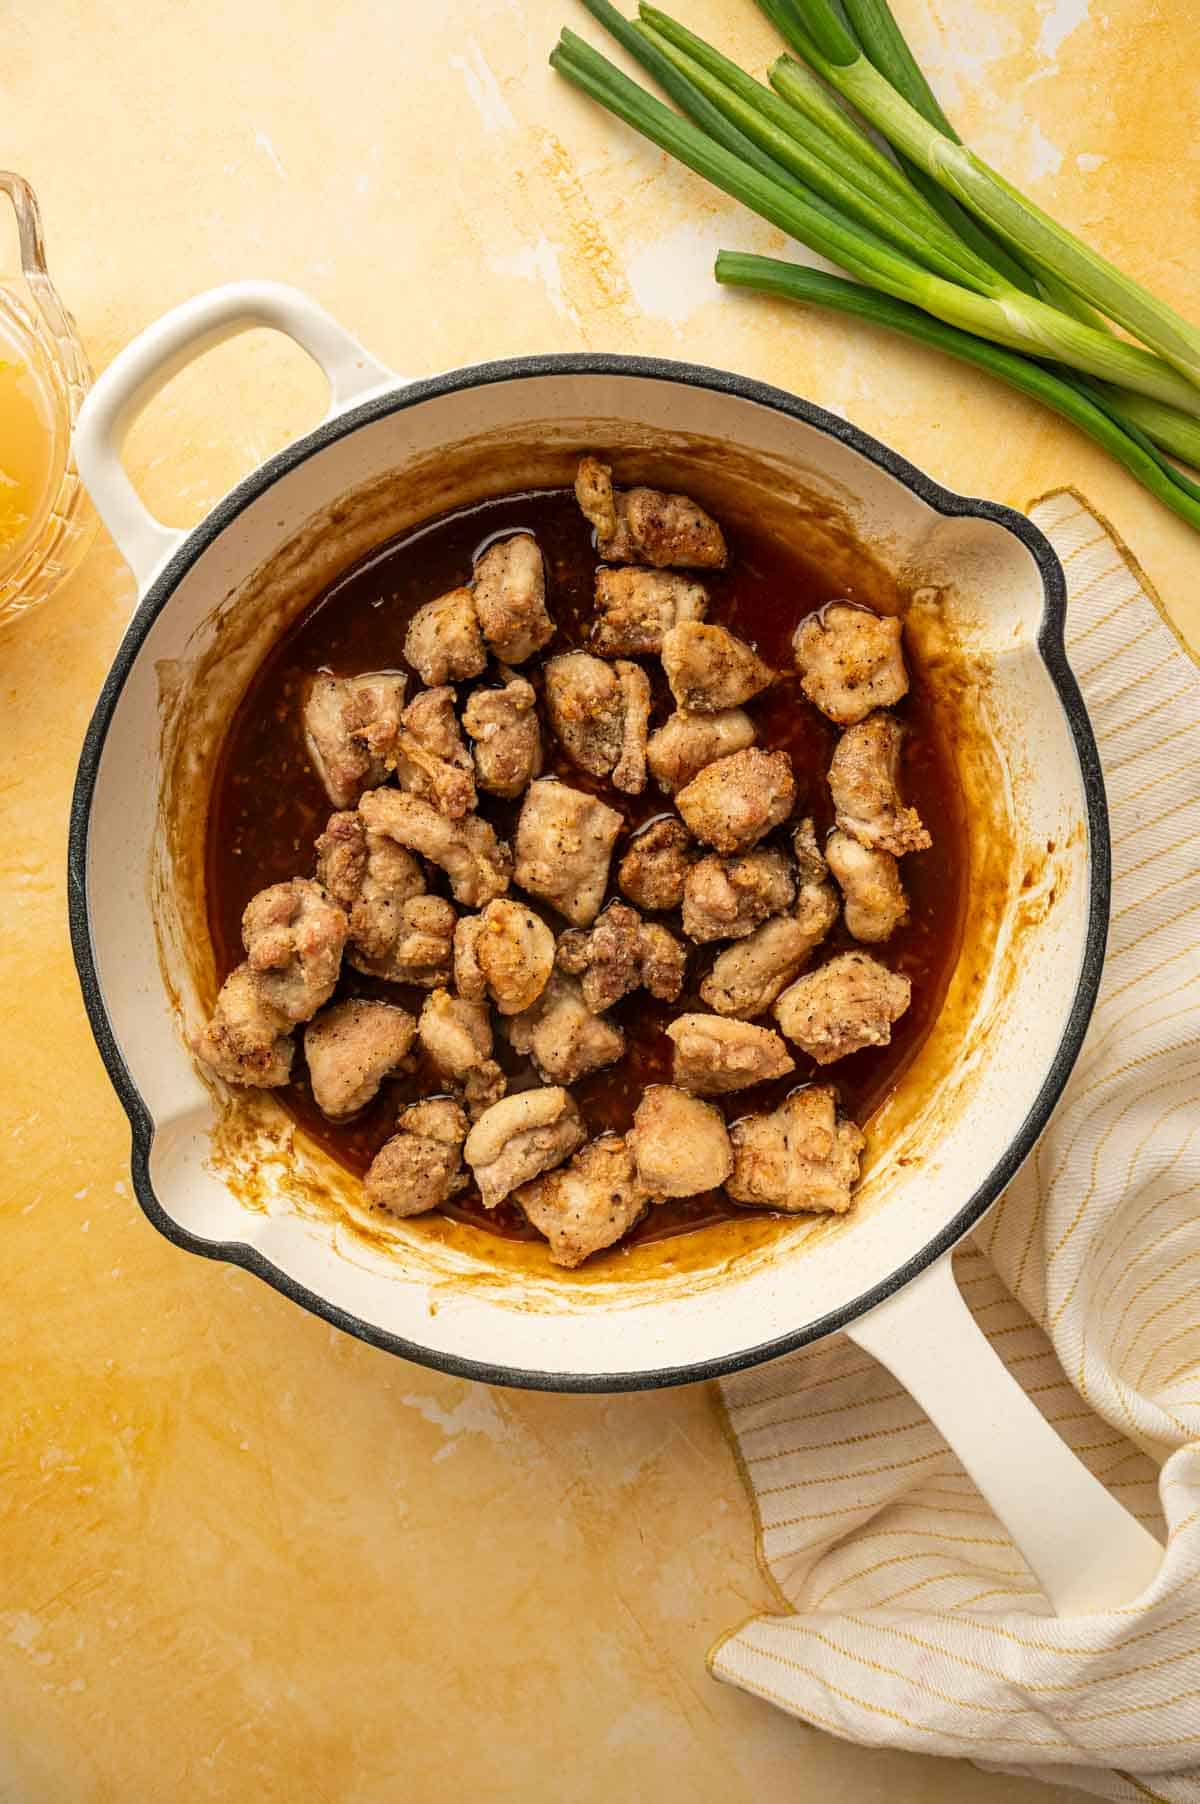
Pour the prepared sauce over the chicken thighs and turn them to coat.

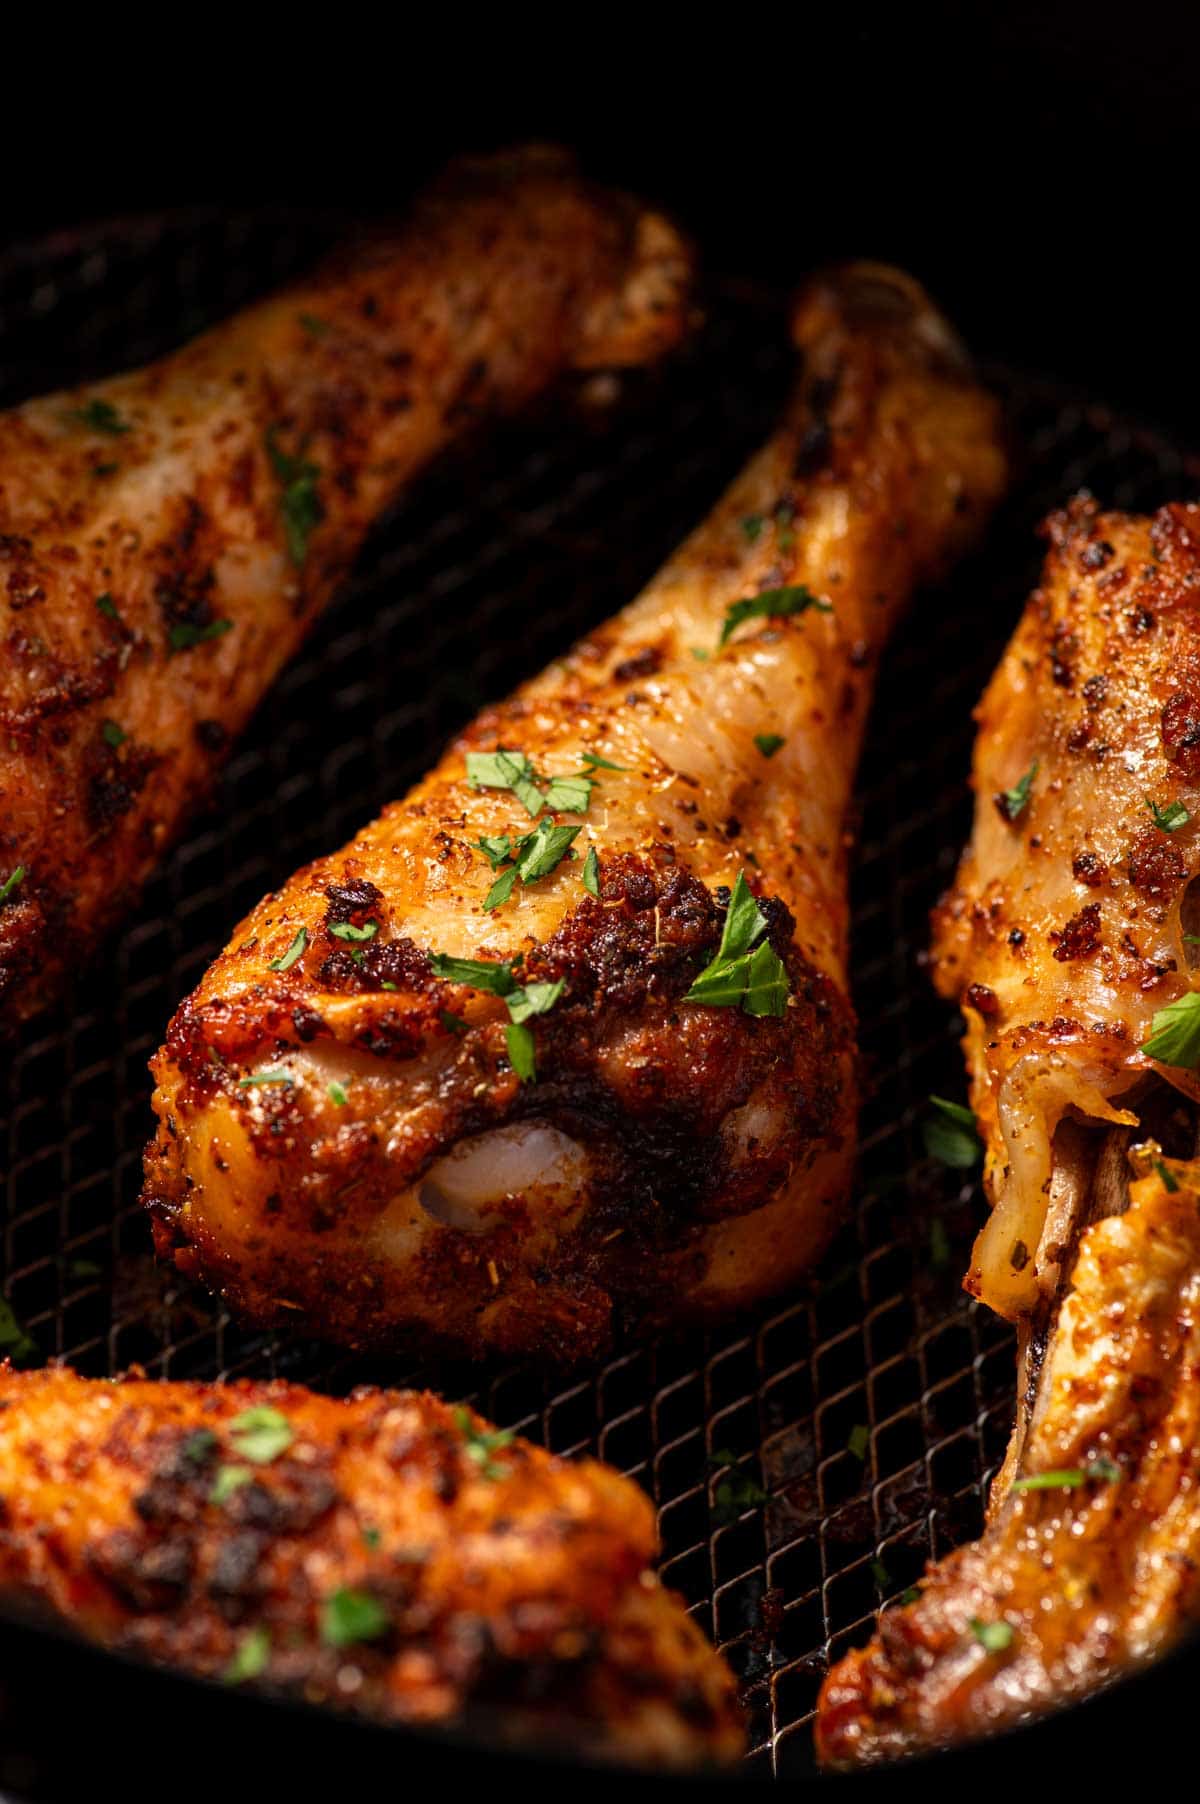
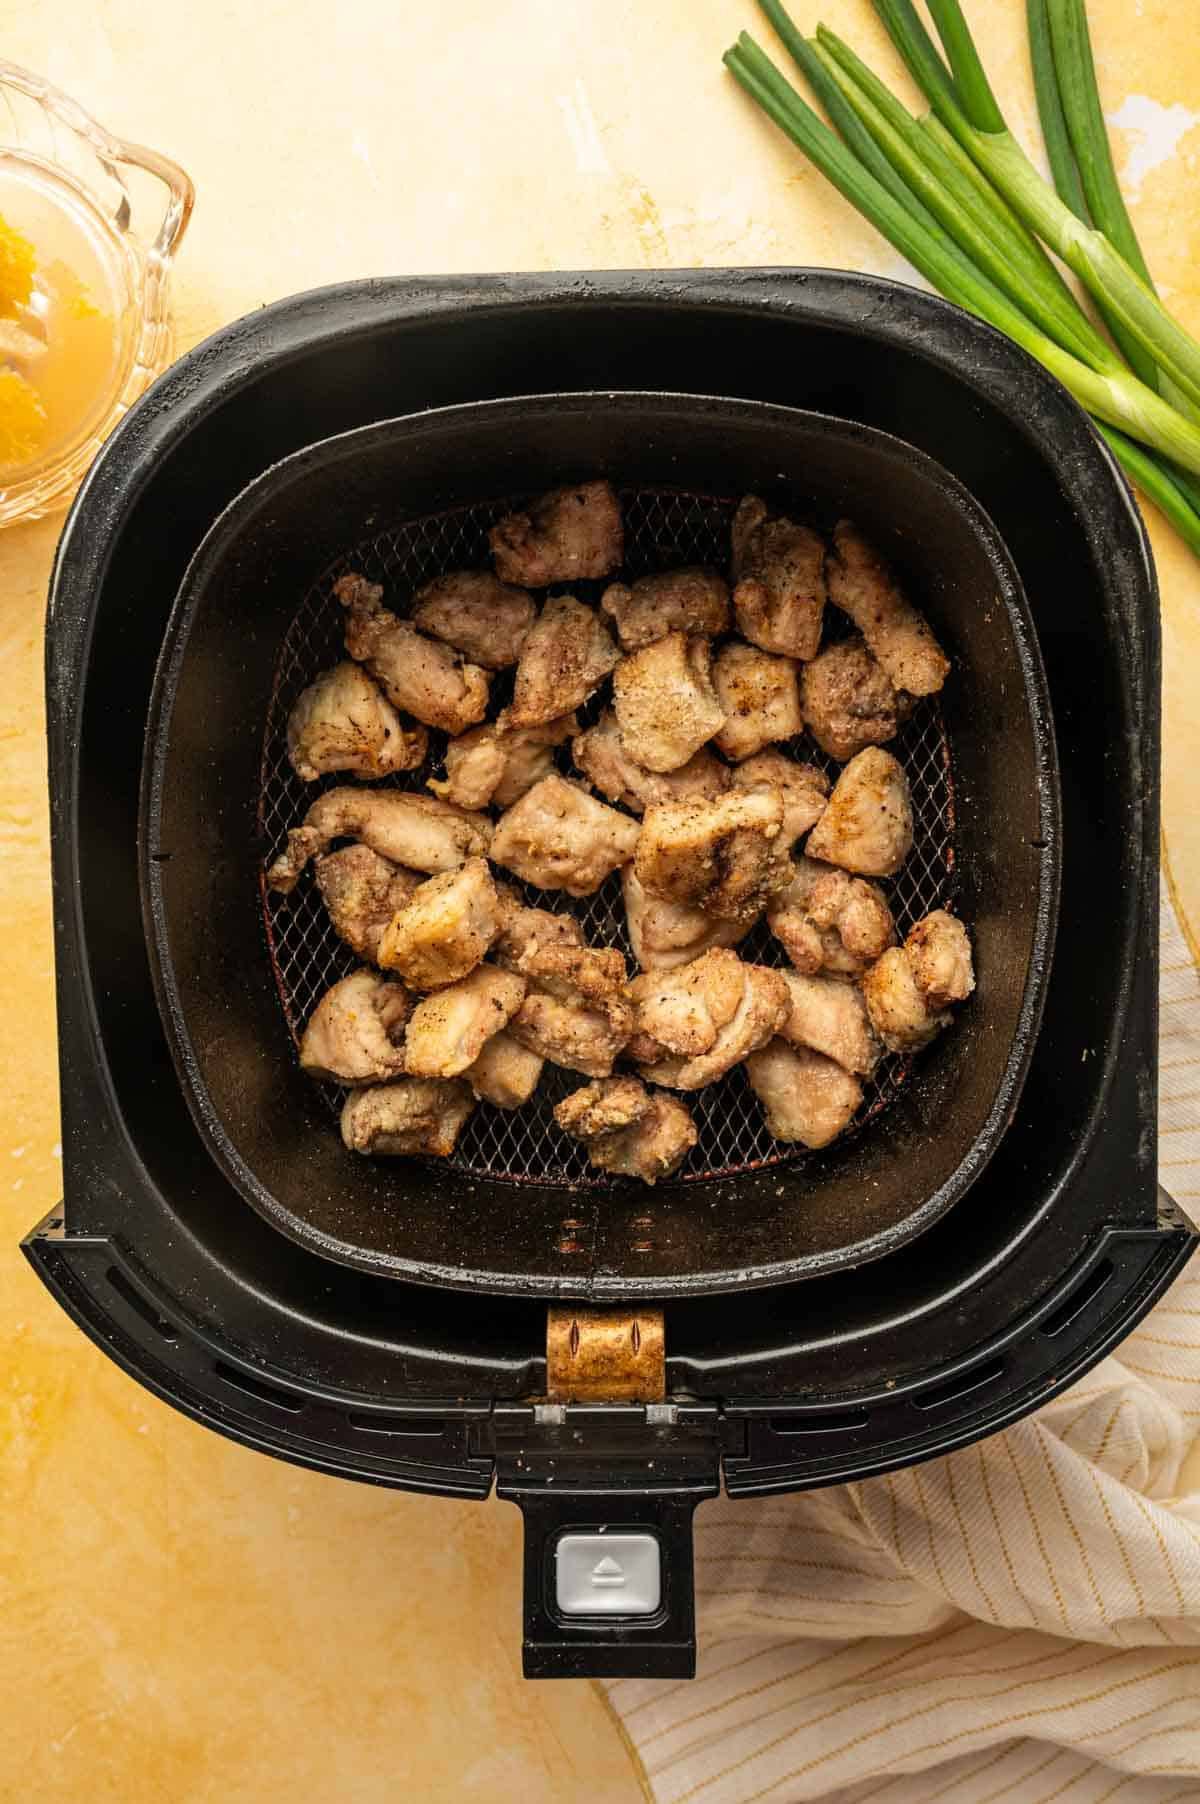
Arrange the chicken skin-side up. Bake for 35–40 minutes, basting once halfway through cooking.
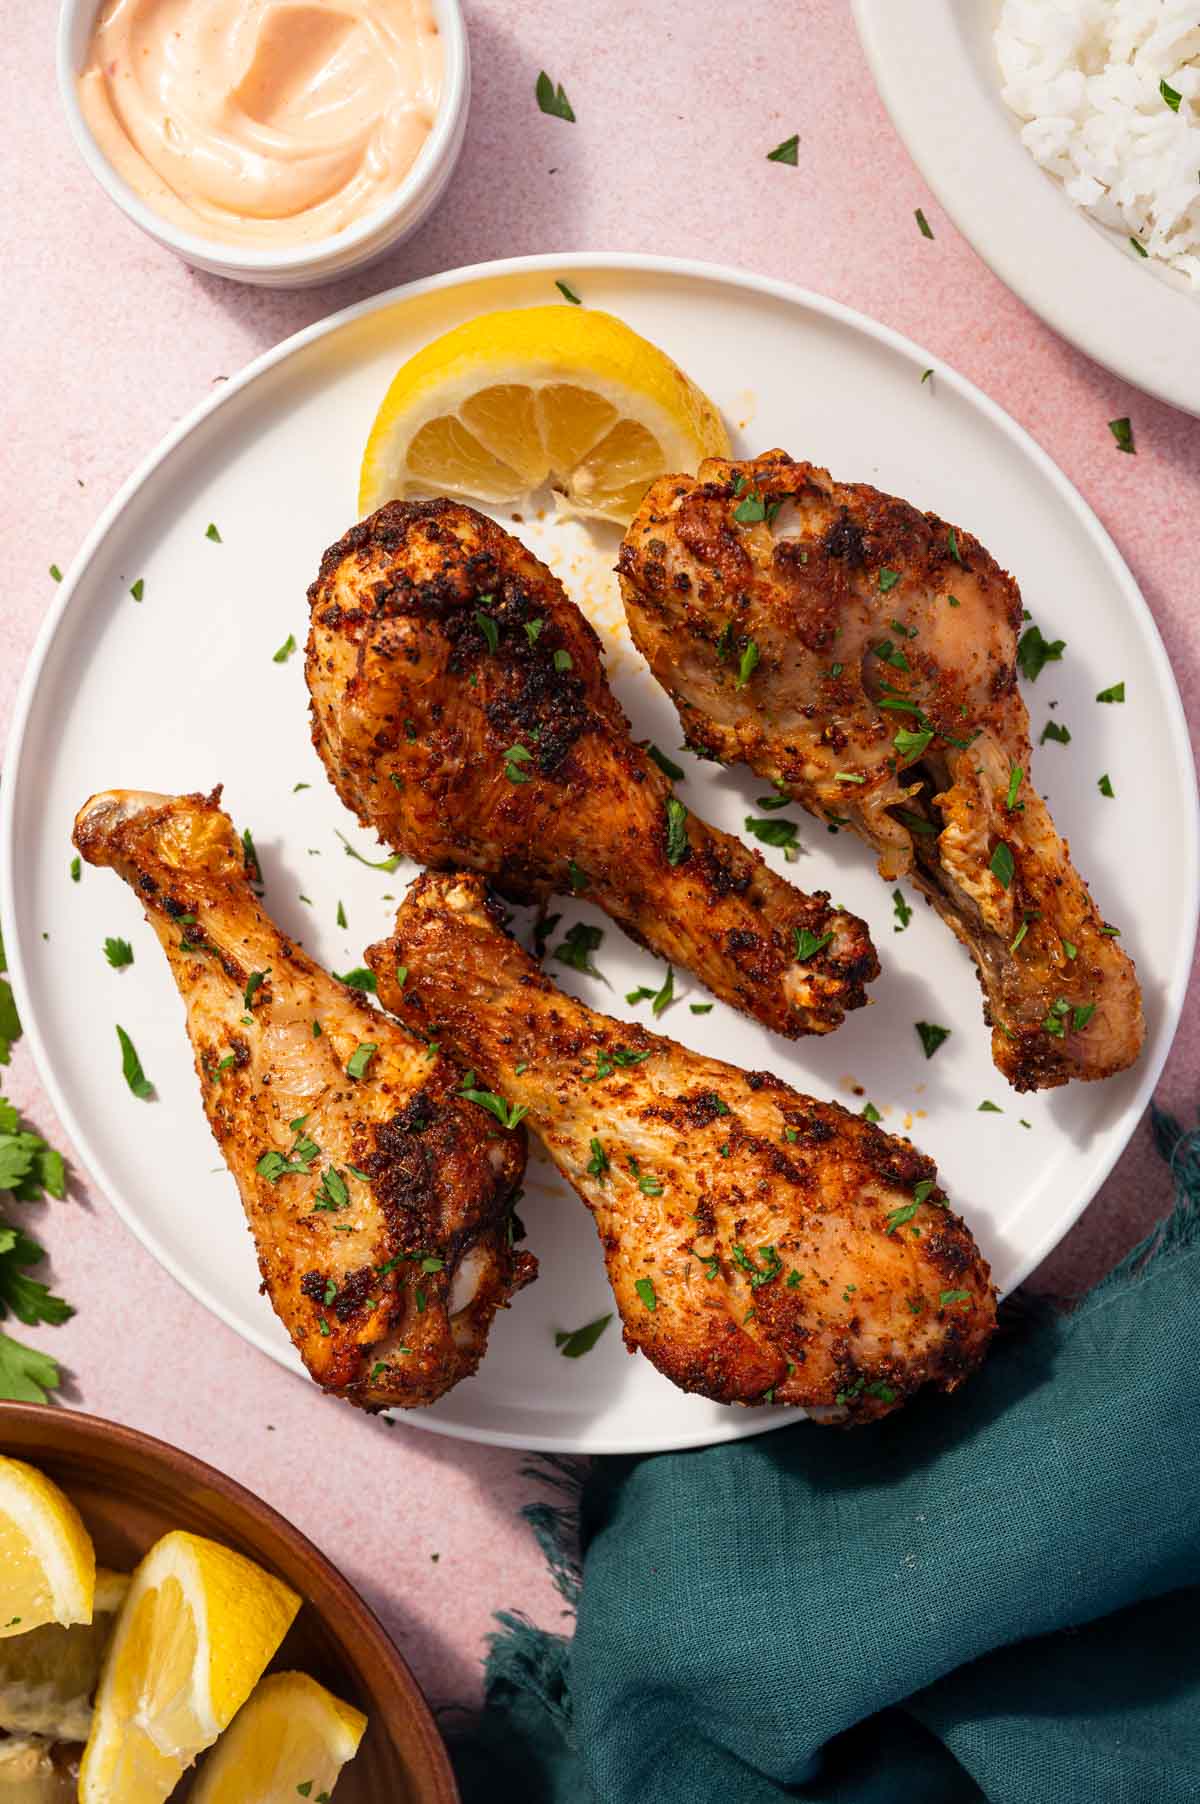
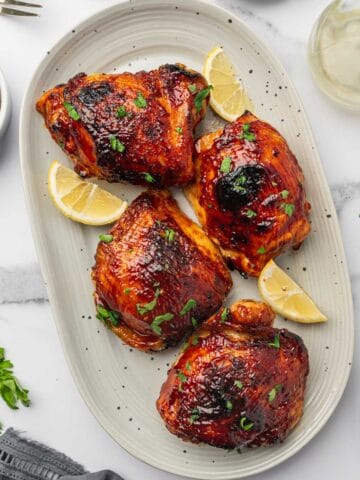
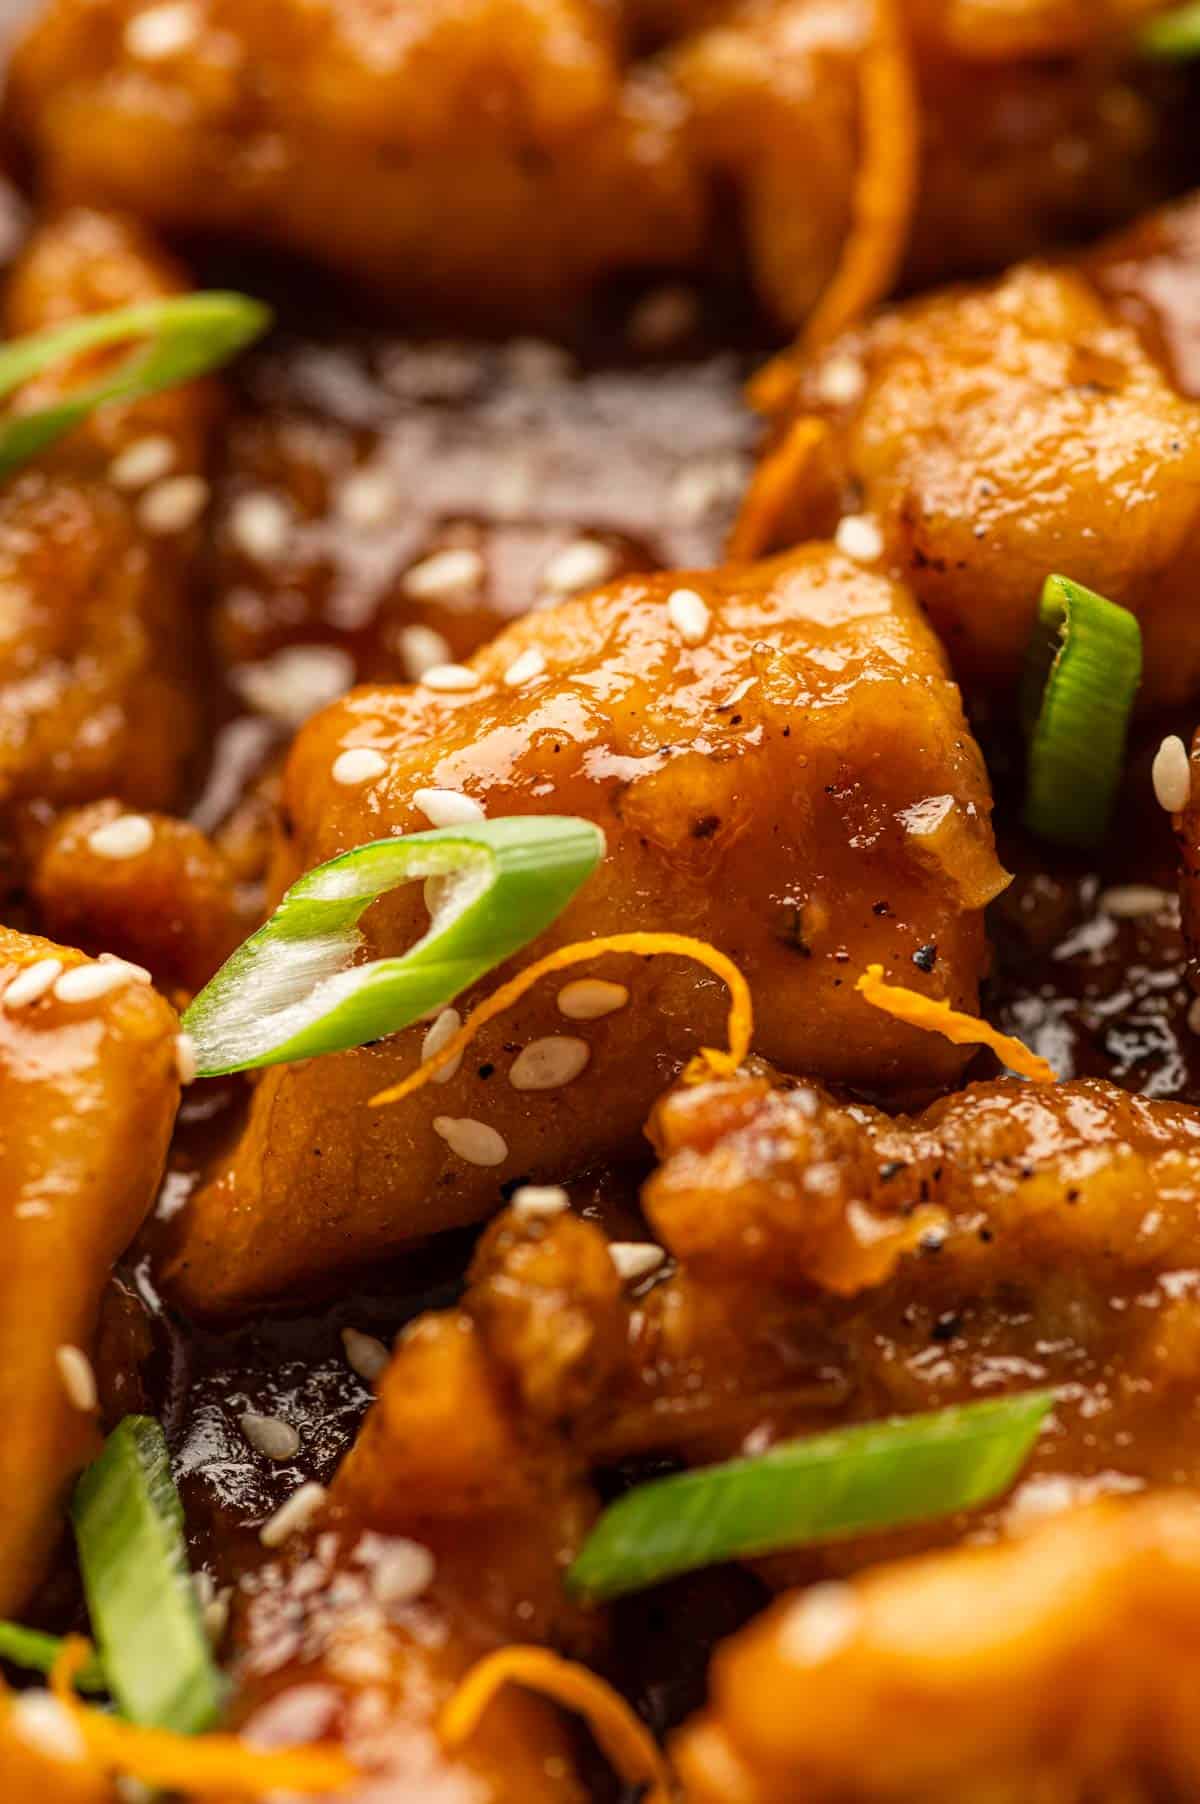
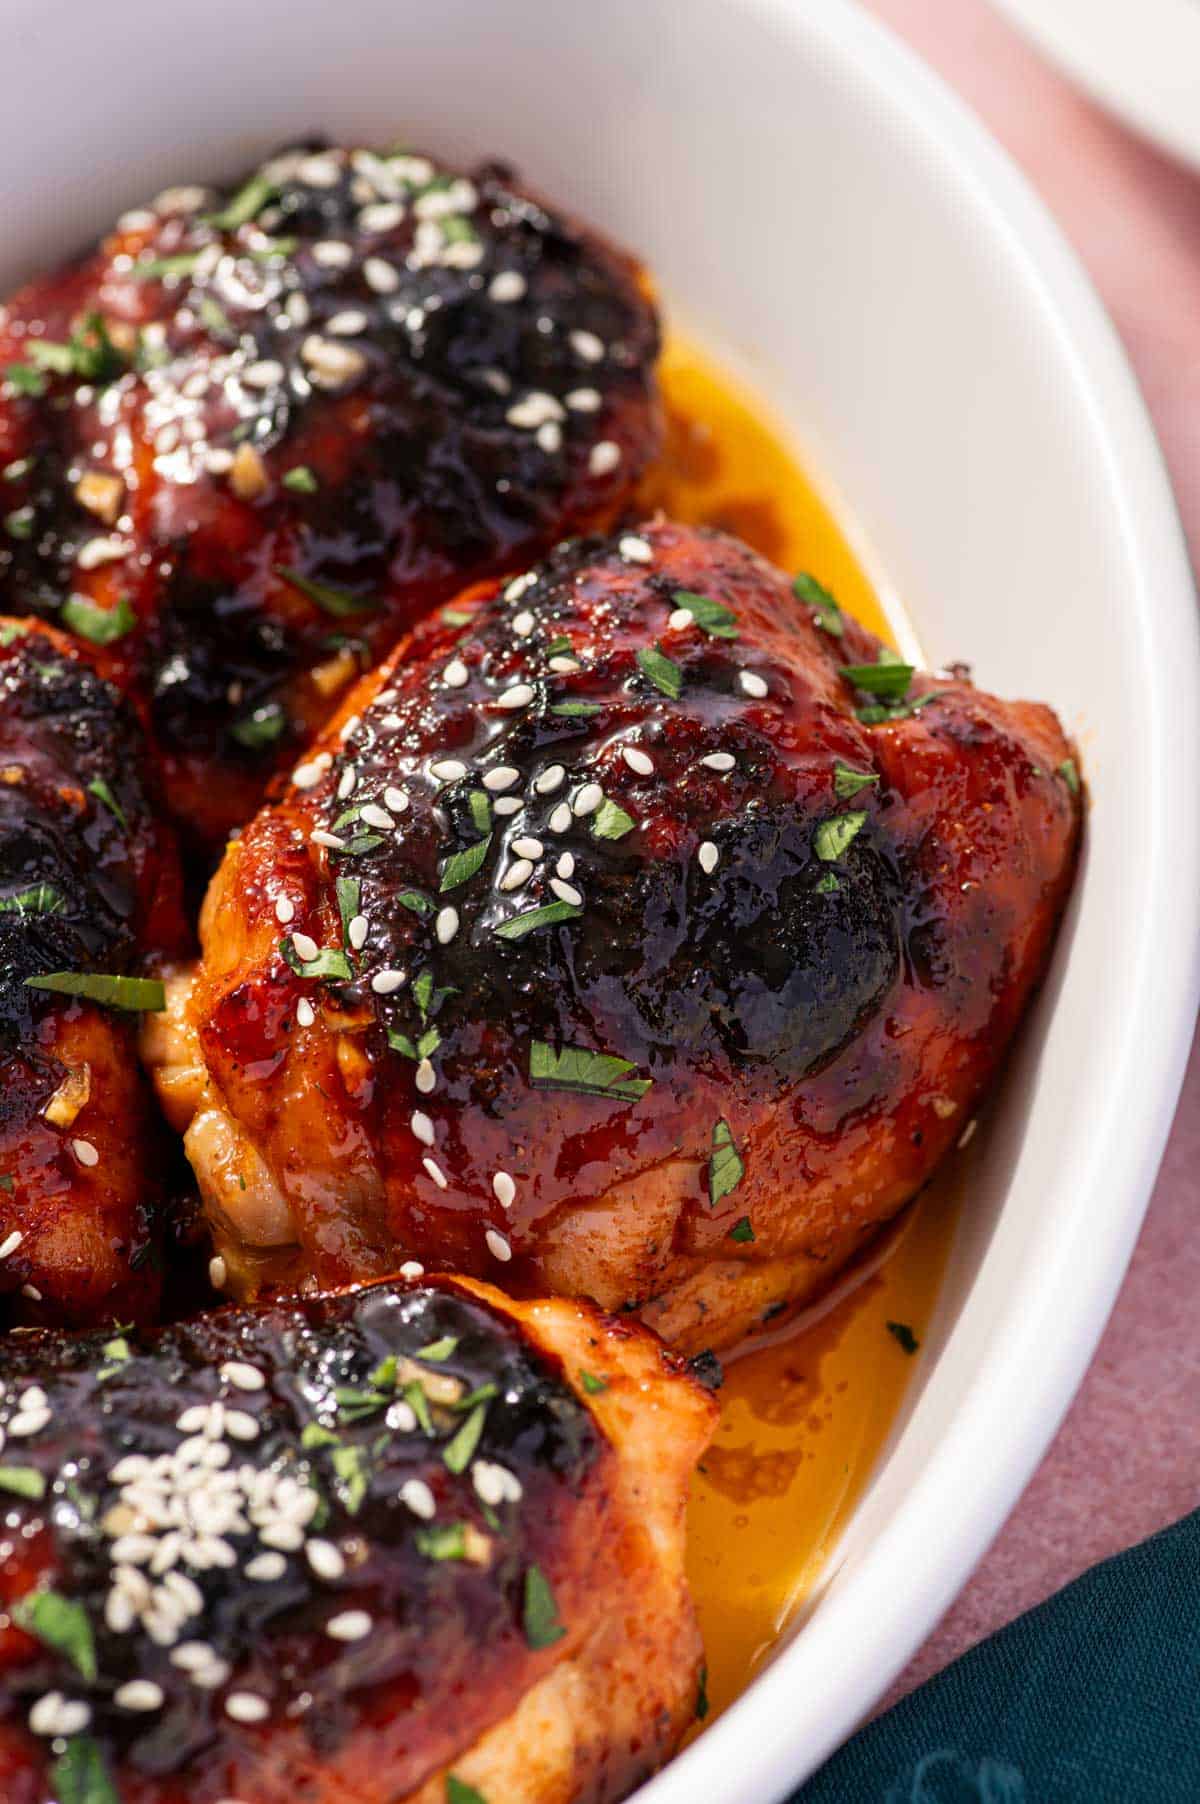
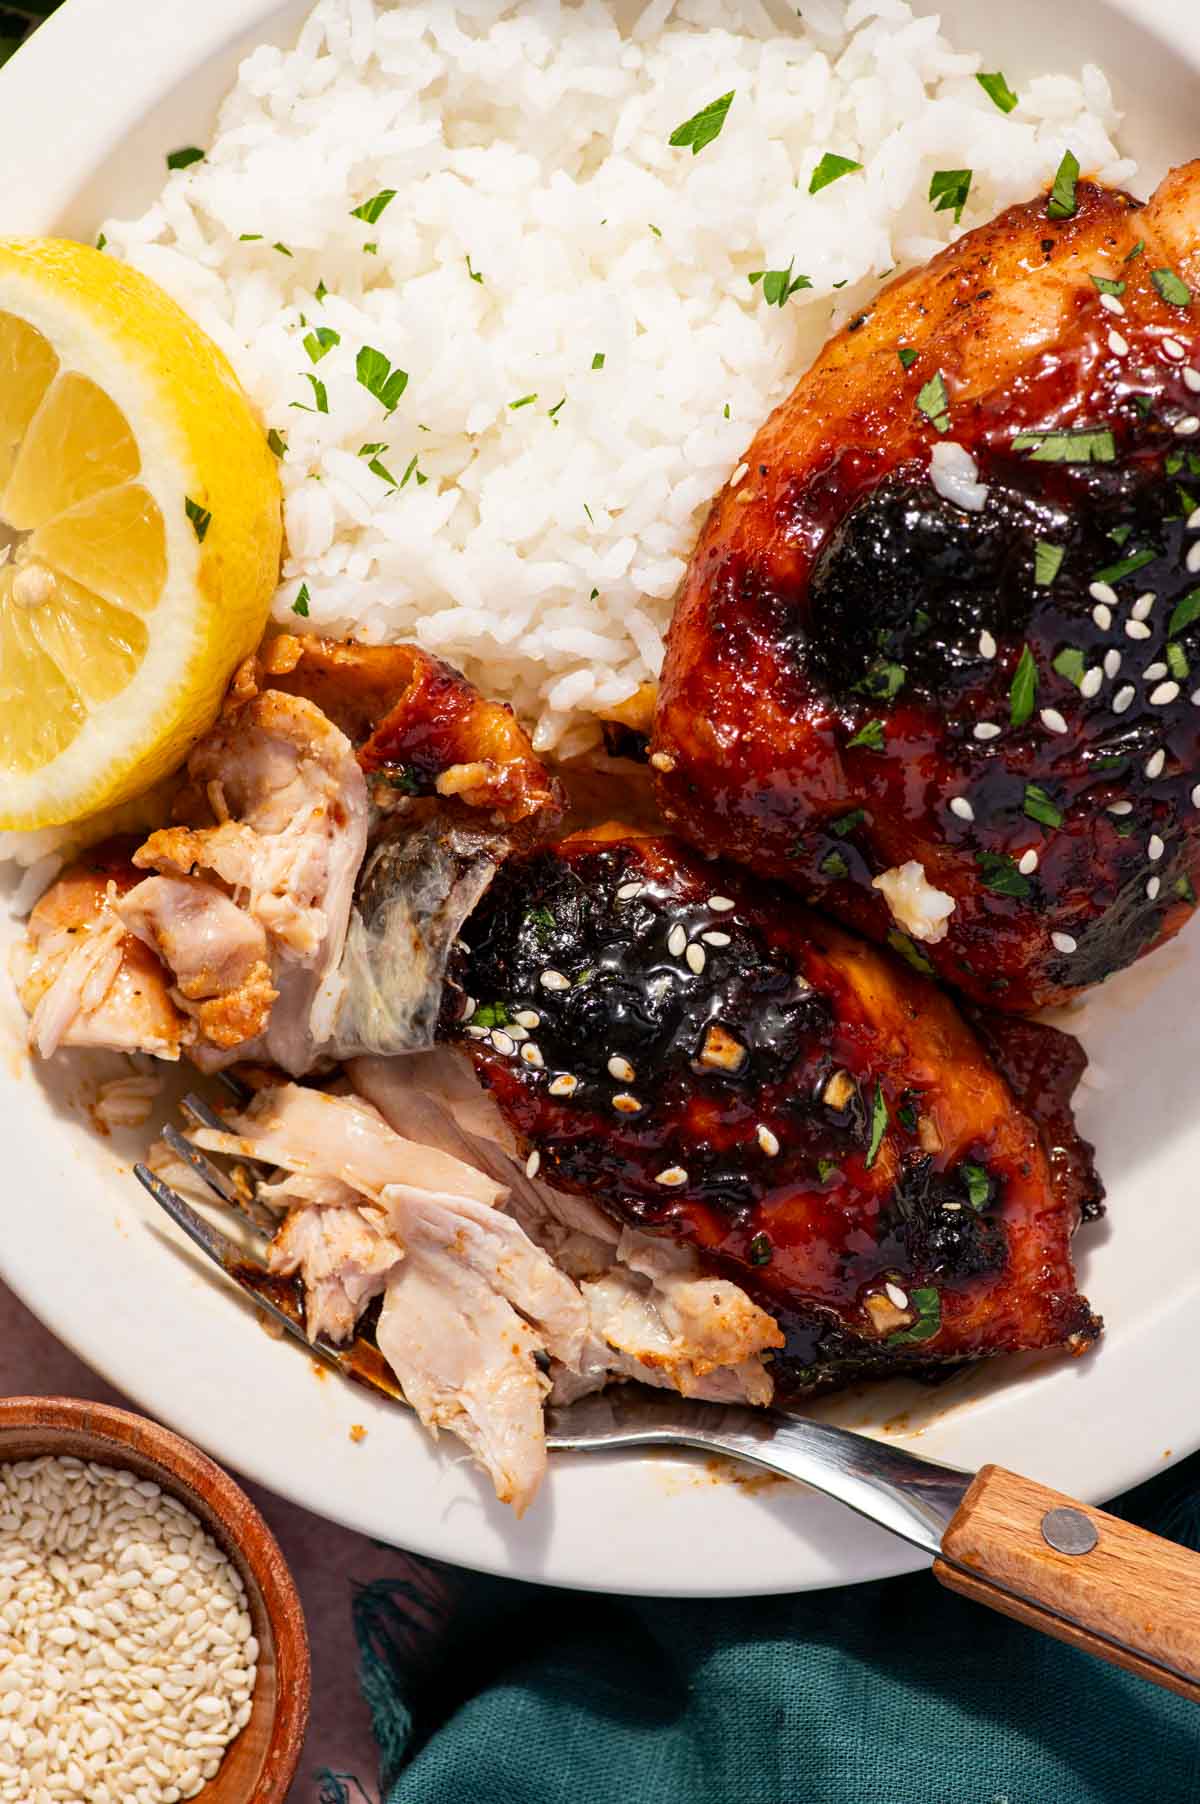
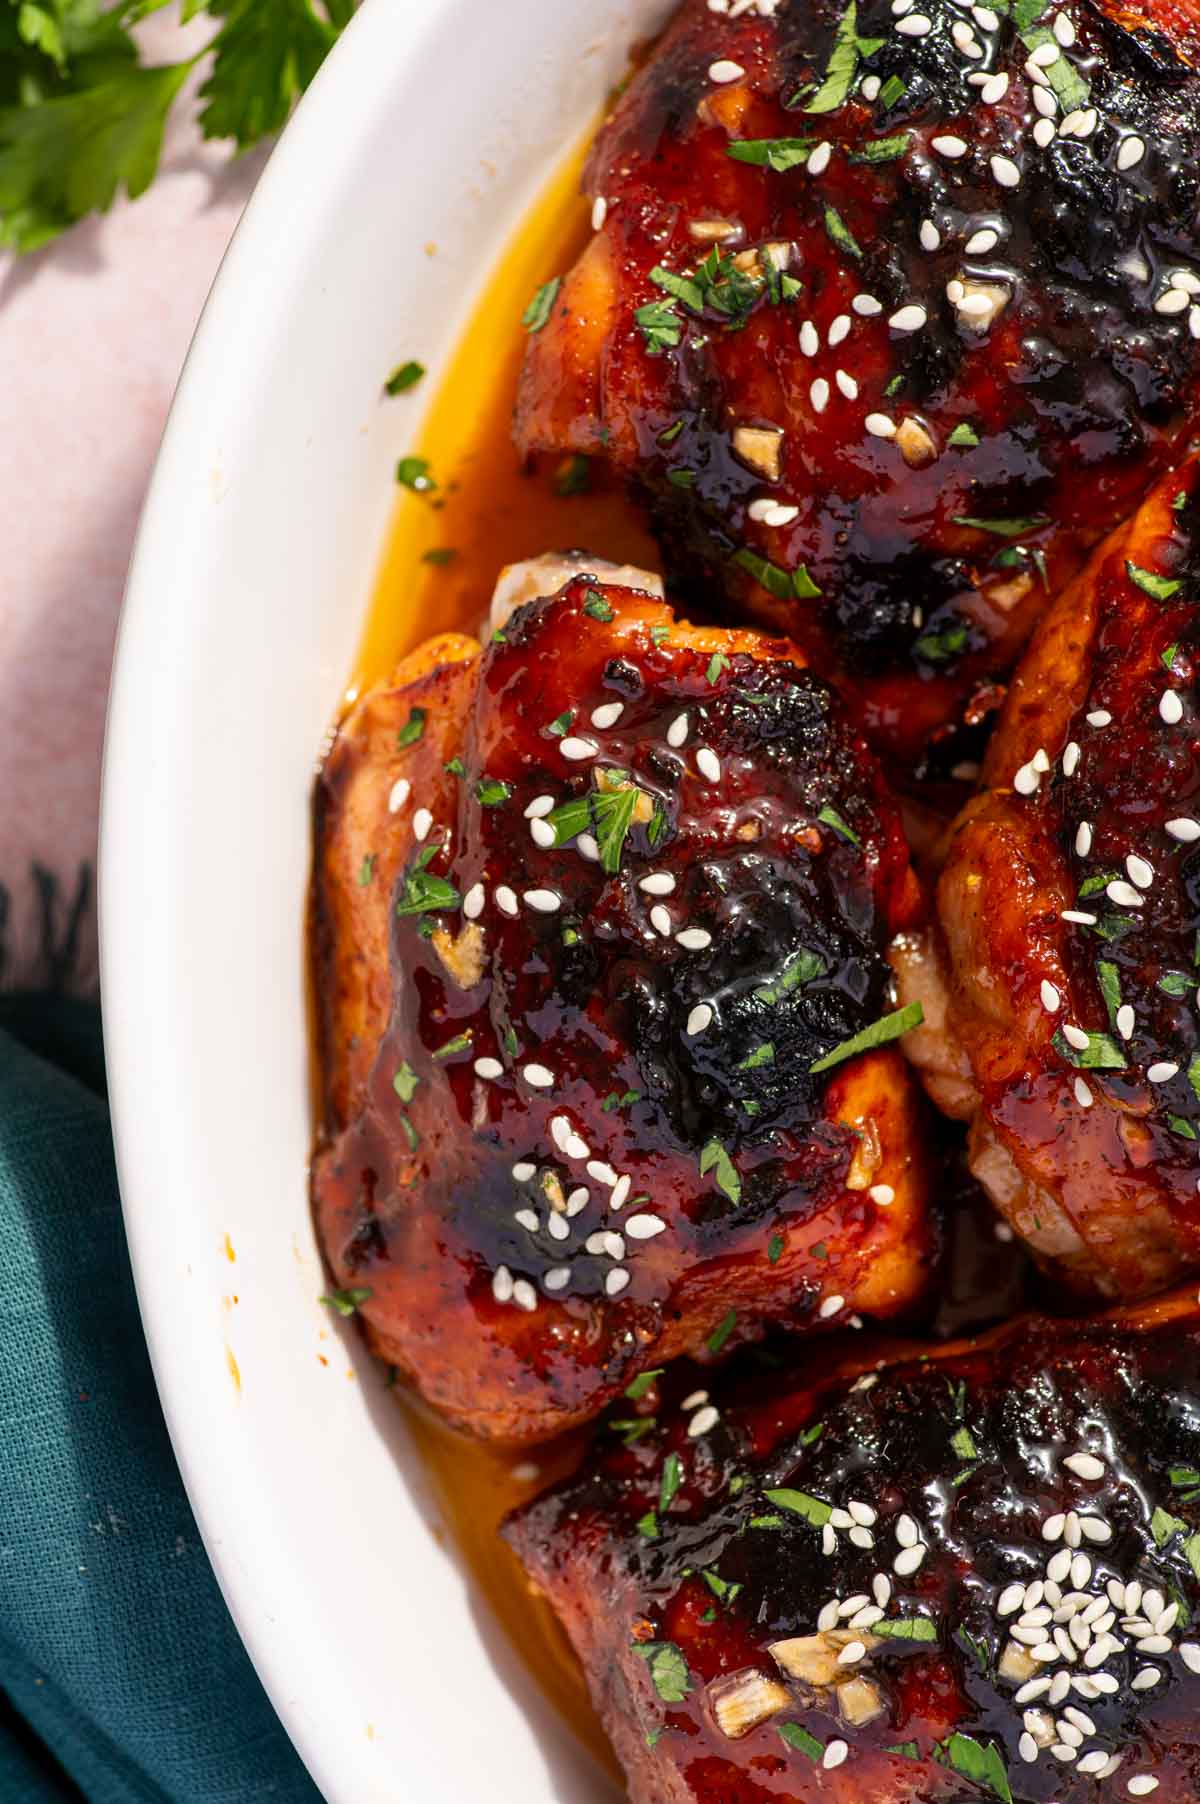
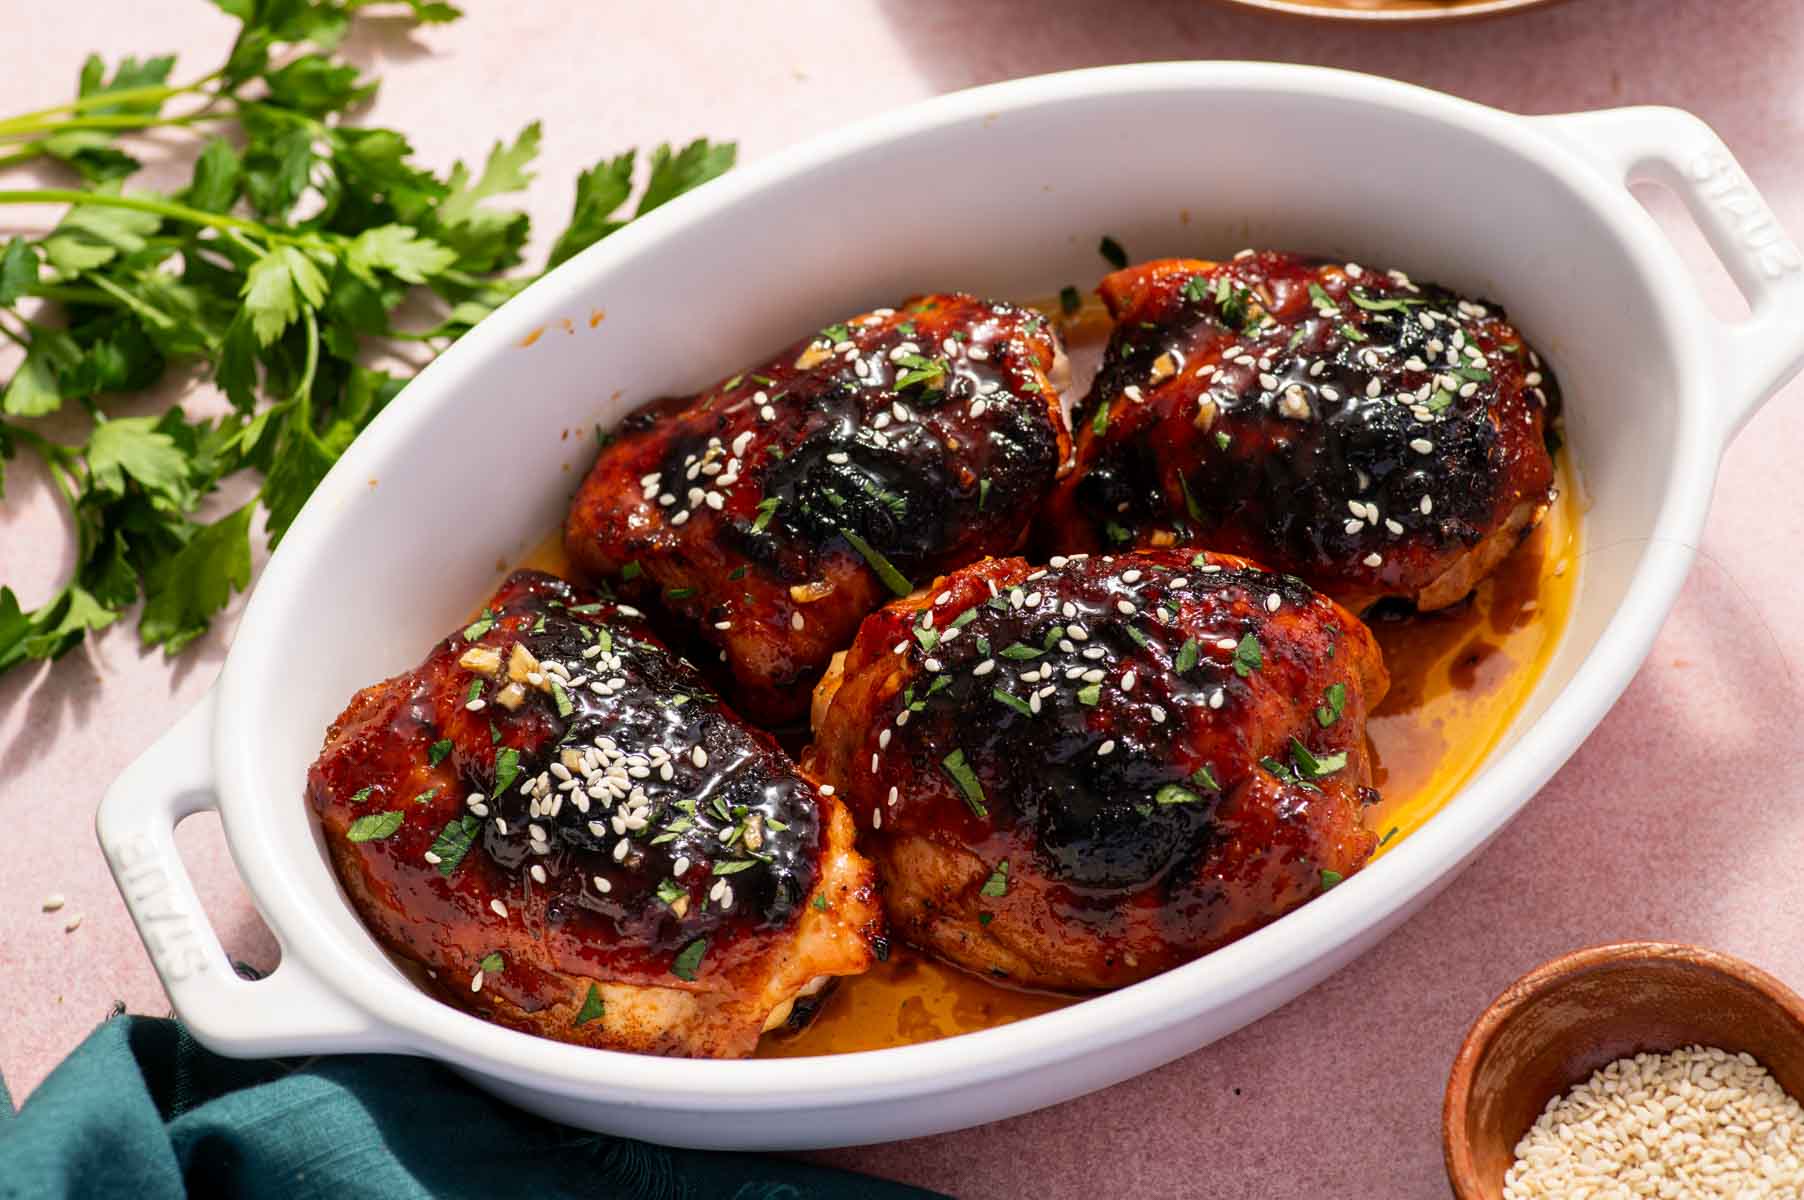
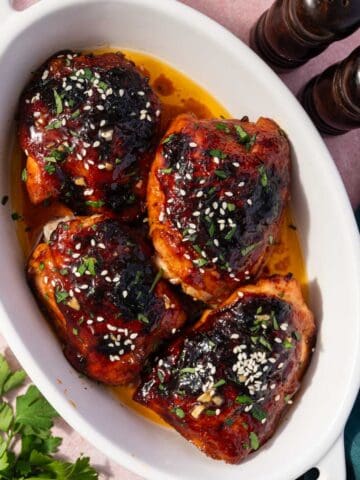
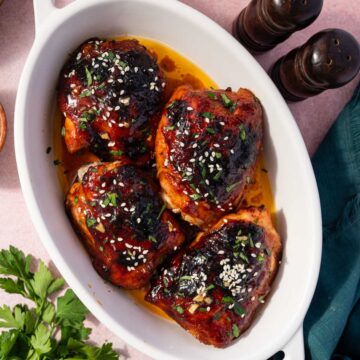
Bake the honey garlic chicken thighs until they reach an internal temperature of 175°F–185°F and the skin is beautifully golden brown. For an extra sticky, caramelized glaze, switch the oven to broil during the last 2–3 minutes, keeping a close eye on the chicken to prevent the honey from burning. Once out of the oven, brush the thighs with the reserved honey garlic sauce for an extra layer of flavor and shine. Finish with a sprinkle of chopped fresh parsley and sesame seeds, then serve immediately while the chicken is hot, juicy, and perfectly glazed.
Hint: For the best flavor and caramelization, broil the chicken for the last 2–3 minutes, then brush it with the reserved honey garlic sauce just before serving.

Variations
- Spicy Honey Garlic Chicken Thighs - If you enjoy a little heat, add ½ teaspoon to 1 teaspoon of red pepper flakes or a spoonful of chili garlic sauce to the glaze. The spice pairs beautifully with the sweetness of the honey.
- Ginger Sesame Honey Garlic Chicken - Add 1 teaspoon of freshly grated ginger and a drizzle of sesame oil to create a deeper, more aromatic Asian-inspired version. Sprinkle sesame seeds on top before serving.
- Boneless Honey Garlic Chicken - Boneless chicken thighs can be used when you need a faster meal. Reduce the cooking time and check the temperature earlier because they cook more quickly than bone-in pieces.
Equipment
Baking tray or sheet pan: Used to place the chicken thighs for baking. Lining it with aluminum foil or parchment paper makes for easier cleanup.
Aluminum foil or parchment paper: To line the baking tray for easy cleanup and prevent sticking.
Large bowl: To prepare the honey garlic sauce.
Serving Suggestions
These honey garlic chicken thighs have plenty of sauce, so serve them with sides that can soak up every last drop.
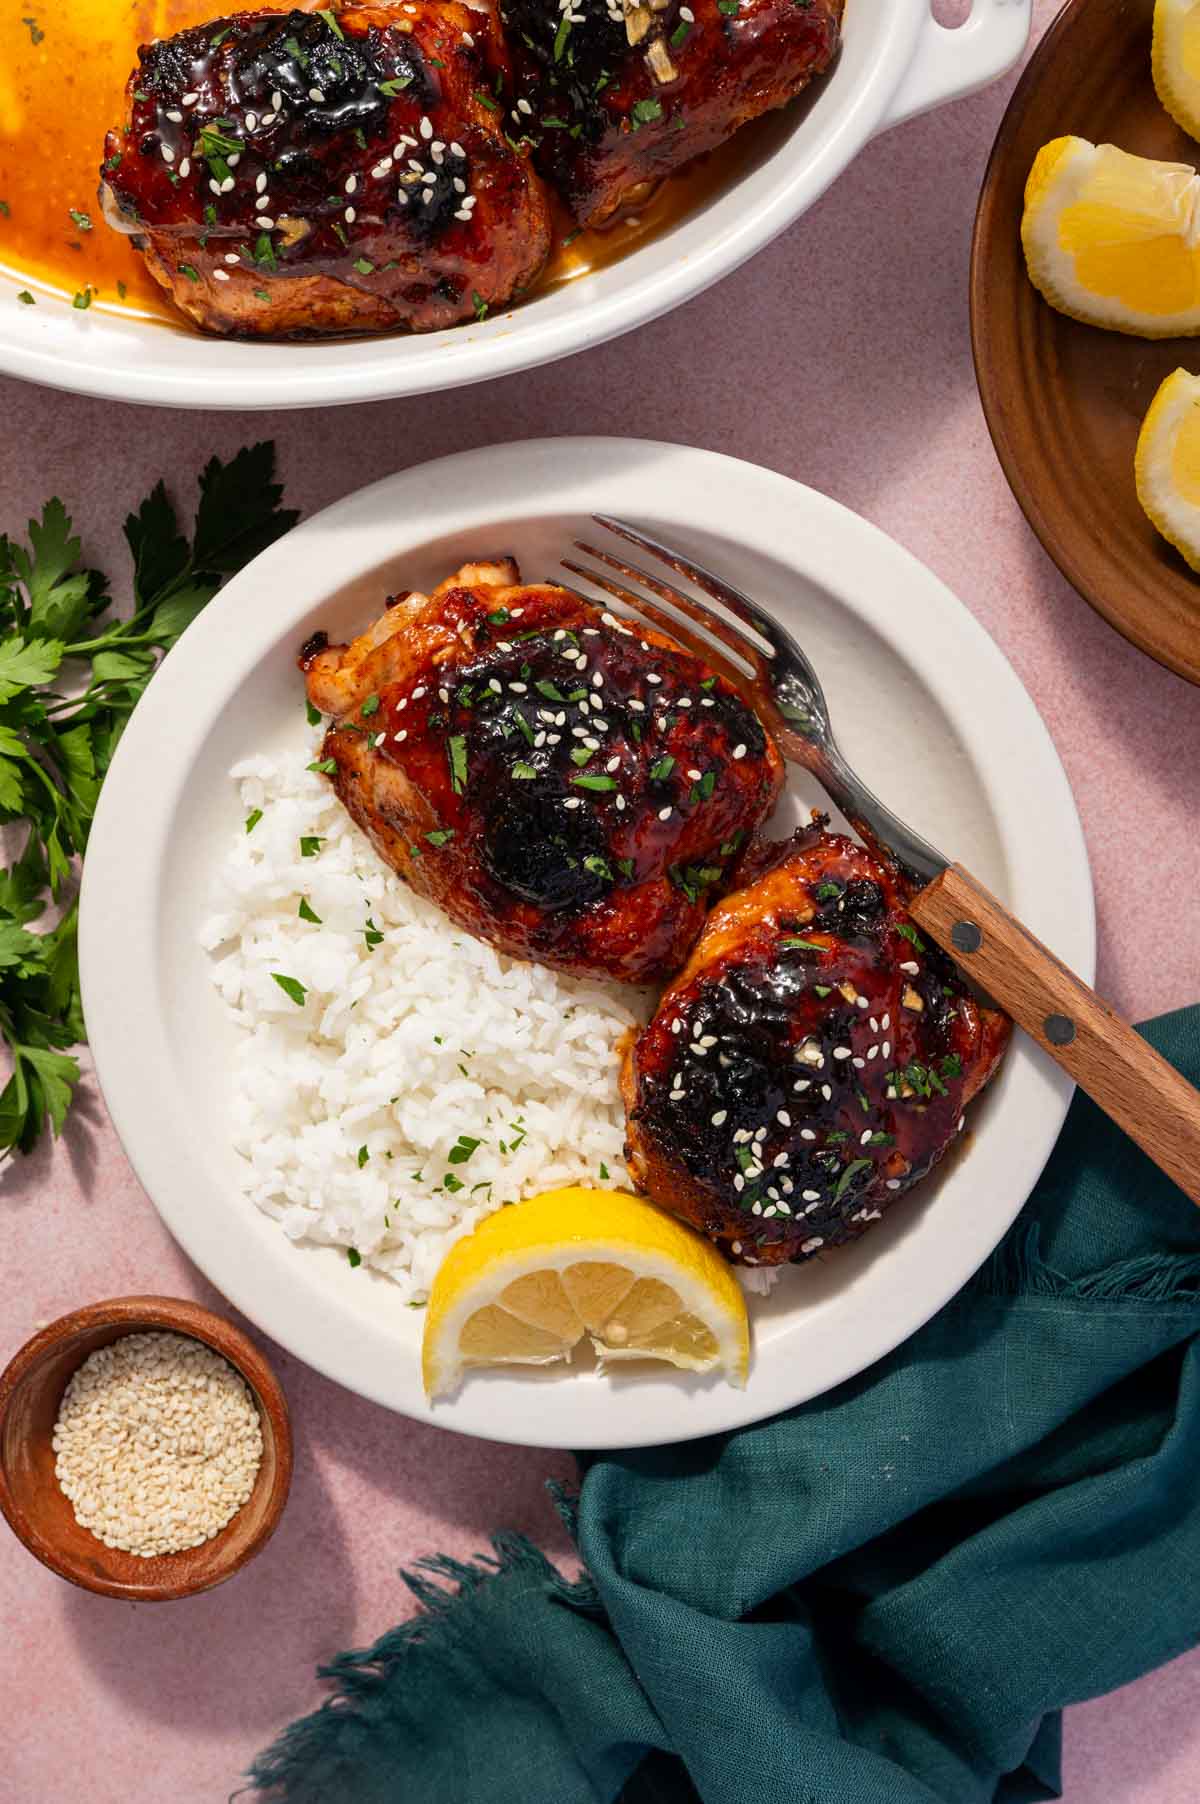
With Rice: Serve with steamed jasmine or basmati rice for a fulfilling meal. Try my orange chicken and rice for the recipe for rice.
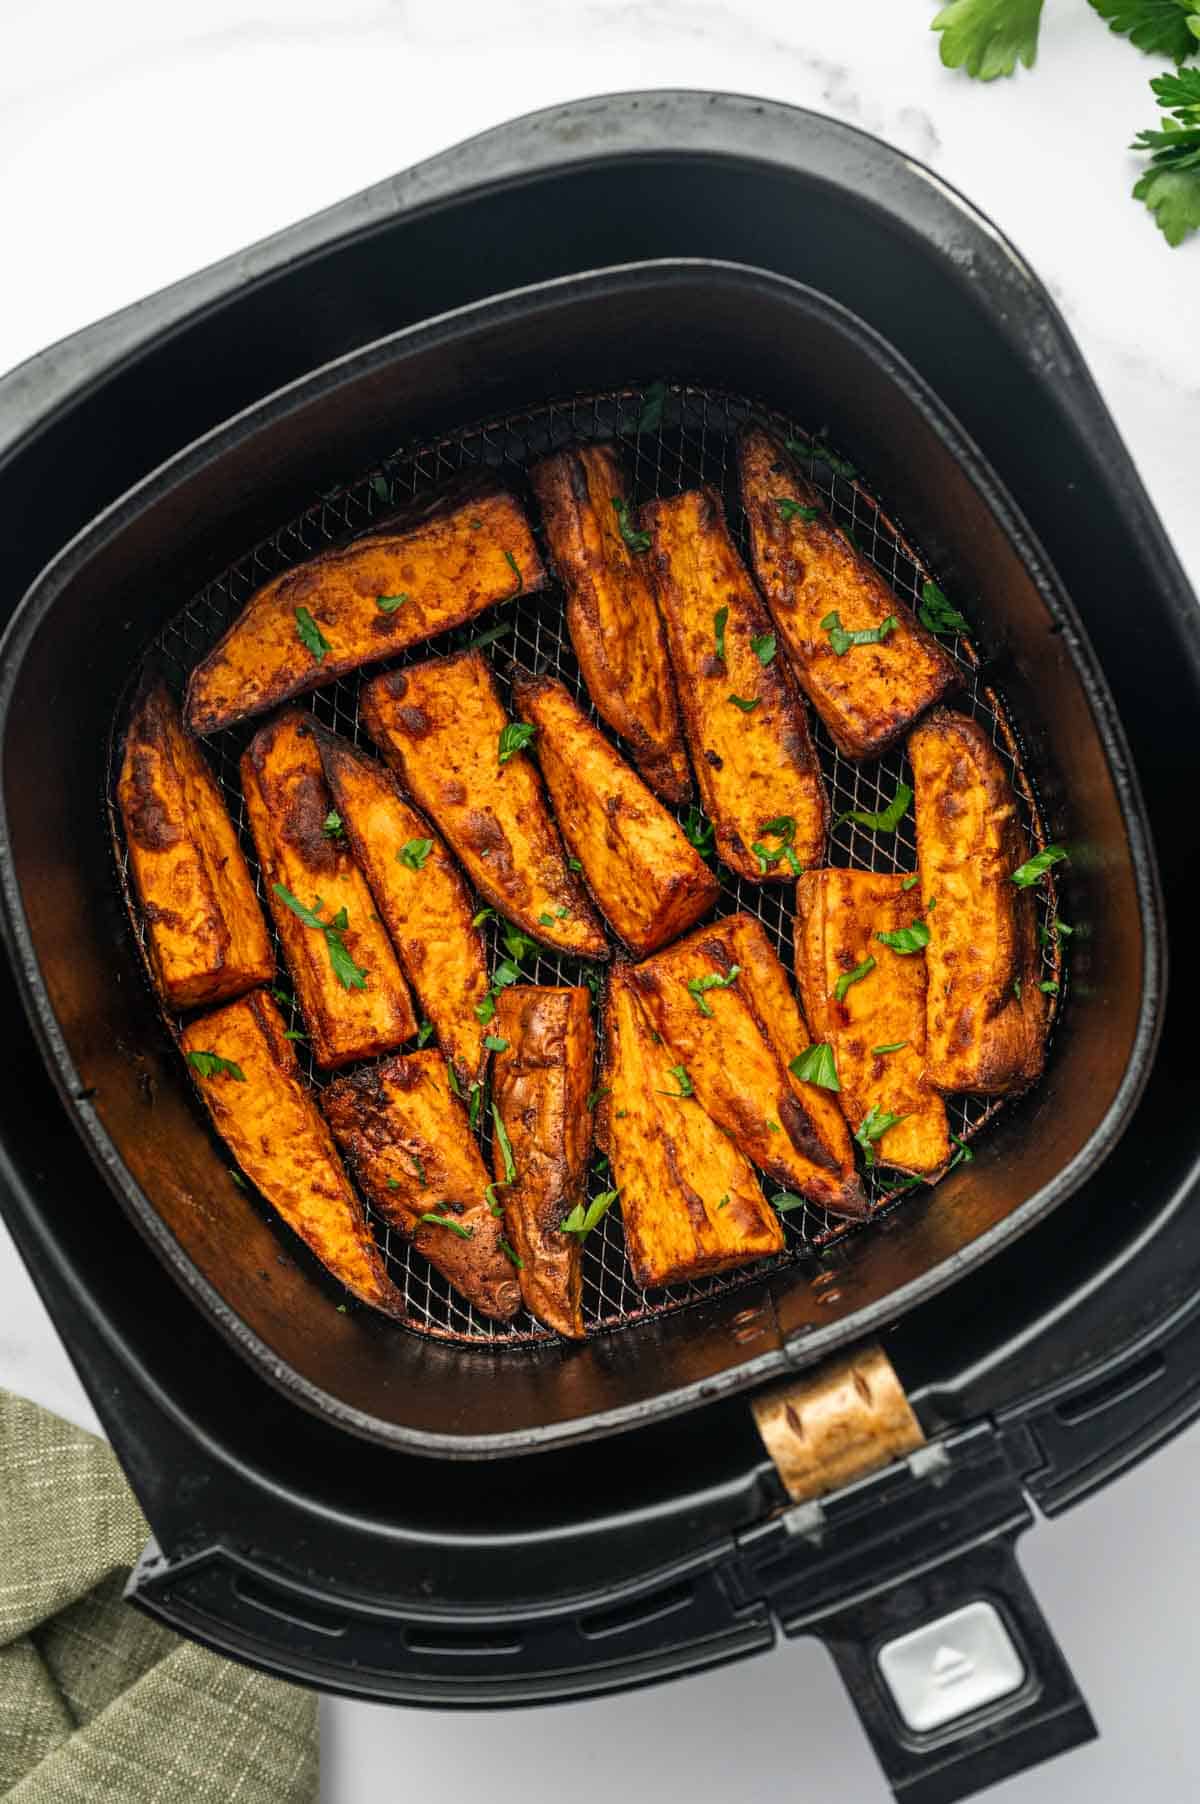
With Potatoes: You can also serve this sticky honey garlic chicken with Cheesy Mashed Potatoes, Air Fryer Sweet Potato Cubes, or Potato Wedges.
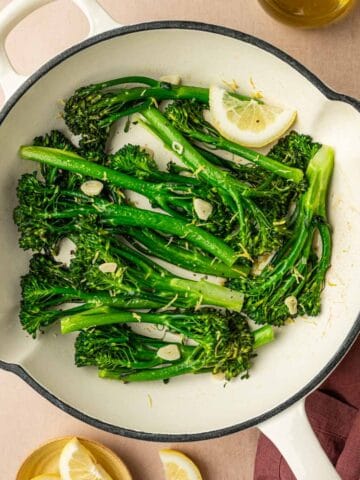
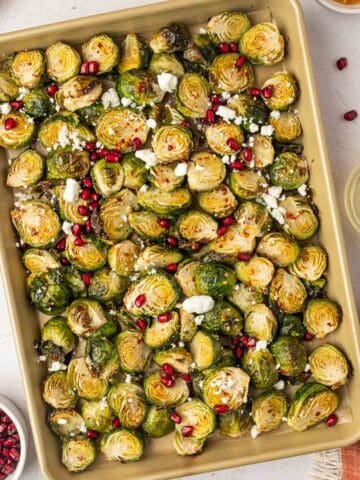
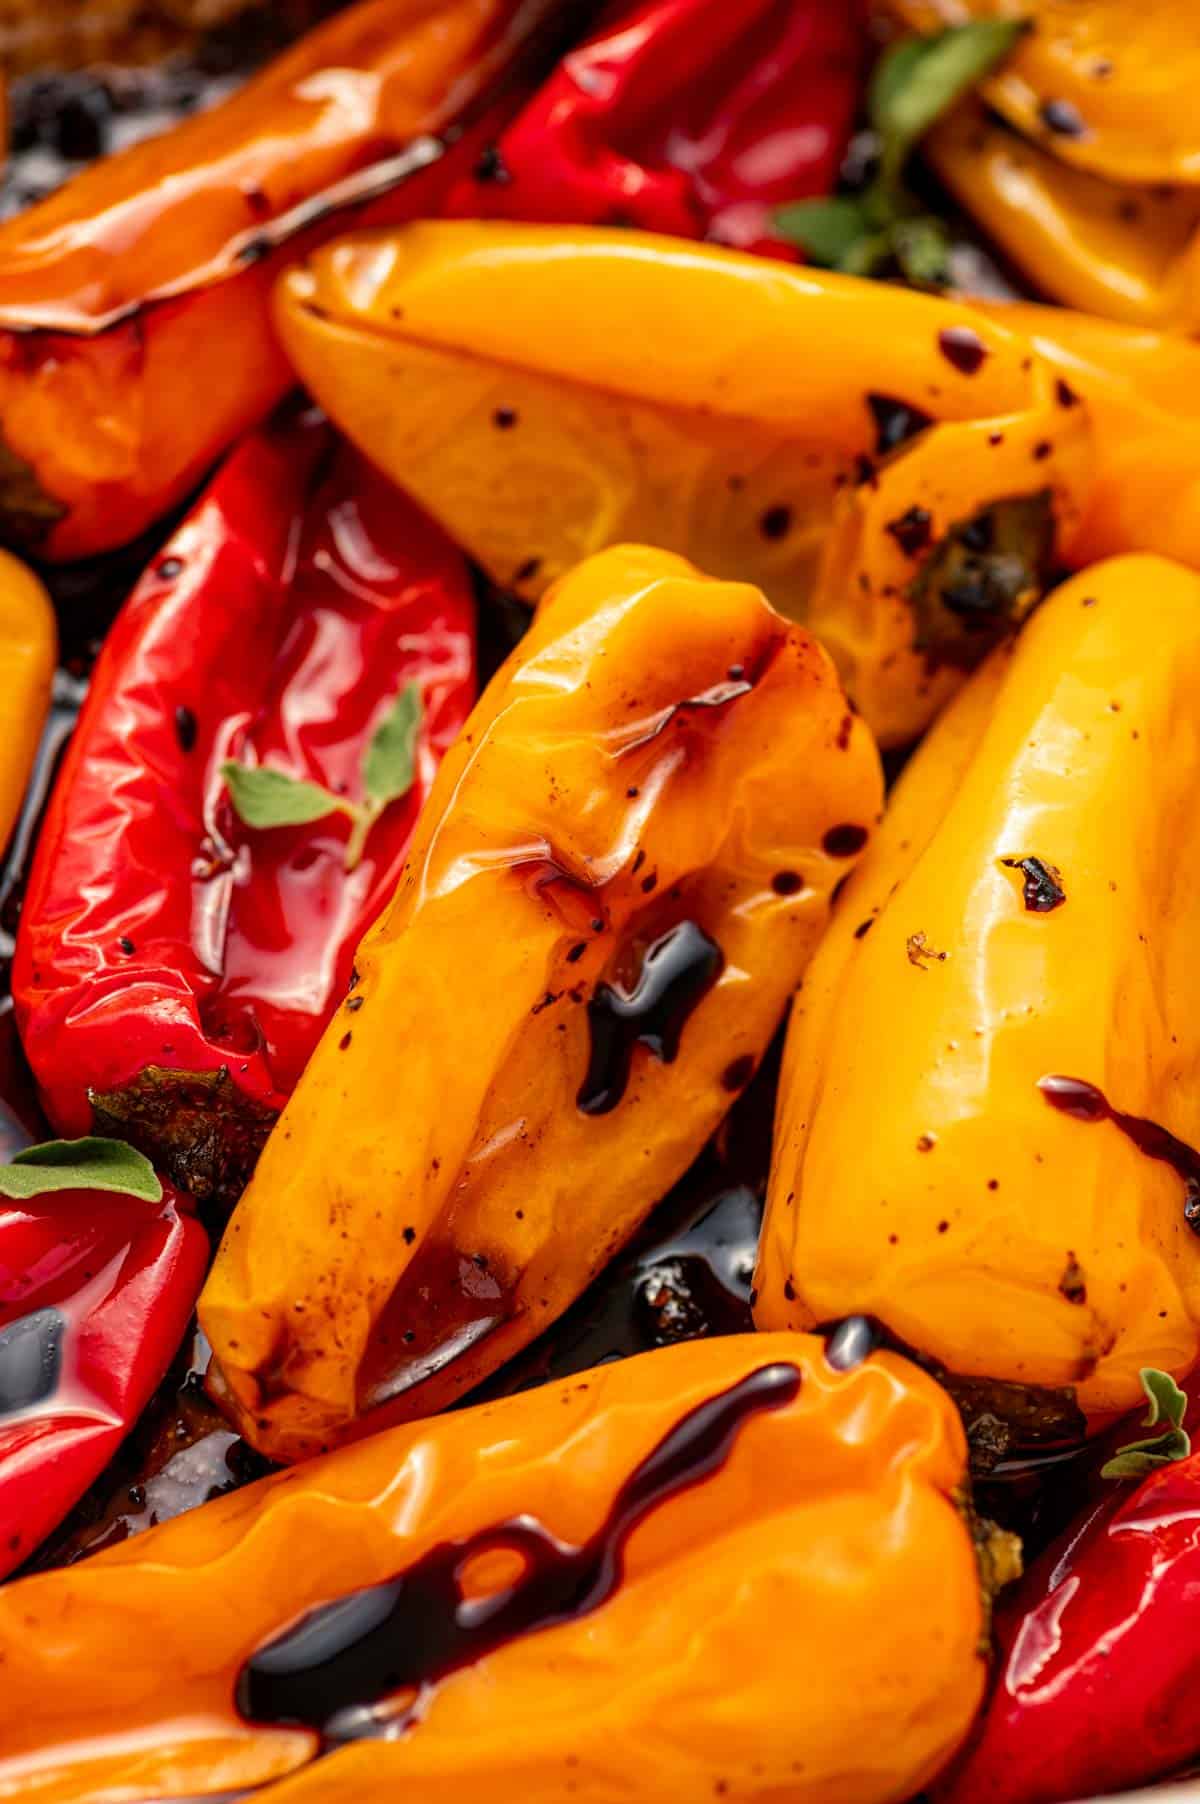
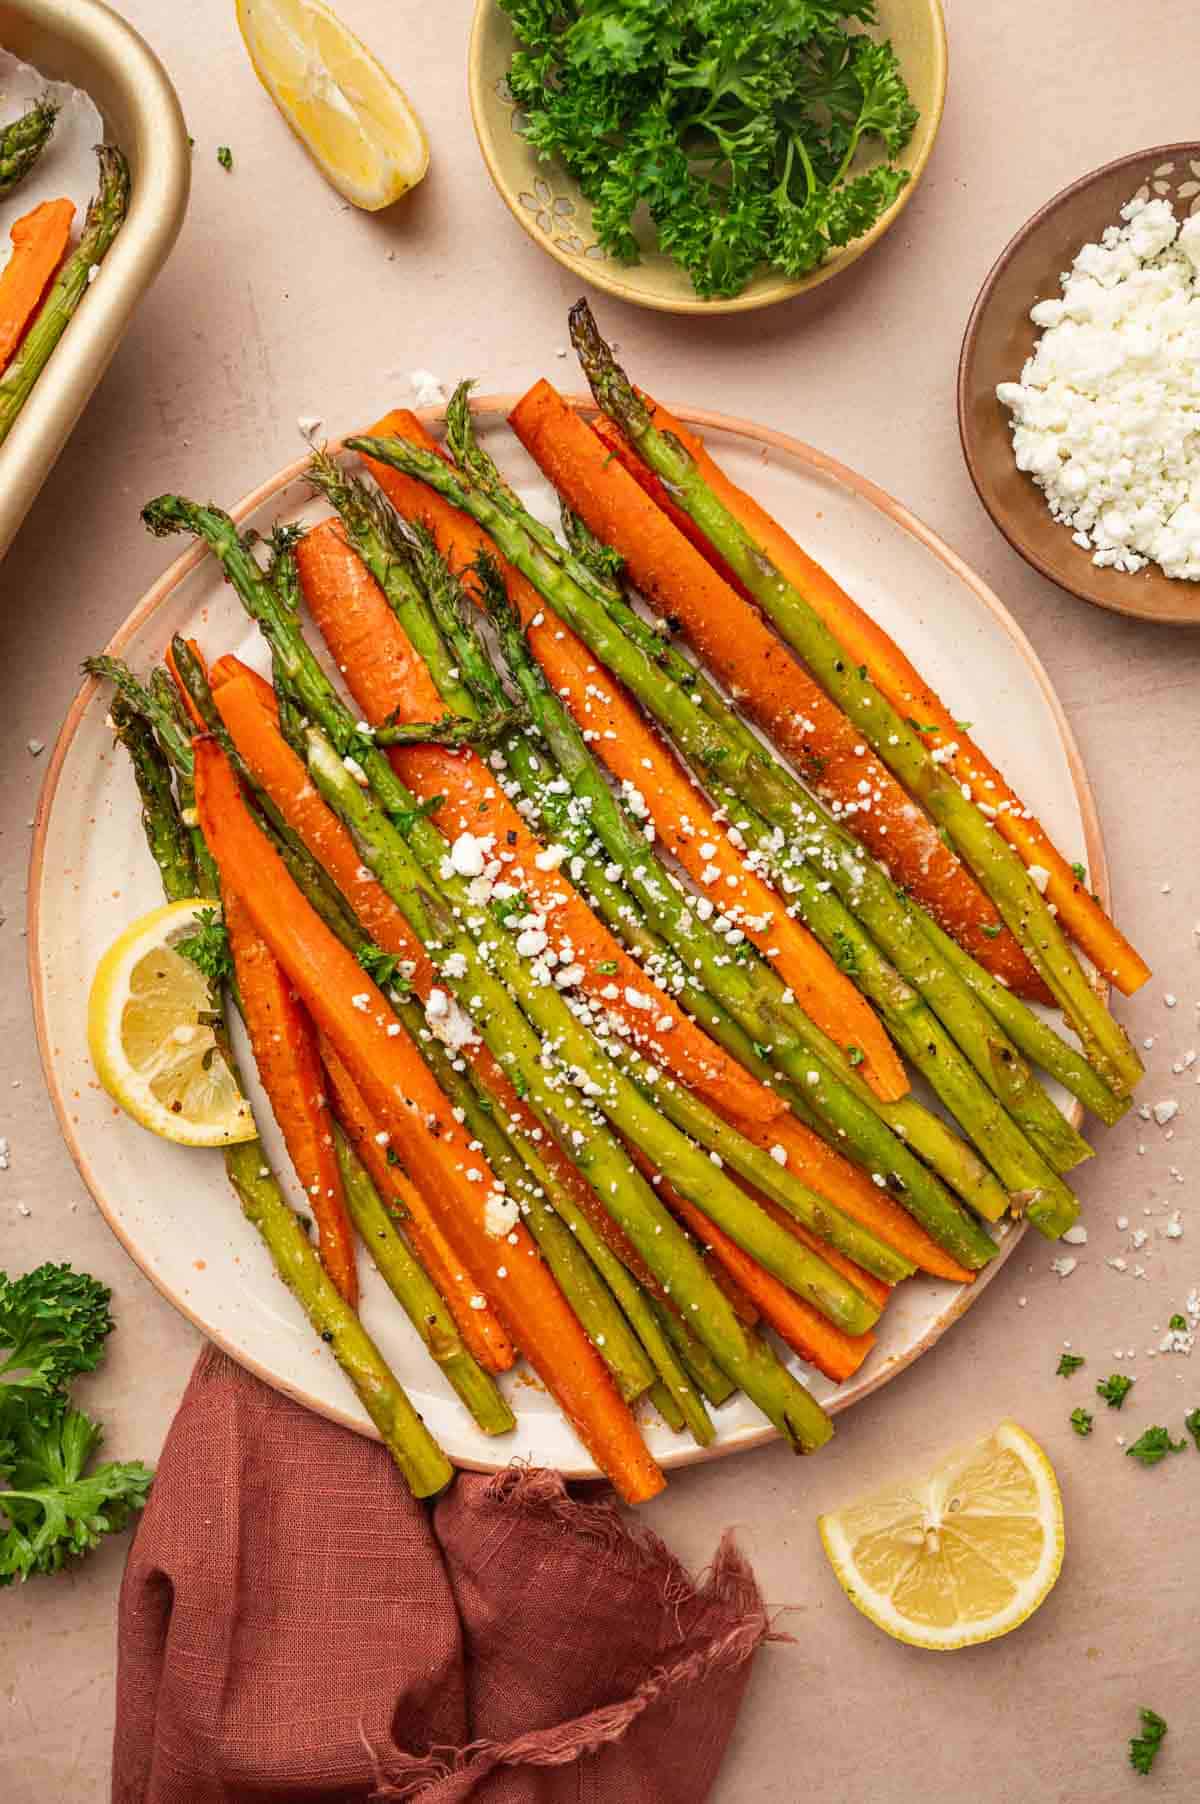
With Roasted Veggies: Roasted vegetables balance out the protein by adding fiber to your meal. You can serve this diah with Sauteed Broccolini, Roasted Carrots and Asparagus, or Hot Honey Brussels Sprouts.
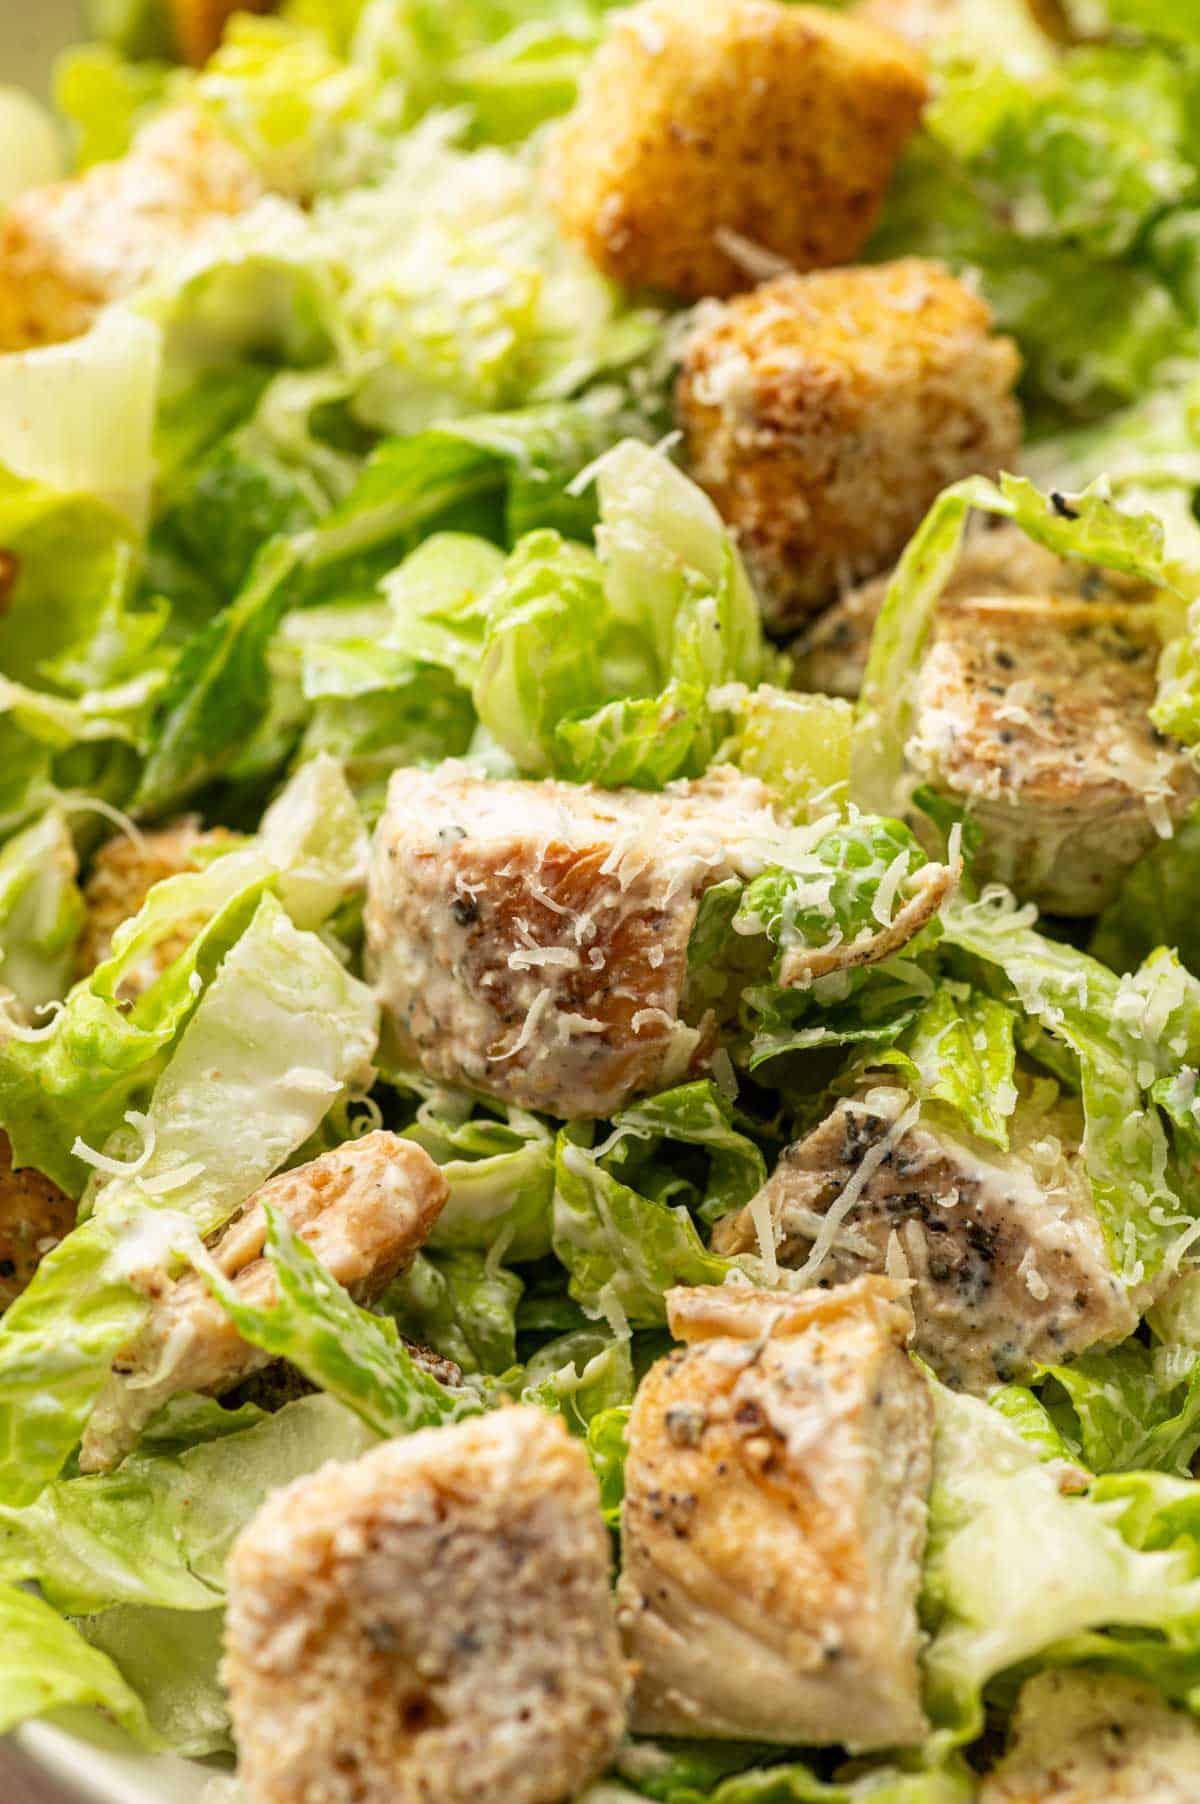
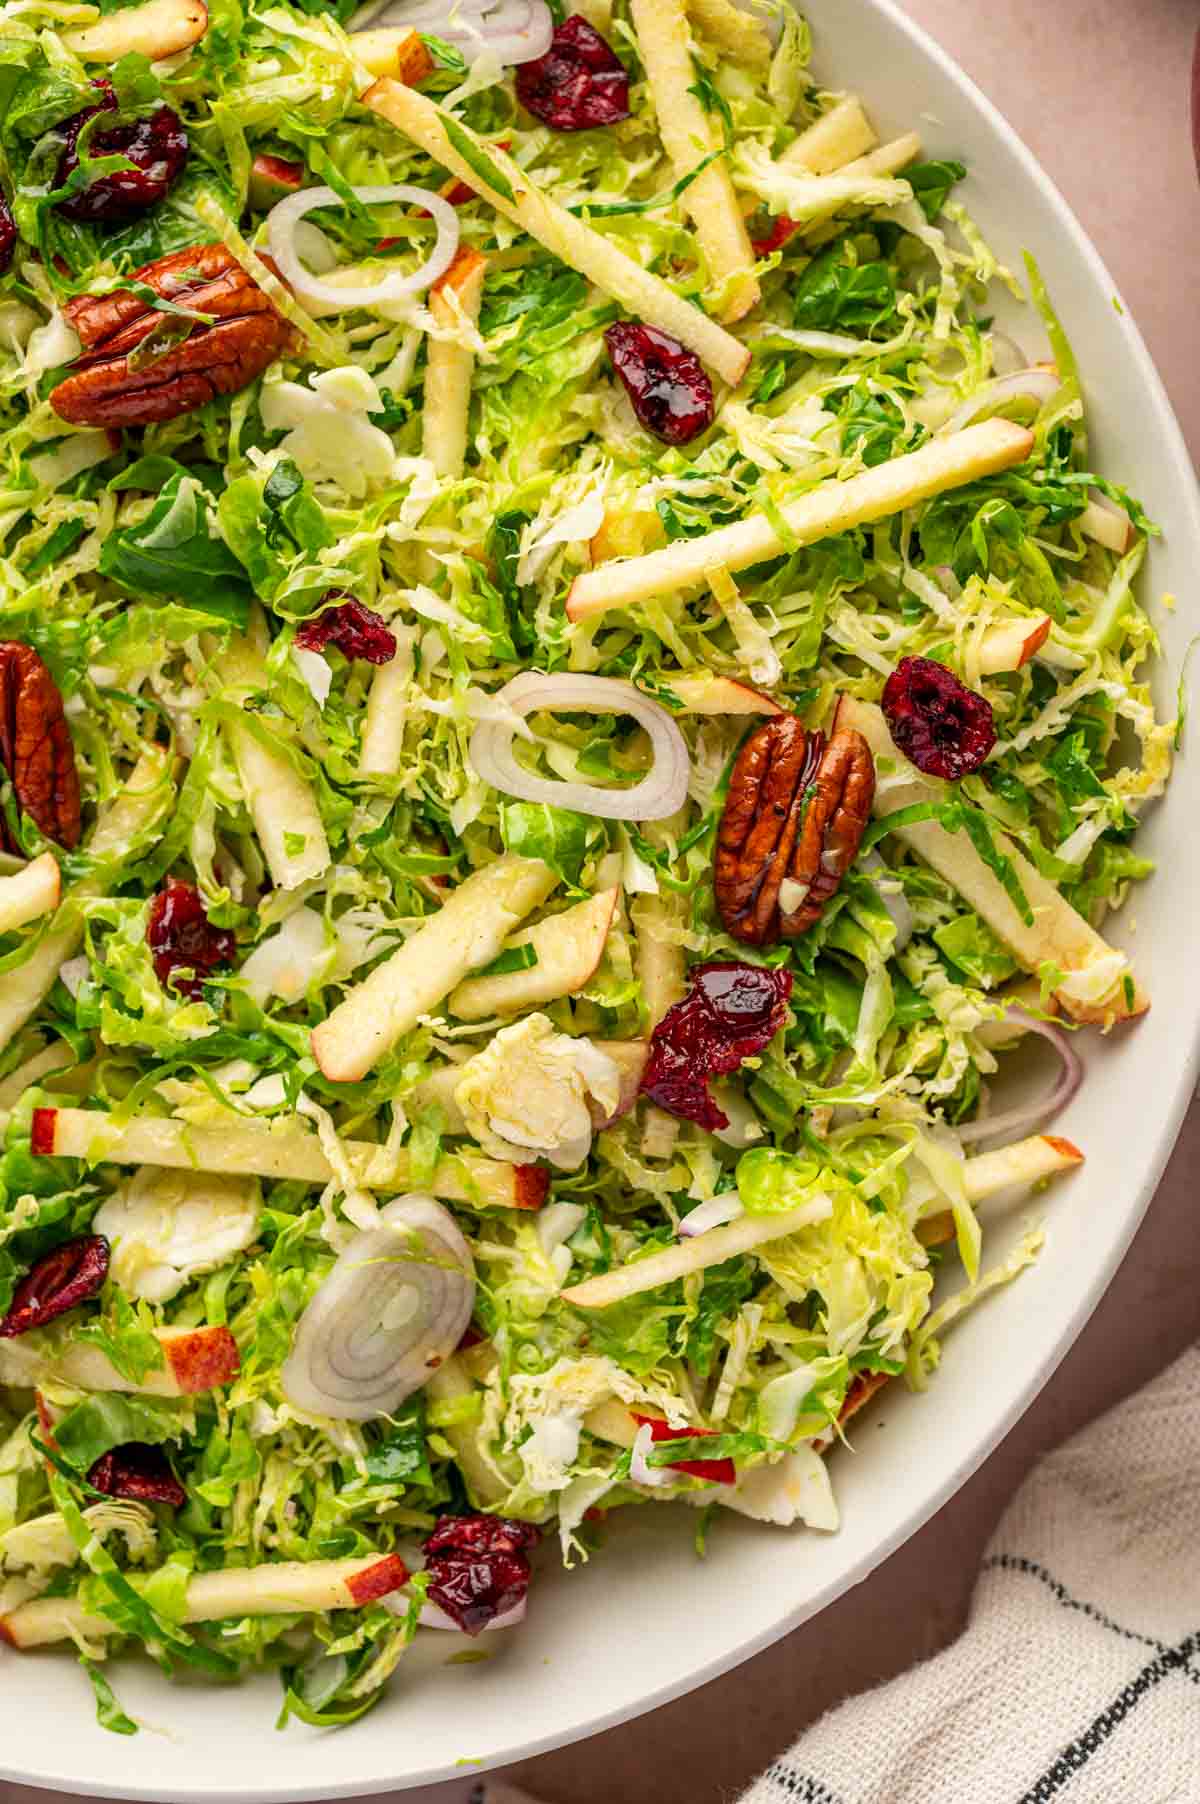
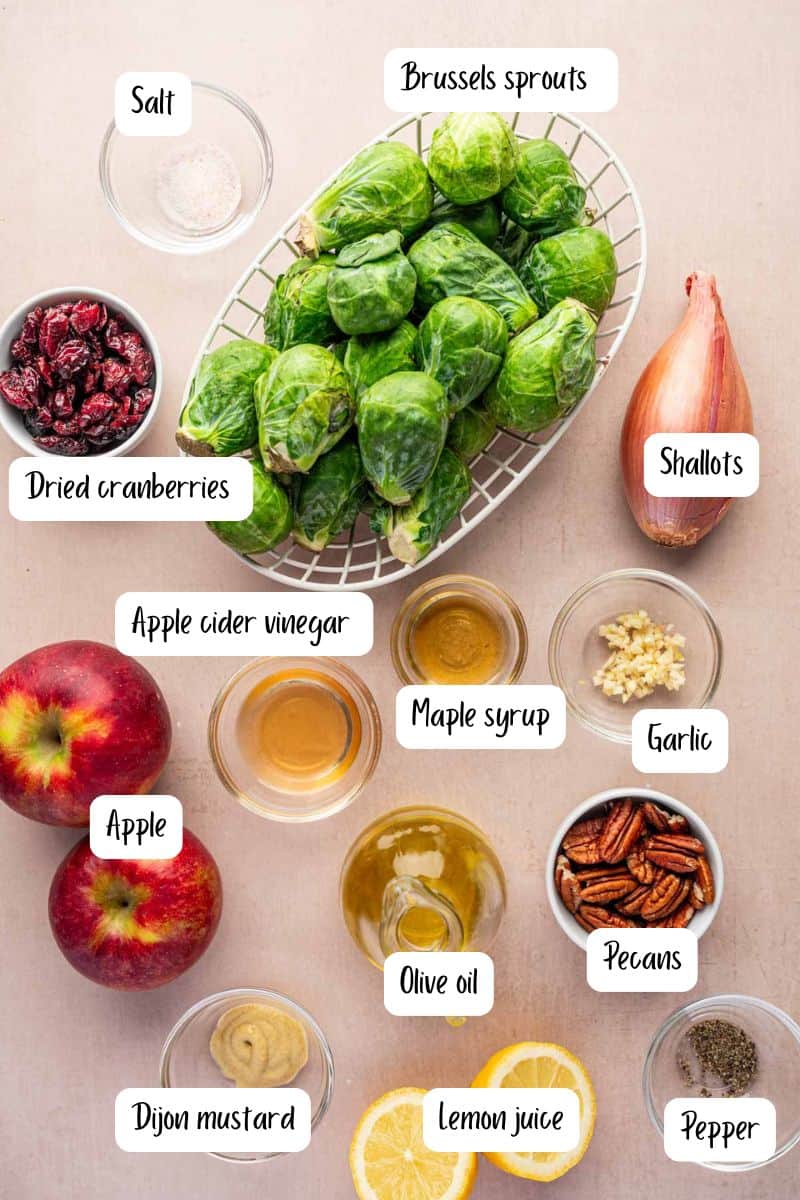
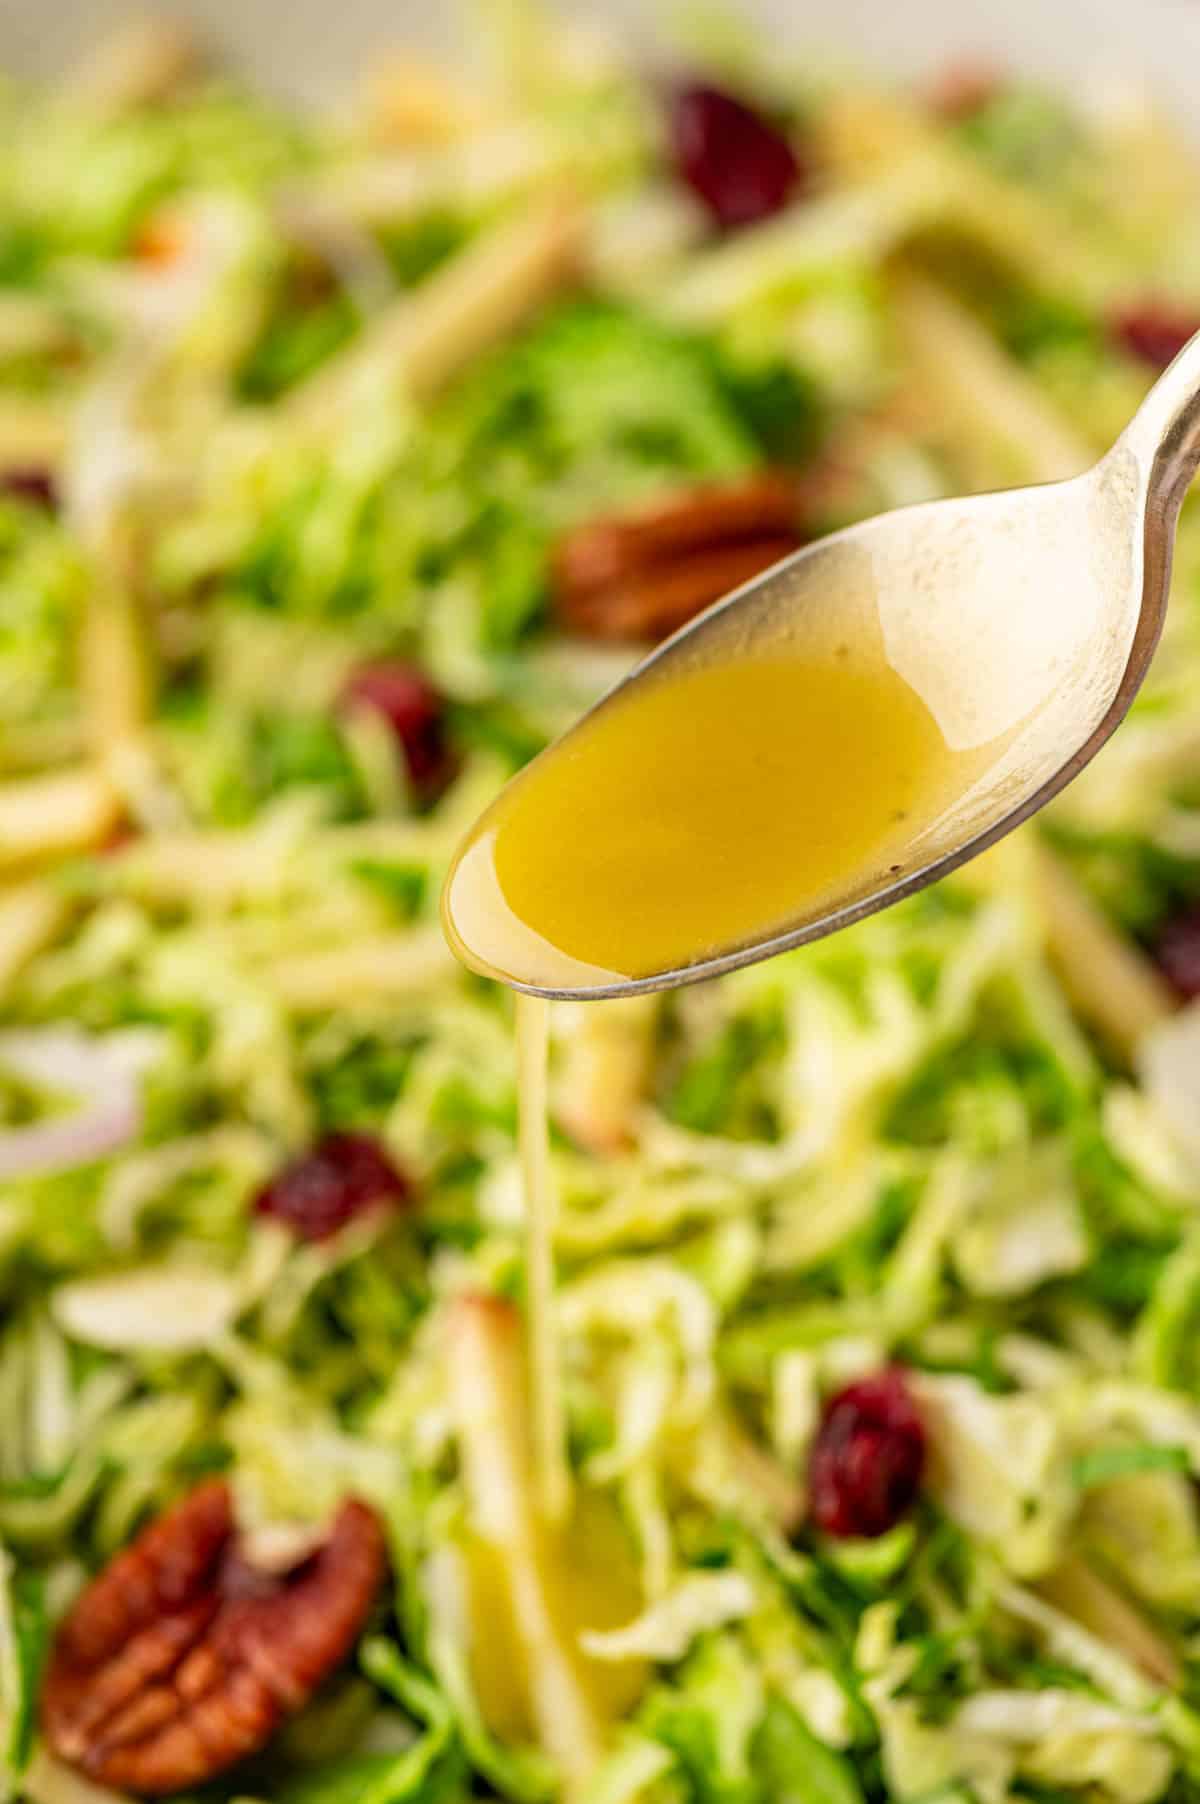
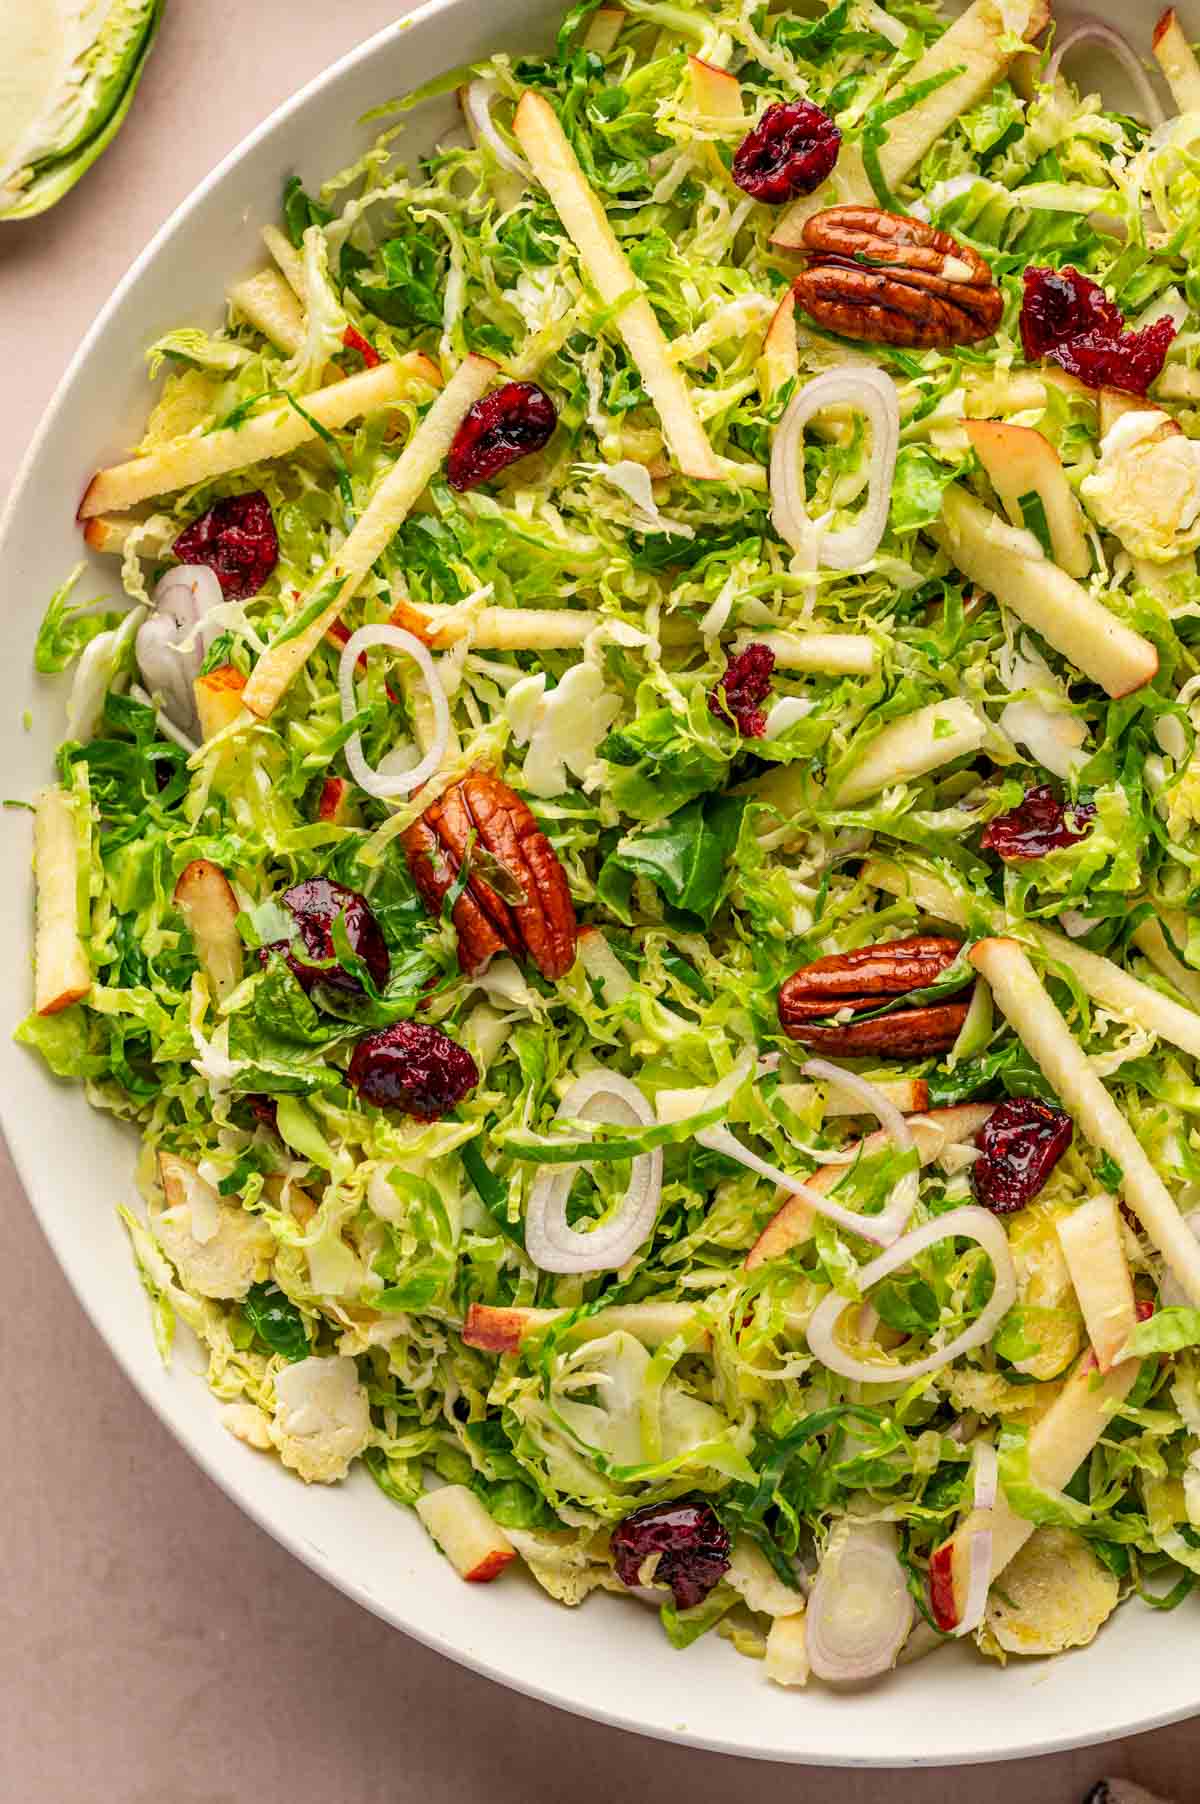
With Salads: Salads will complement the sweet savoury sticky chicken with their crunchy texture and freshness. I recommend serving it with Crispy Caesar Salad or Shaved Brussels Sprouts Salad.

Storage and Reheating Tips
Refrigerator: Store leftover baked honey garlic chicken thighs in an airtight container in the refrigerator for up to 4 days.
Freezer: You can freeze the leftovers for another weeknight’s chicken dinner in an airtight container for up to 2 months. However, the texture of the skin will not be the same after freezing so I personally do not recommend it. Thaw in the refrigerator for 5-6 hours before reheating.
Reheating: For the best texture, reheat them in a 350°F oven until warmed all the way through. The oven helps crisp up the skin, while the sauce becomes glossy again as it heats. You can also microwave leftovers if you’re short on time.
Top Tips For Making Baked Honey Garlic Chicken Thighs
- Always pat the chicken dry before seasoning to help the skin crisp up.
- Keep the chicken skin-side up during baking so it doesn’t sit in the sauce.
- Reserve some sauce before it touches the raw chicken for a fresh finishing glaze.
- Use a meat thermometer for honey garlic chicken thighs instead of guessing. Chicken thighs are especially tender around 175°F–185°F.
- Broil only at the end and keep watching because honey burns quickly.
FAQ
Yes. You can prepare the sauce and season the chicken up to a day in advance. Store them separately in the refrigerator and bake when ready to serve.
Chicken is safe to eat at 165°F, but thighs have more connective tissue. Cooking them to around 175°F–185°F allows that tissue to break down, giving you a more tender and juicy result.
Yes, but they will cook faster and have a leaner texture. Reduce the baking time and monitor the internal temperature carefully so they don’t dry out.
Broiling the chicken for the final few minutes helps the sauce caramelize. You can also spoon some of the pan sauce over the chicken while it rests to build an extra sticky coating.
Related
Looking for other recipes like this? Try these:


Pairing
These are my favorite dishes to serve with this baked honey garlic chicken thighs recipe:


If you tried this Baked Honey Garlic Chicken Thighs recipe or any other recipe from my blog, I’d love to hear your thoughts! ⭐ Please leave a STAR rating and share your experience in the COMMENTS below. Your support means so much and helps me continue creating delicious recipes. Thank you for being part of this journey!
Baked Honey Garlic Chicken Thighs (Sticky, Juicy & Ready in 40 Minutes)
Equipment
- Mixing Bowls
- Measuring cups and spoons
- Baking Sheet
Ingredients
For the Chicken
- 1.5 pounds bone-in skin-on chicken thighs (about 4 thighs)
- 1 tablespoon olive oil
- 1 teaspoon salt
- ½ teaspoon black pepper
- 1 teaspoon paprika
For the Honey Garlic Sauce
- ⅓ cup honey
- 4 cloves garlic minced
- 2 tablespoons soy sauce
- 1 tablespoon rice vinegar
- ½ tablespoon lemon juice
- ½ tablespoon Dijon mustard
- ½ teaspoon onion powder
For Garnish
- Chopped fresh parsley
- Sesame seeds
Instructions
- Preheat the oven to 400°F (200°C) and lightly grease a large baking dish.
- Pat the chicken thighs dry with paper towels and place them in the baking dish.
- Drizzle with olive oil and season with salt, pepper, and paprika.
- In a small bowl, whisk together the honey, garlic, soy sauce, apple cider vinegar, Dijon mustard, and onion powder.
- Reserve 2 tablespoons of the sauce for serving.
- Pour the remaining sauce over the chicken thighs, turn them to coat, then arrange skin-side up in the baking dish.
- Bake for 35–40 minutes, basting once halfway through.
- Check the internal temperature — chicken thighs are done at 175°F–185°F with golden brown skin.
- For a sticky caramelized finish, broil for 2–3 minutes at the end, watching carefully as honey burns quickly.
- Brush with the reserved honey garlic sauce.
- Sprinkle with chopped parsley and sesame seeds and serve immediately.
Notes
- Pat the chicken dry — this is the single most important step for crispy skin. Moisture is the enemy of a golden crust so don't skip it.
- Keep skin-side up throughout baking — never flip the chicken. Keeping the skin facing up means it crisps in the oven heat rather than steaming in the sauce below.
- Reserve your sauce before it touches raw chicken — always set aside 2 tablespoons first. This reserved sauce is your finishing glaze and it makes a huge difference in the final presentation.
- Watch the broiler closely — honey caramelizes fast and burns even faster. Don't walk away during those final 2-3 minutes or you'll go from golden to burnt in seconds.
- Use a meat thermometer — don't guess with chicken. Thighs are perfectly tender and juicy between 175°F–185°F. Under that and the connective tissue hasn't fully broken down yet.
- Let it rest — give the chicken 3-5 minutes before serving. This lets the juices redistribute so every bite stays as juicy as possible.