
Halloween is around the corner, kids are excited, and you’re feeling pressured! Halloween monster eye cookies are hands down the most fun and easy halloween cookies you’ll find online. No new ideas? Don’t want to repeat the same treats you made last Halloween? I hear you. These cookies have a soft buttery centre with slightly crisp edges and a sugary coating. They’re festive, colourful, spooky, and flavourful. And guess what? You can actually involve the kids in the kitchen for some fun.
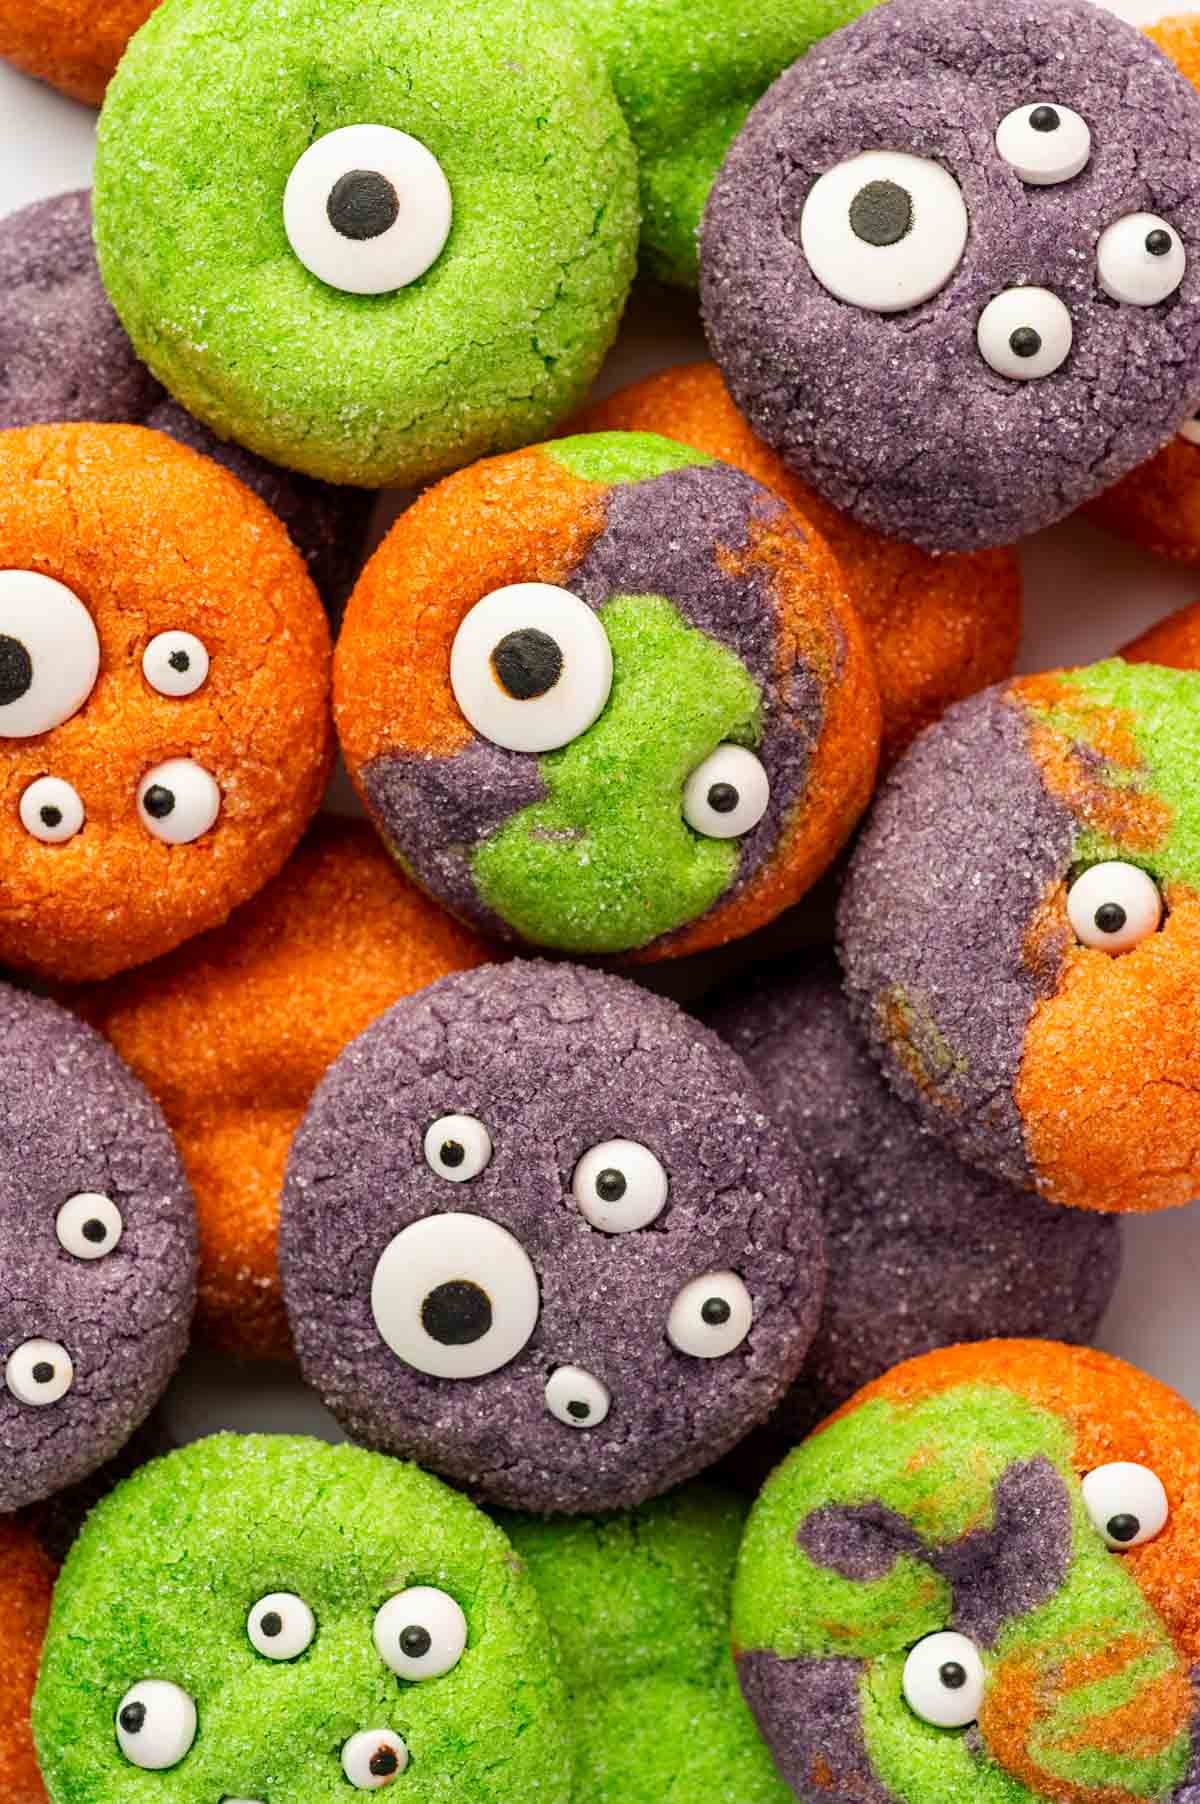
I made these monster eye cookies for my kids last month for a spooky movie night we hosted. My kids and their friends seemed pretty excited when they saw them. So I thought why not make them for Halloween, this time my kids will also join me in the kitchen. The best thing about these cookies is that they’re relatively easy to make.
All you have to do is mix all the dry ingredients, mix the wet ingredients, and form the dough by combining both mixtures. The next part is where kids can also help, colouring the dough and shaping the balls. Most importantly, they can give each monster a personality!
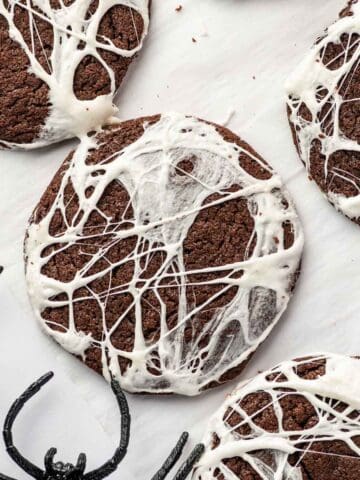
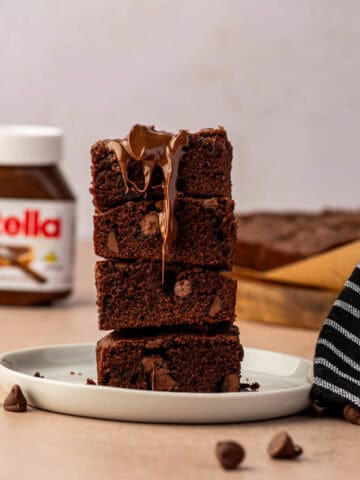
If you want to try some more easy halloween treats, I have already posted some recipes. See my Marshmallow Spider Web Cookies, Halloween Brownies and Halloween Rice Krispie Treats.
Jump to:
- Why You'll Love These Halloween Monster Eye Cookies
- Ingredients and Substitutions
- Instructions: A Step-By-Step Guide For Monster Eye Cookies
- Variations For Halloween Monster Eye Cookies
- Serving Suggestions
- Equipment
- Storage and Reheating Tips
- Top Tips For The Best Halloween Monster Eye Cookies
- FAQ
- Related
- Pairing
- Halloween Monster Eye Cookies (Purple, Orange, & Green)
Why You'll Love These Halloween Monster Eye Cookies
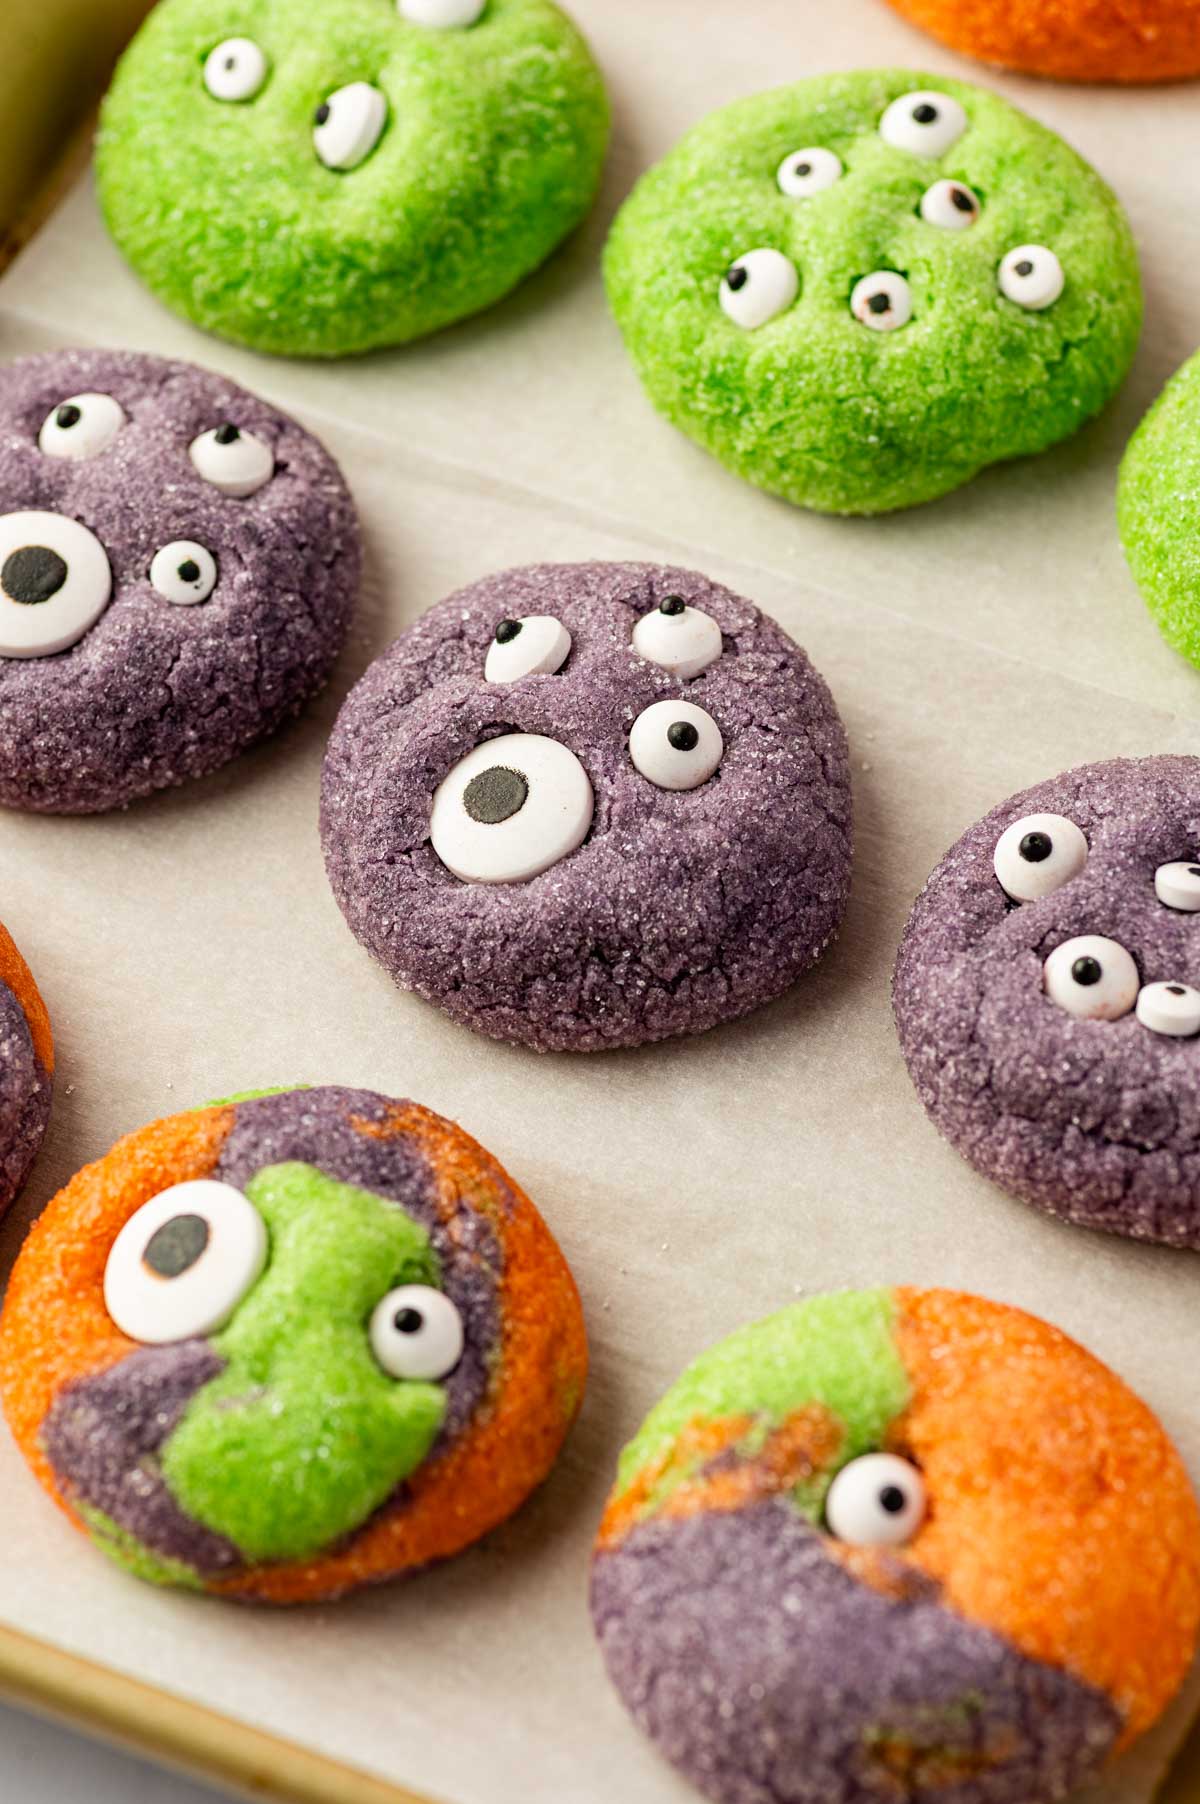
Festive and Colourful – I used three different colours for the cookies, purple, green, and orange. These three colours are core Halloween vibes! The spooky monster eyes make them unmistakably Halloween themed. They can be the star of any Halloween themed party for both adults and kids.
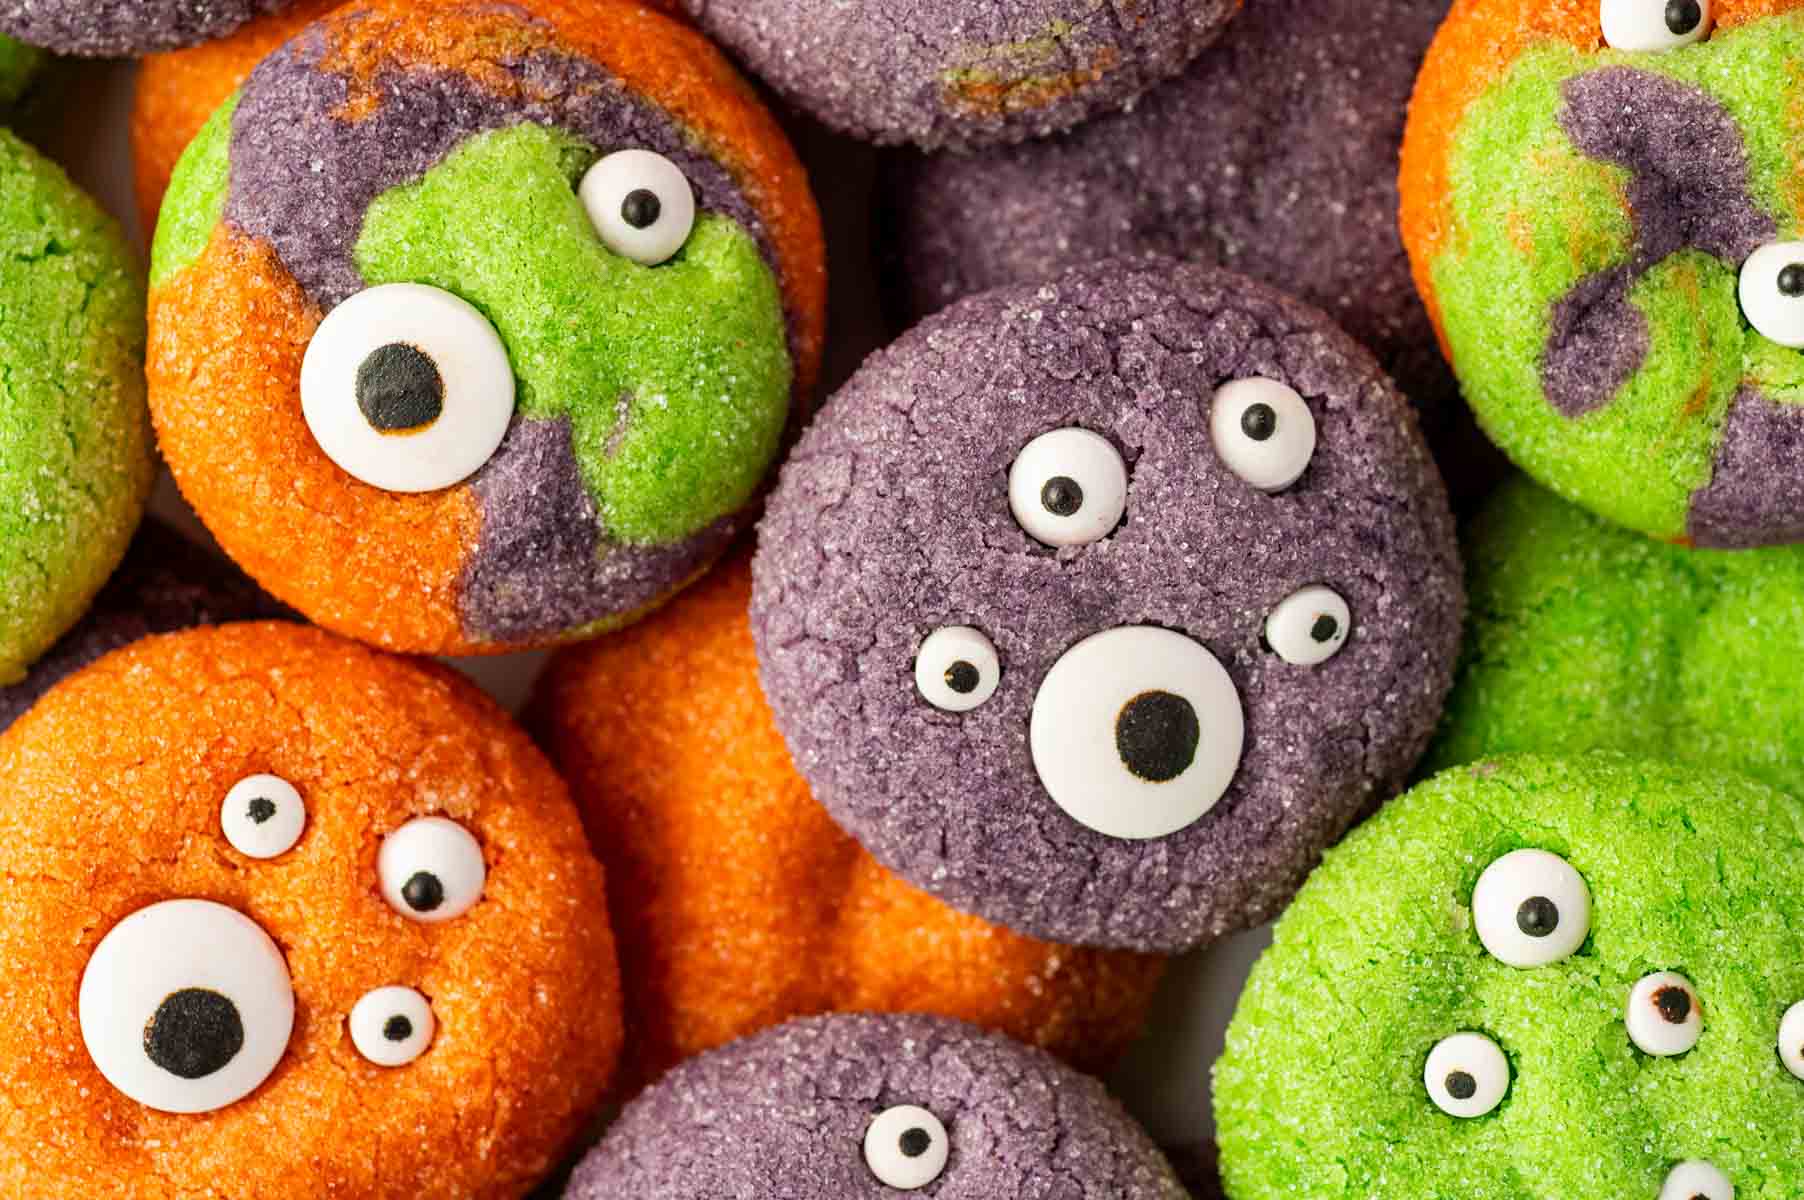
Easy to Customize – Three eyed monster or five eyed monster? Why not have both? You can make different monsters with assorted eyes, each cookie with its own personality! And you don’t have to restrict yourself to the eyes only. You can use cookie monster eyes along with other Halloween sprinkles. Add a few teeth or a few stitches and the cookies get a versatile look!
Fun to Make – Since kids love to colour and decorate, you can have them help you with colouring the dough and decorating the cookies. There’s nothing that gets them more excited than making their favourite monsters in the kitchen!
Simple Ingredients – I made sure I don’t use any fancy or hard to find ingredients for these halloween monster eye cookies. Everything is already available in almost every pantry. The only thing you’ll probably need to buy is the cookie monster eyes.
Ingredients and Substitutions
Prepare for baking. Preheat the oven to 350°F (175°C). Line two baking sheets with parchment paper.
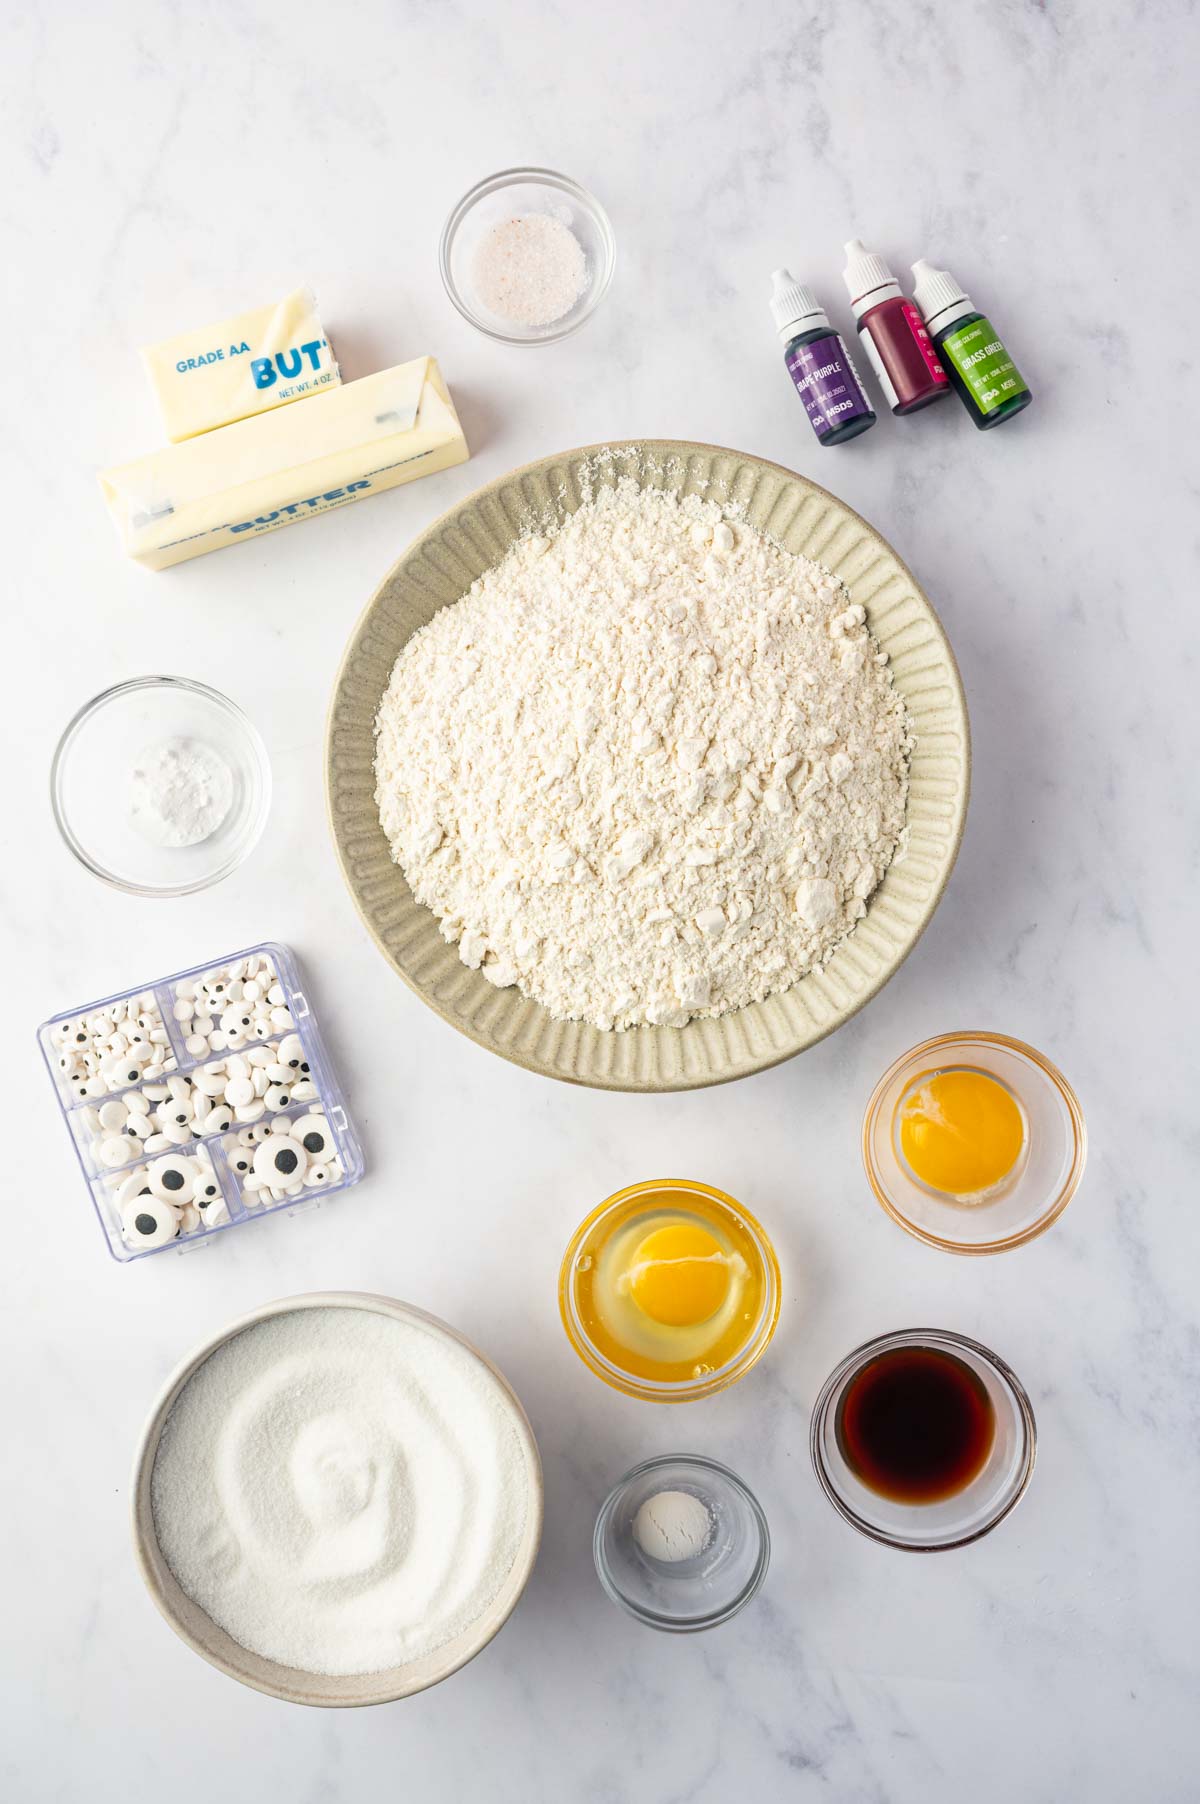
- All-Purpose Flour – You need all-purpose flour for making the cookie dough. You can substitute it with cake flour but it will make your cookies softer, much like birthday cake cookies.
- Baking Powder – It helps the cookies rise a little, without the baking powder they’ll spread flat and thin.
- Baking Soda – Baking soda is the key to that satisfying spread. If you skip it you’ll end up with balls instead of cookies.
- Teaspoon Salt – Salt brings out the sweetness and the vanilla flavor. You can use table salt or kosher salt.
- Butter – Use softened, unsalted butter. You can use plant based butter as a dairy-free alternative.
- Granulated Sugar – You need granulated sugar for the sweetness as well as for the crisp edges and shiny finish. Substitute it with light brown sugar but it will make the cookies slightly darker.
- Egg & Egg Yolk – You need one egg and an extra egg yolk. Don’t skip the egg yolk because it binds everything together.
- Vanilla Extract – Without vanilla extract the cookies will not have a flavor or aroma. You can use vanilla bean paste but it will make the cookies speckled. I don’t recommend vanilla essence because it doesn’t taste or smell the same.
- Purple, Green, & Orange Food Coloring – Use gel colors because they don’t alter the texture of the cookie dough and they’re very pigmented.
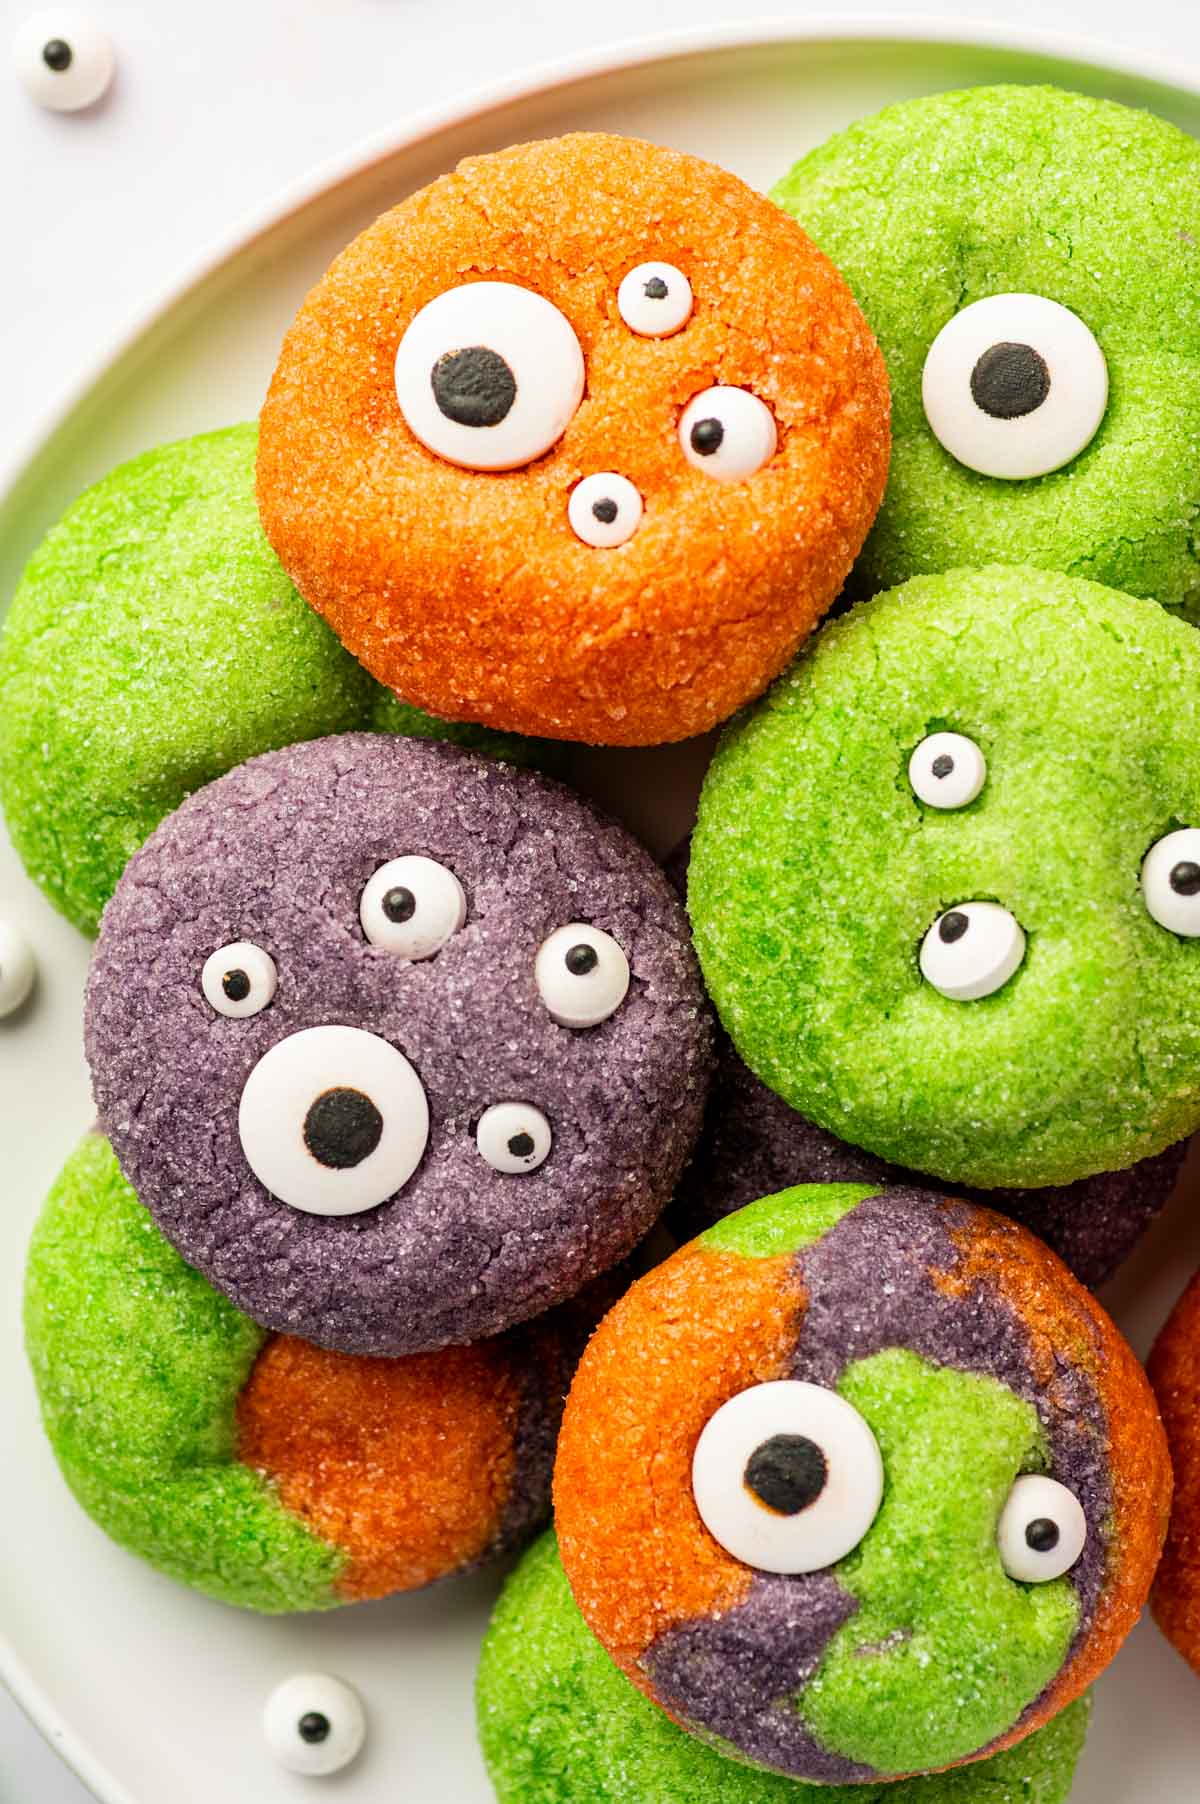
- Edible Candy Eyes – Halloween monster eye cookies are not possible without candy eyes. Use assorted sizes for making different monsters with varying eyes.
See recipe card for quantities.
Instructions: A Step-By-Step Guide For Monster Eye Cookies
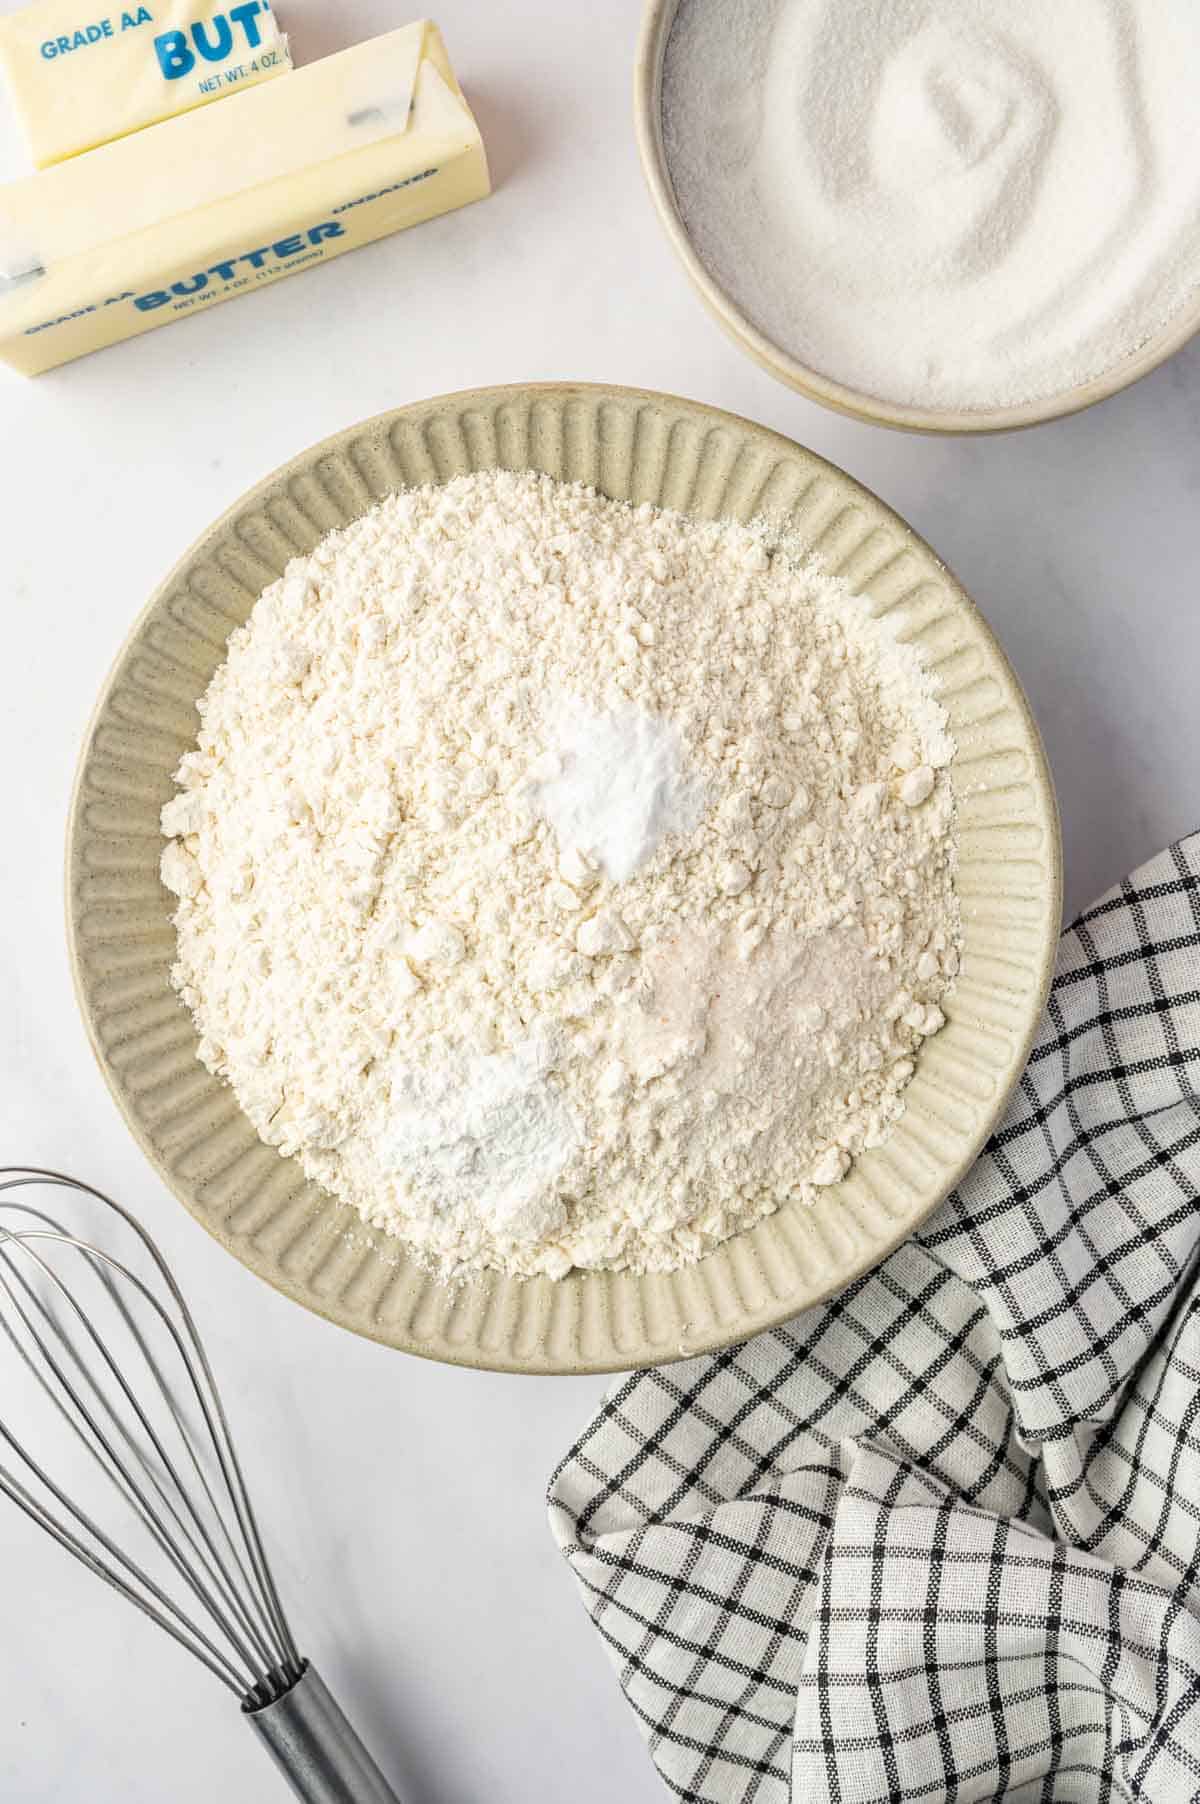
In a medium bowl, whisk together the flour, baking powder, baking soda, and salt. Set aside.

In a large bowl, beat the softened butter and 1¼ cups sugar for 2–3 minutes, until light and creamy.
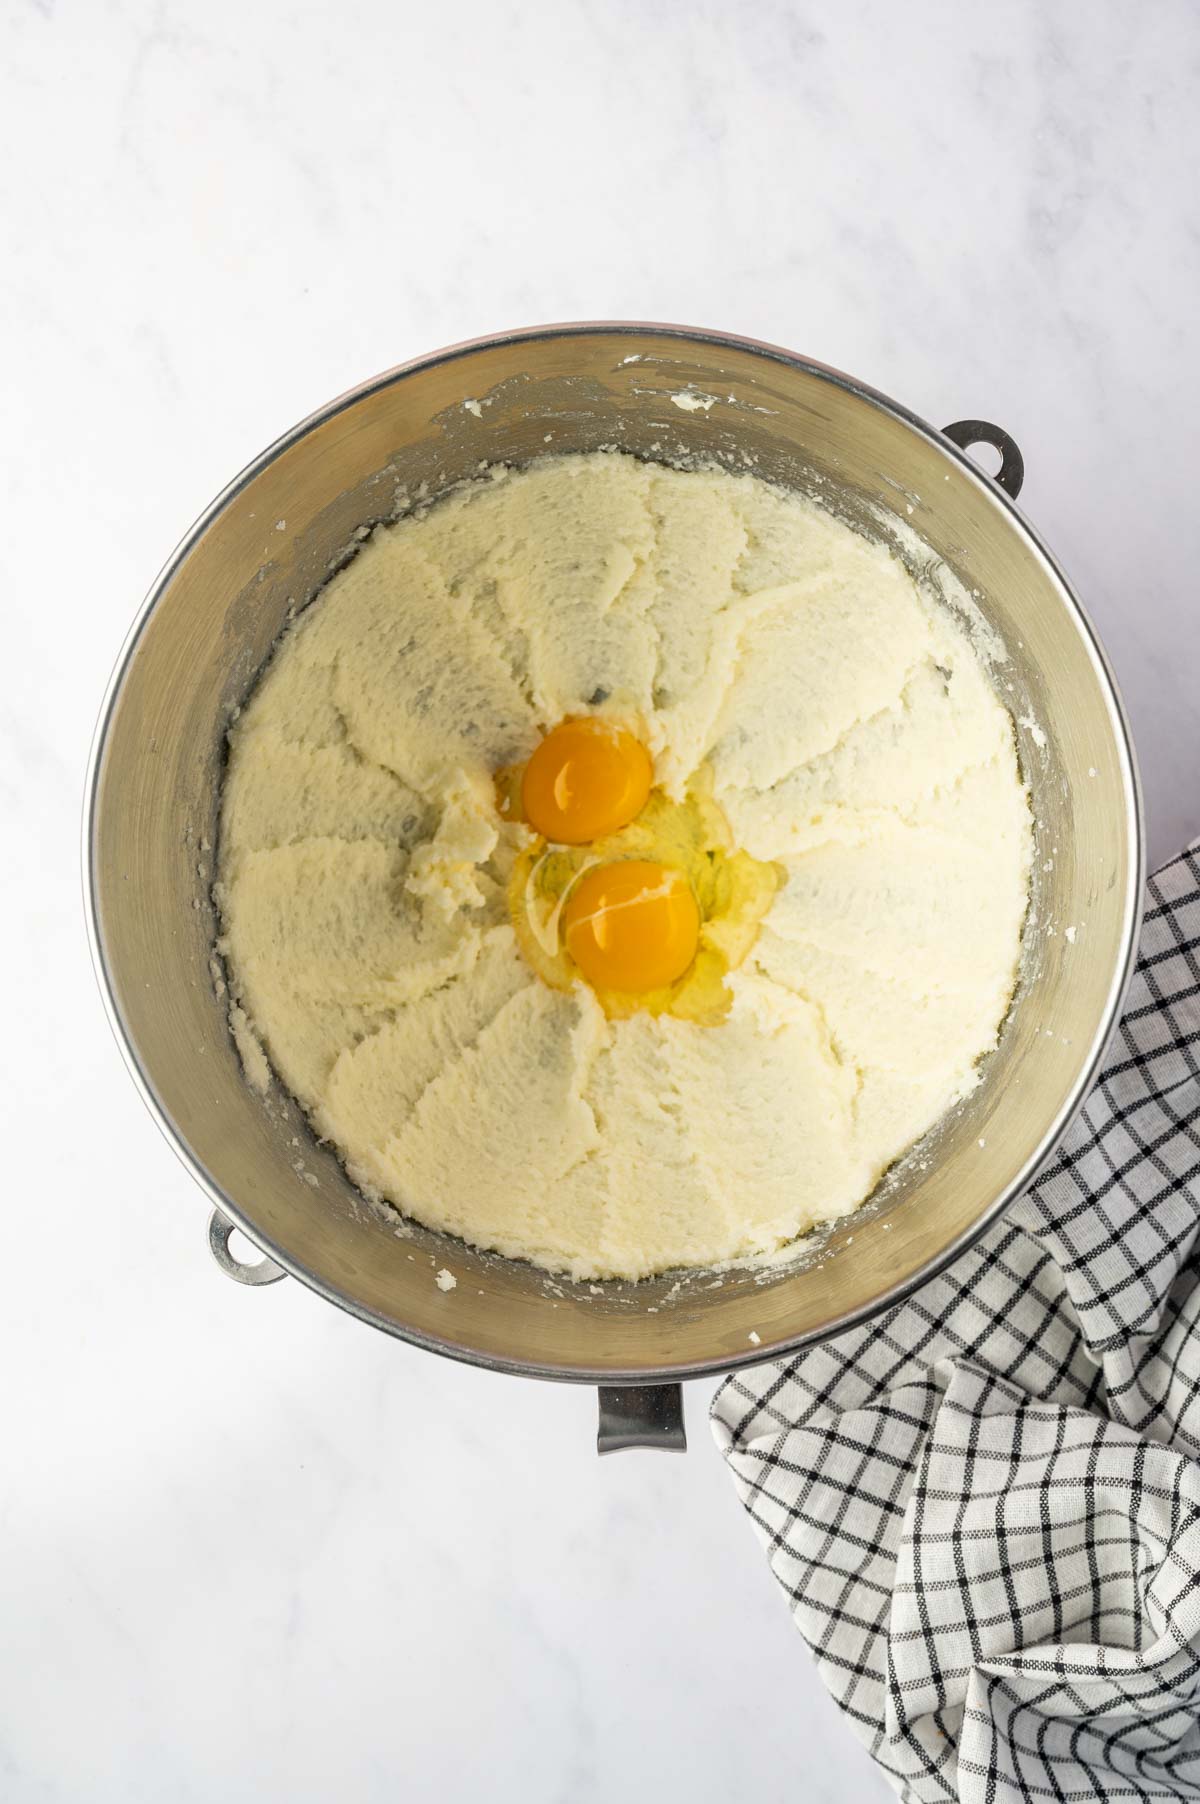
Beat in the egg, egg yolk, and vanilla until smooth and combined.
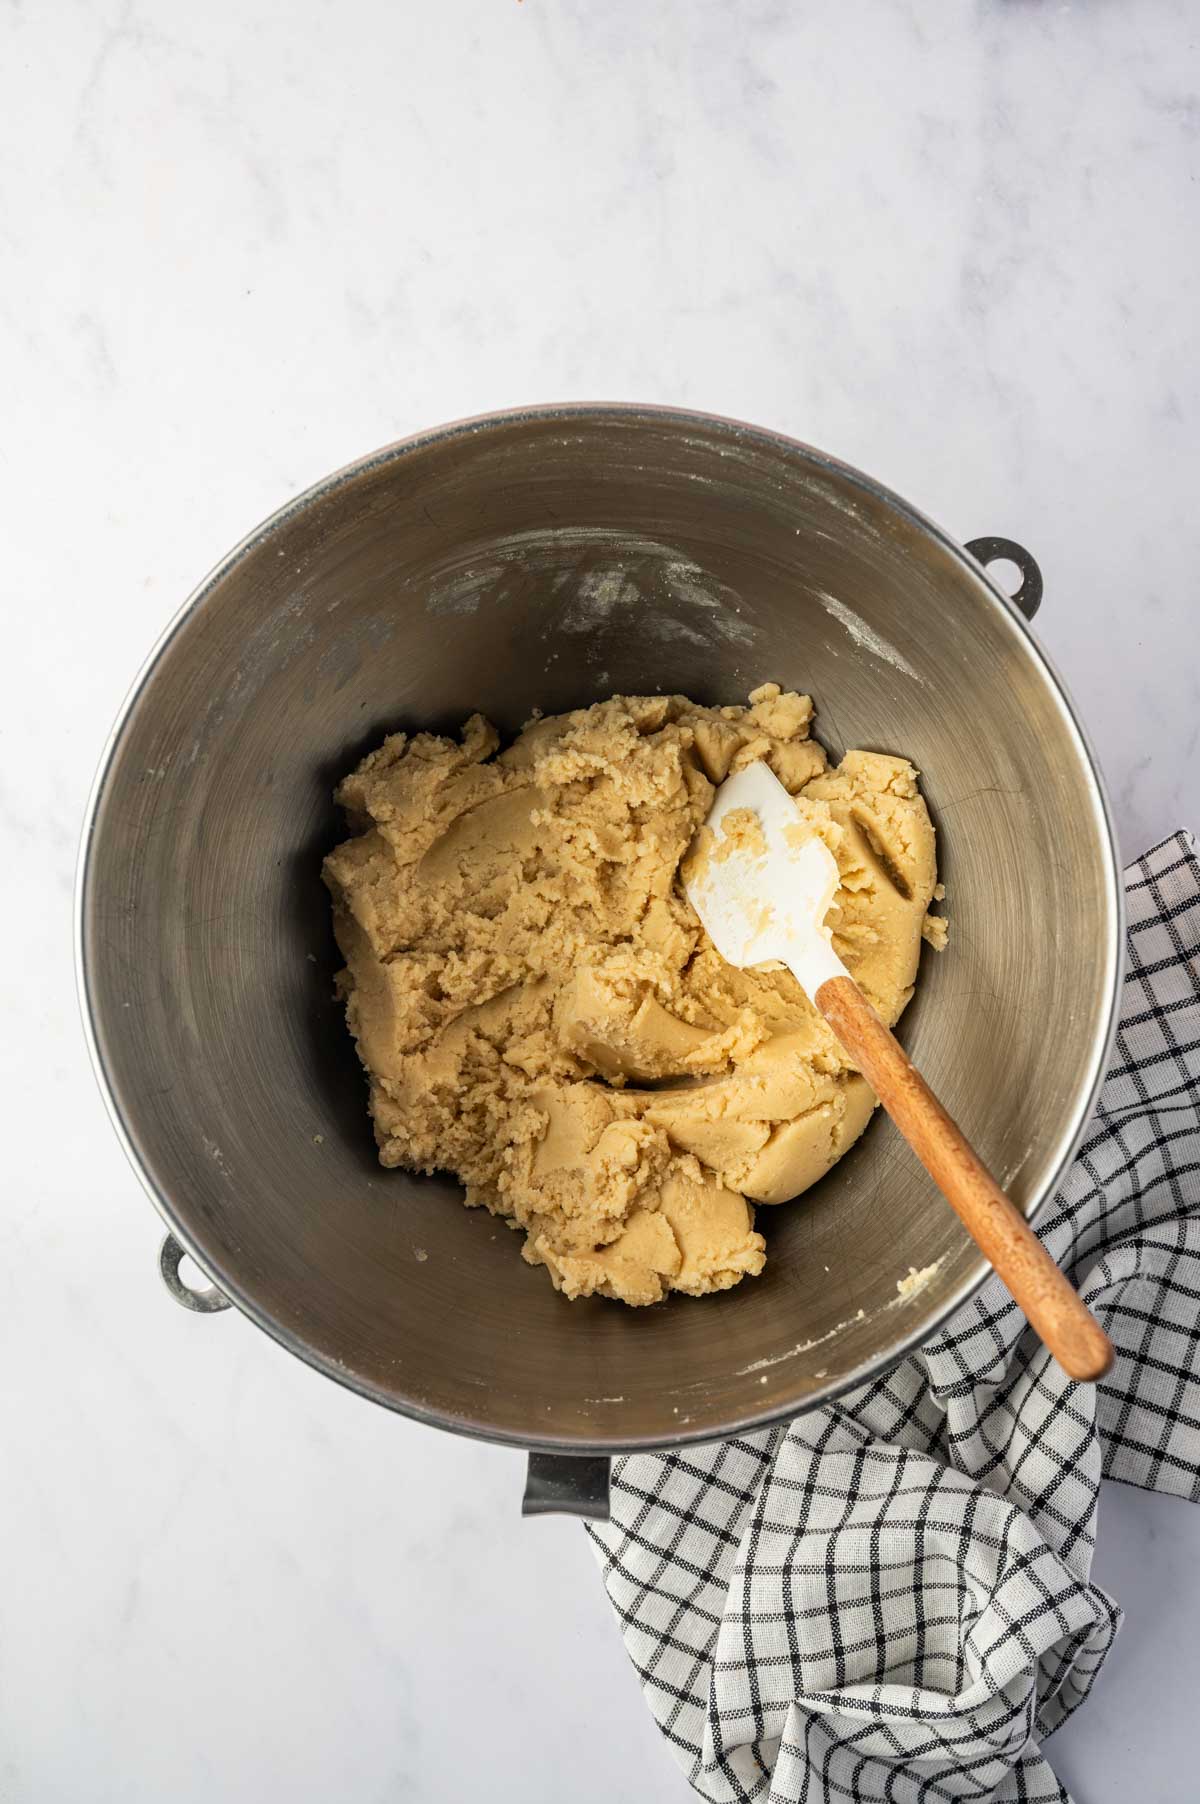
Gradually add the dry ingredients to the butter mixture. Mix just until a soft dough forms. Avoid overmixing.

Divide the dough evenly among three bowls. Add purple gel food coloring to one, green to another, and orange to the third. Mix each until the color is evenly distributed. Add more gel coloring as needed to get vibrant Halloween colors.
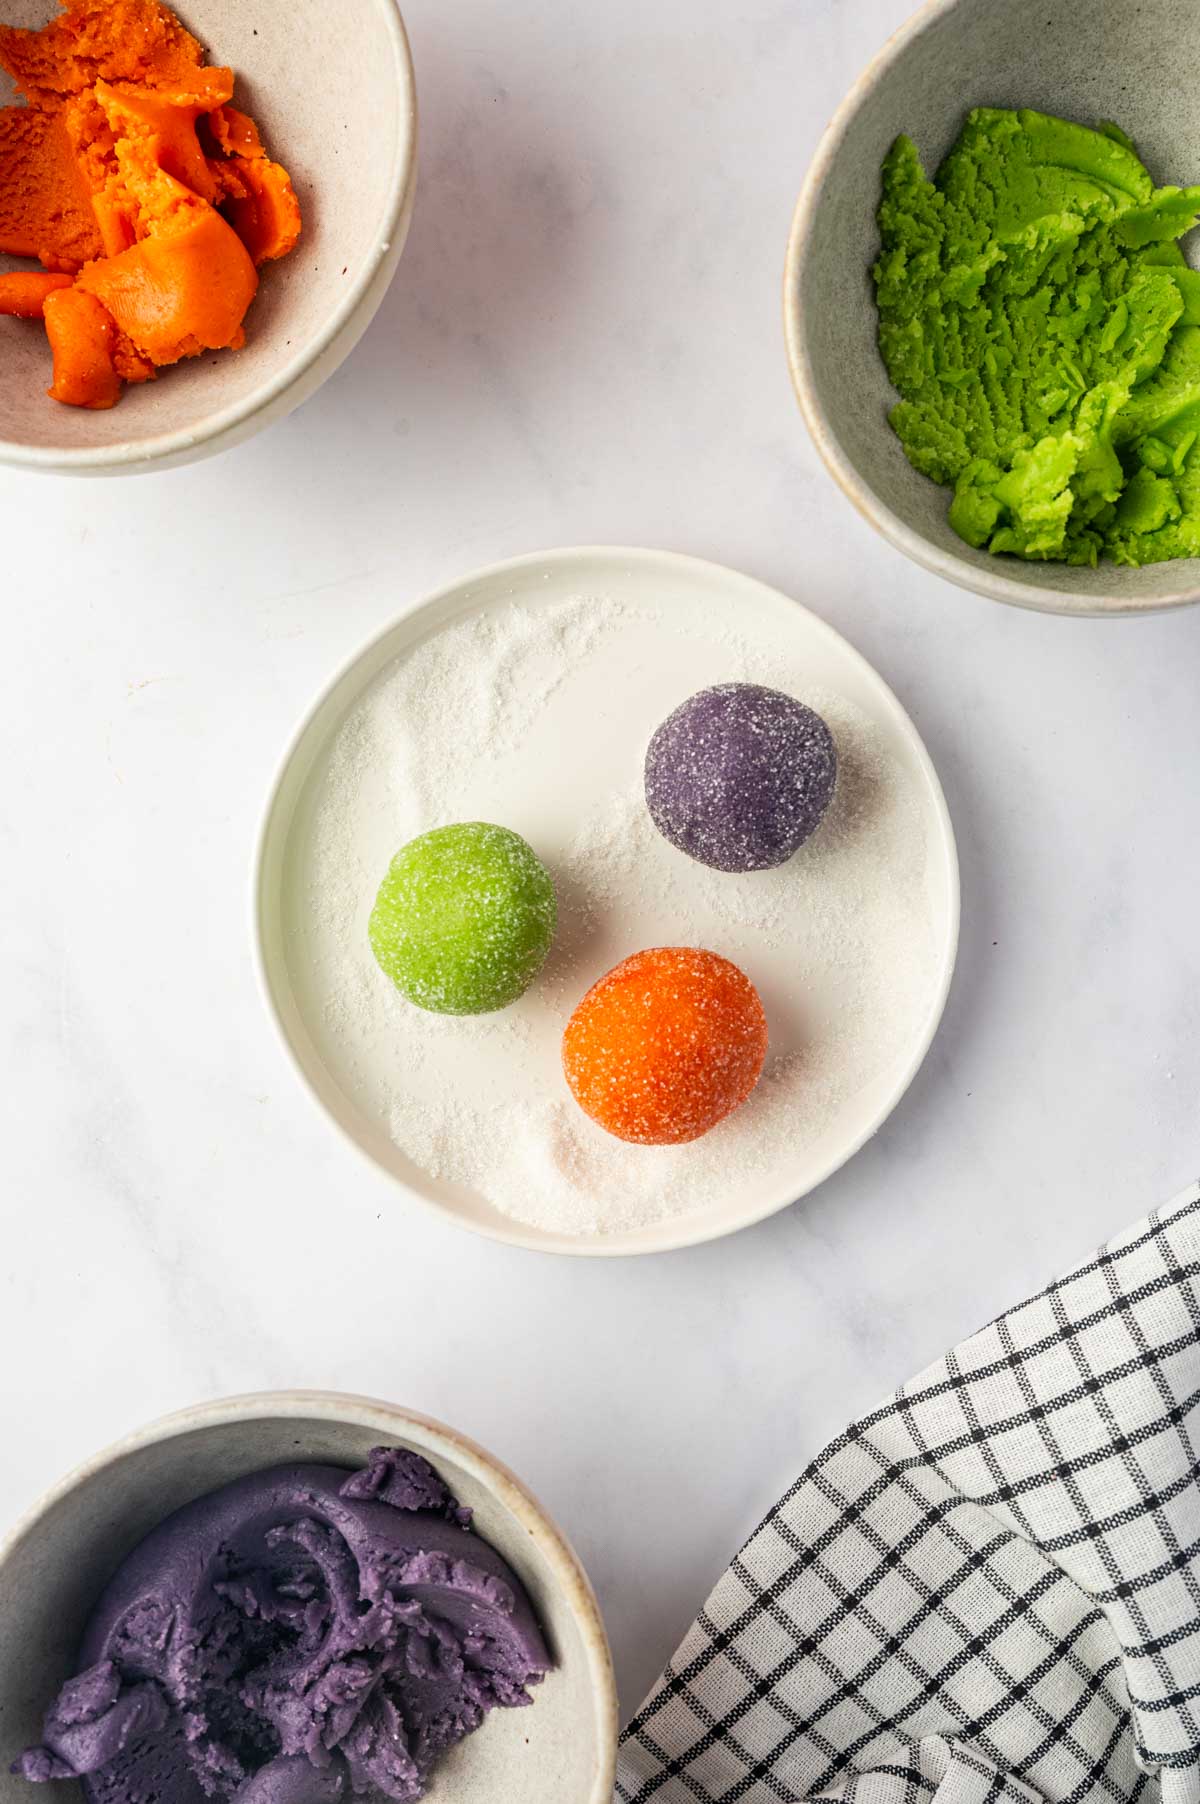
Scoop about 1½ tablespoons of dough per cookie and roll into balls. Roll each ball in granulated sugar until evenly coated.
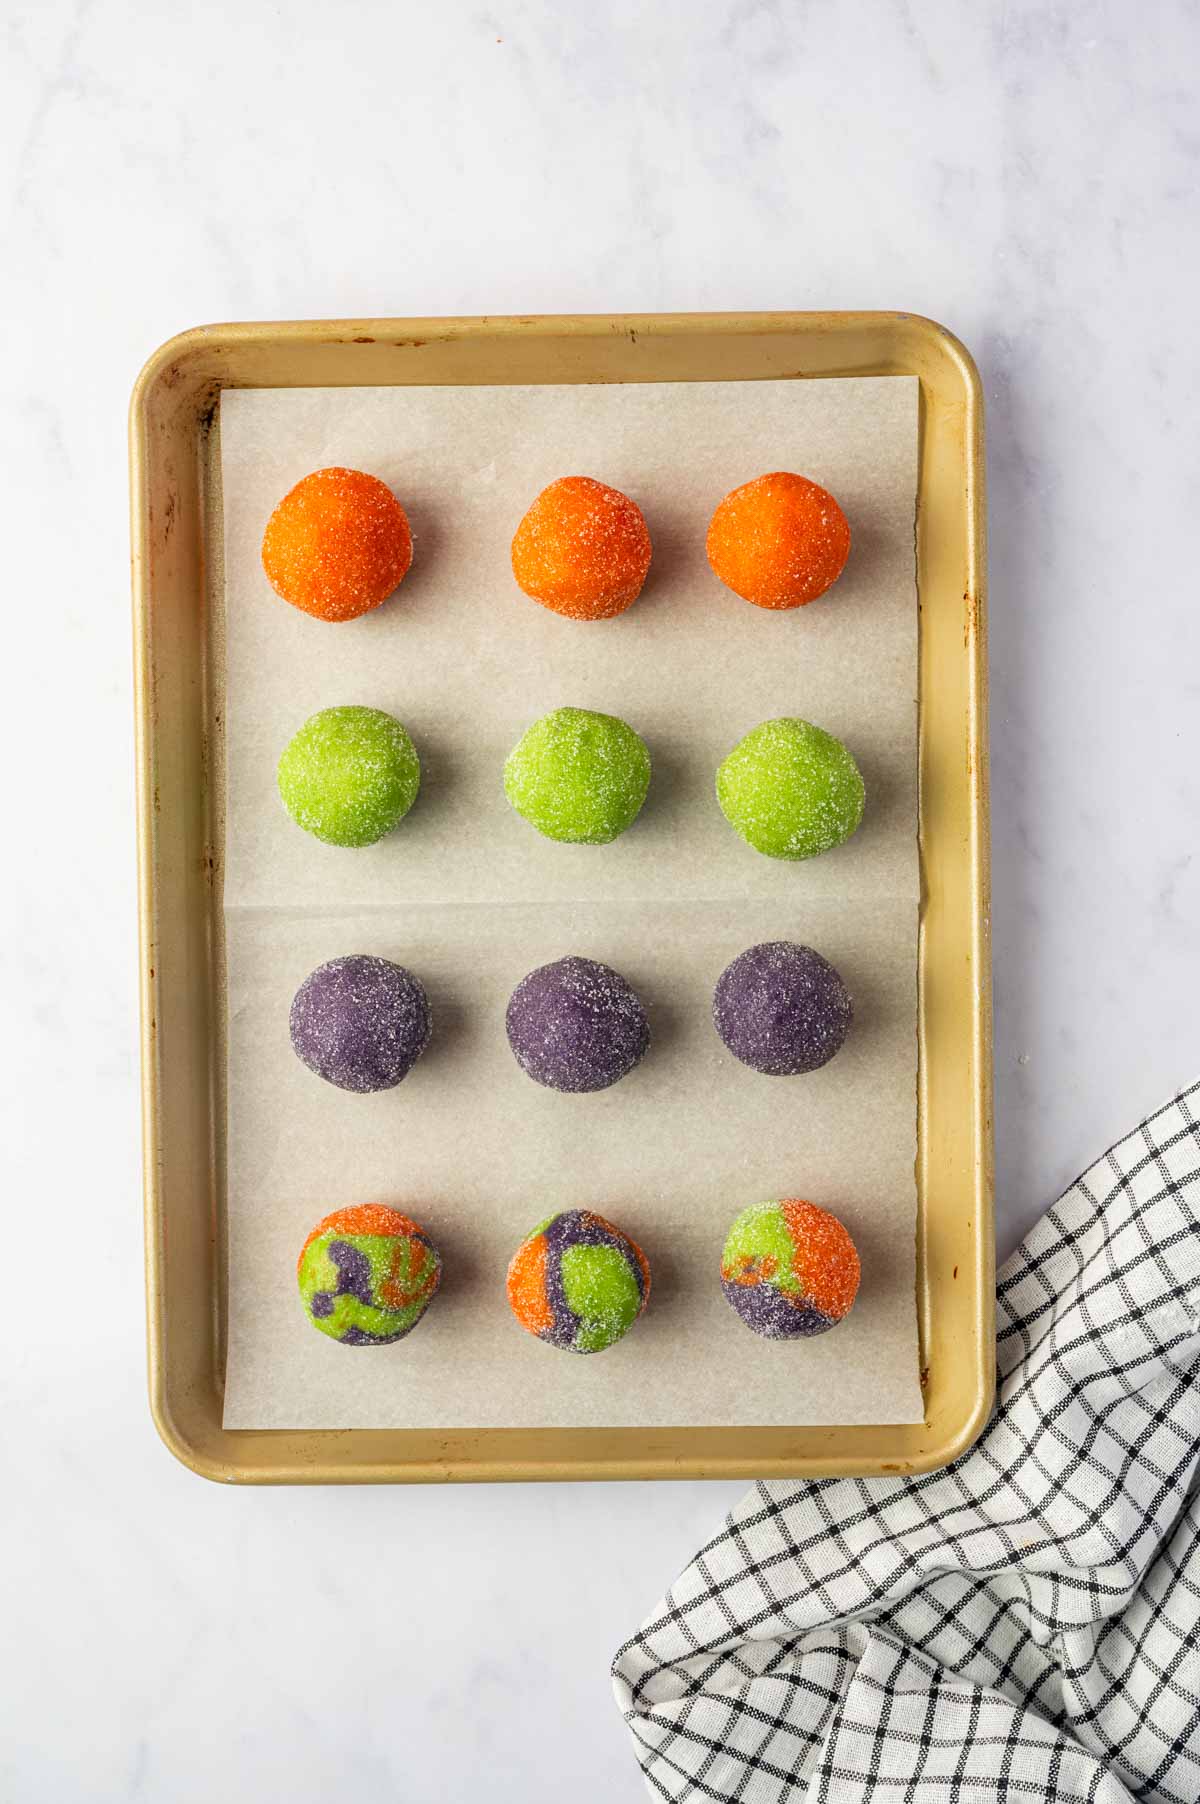
Arrange the cookies about 2 inches apart. Bake for 10–12 minutes, until the edges are set but the centers still look slightly soft.
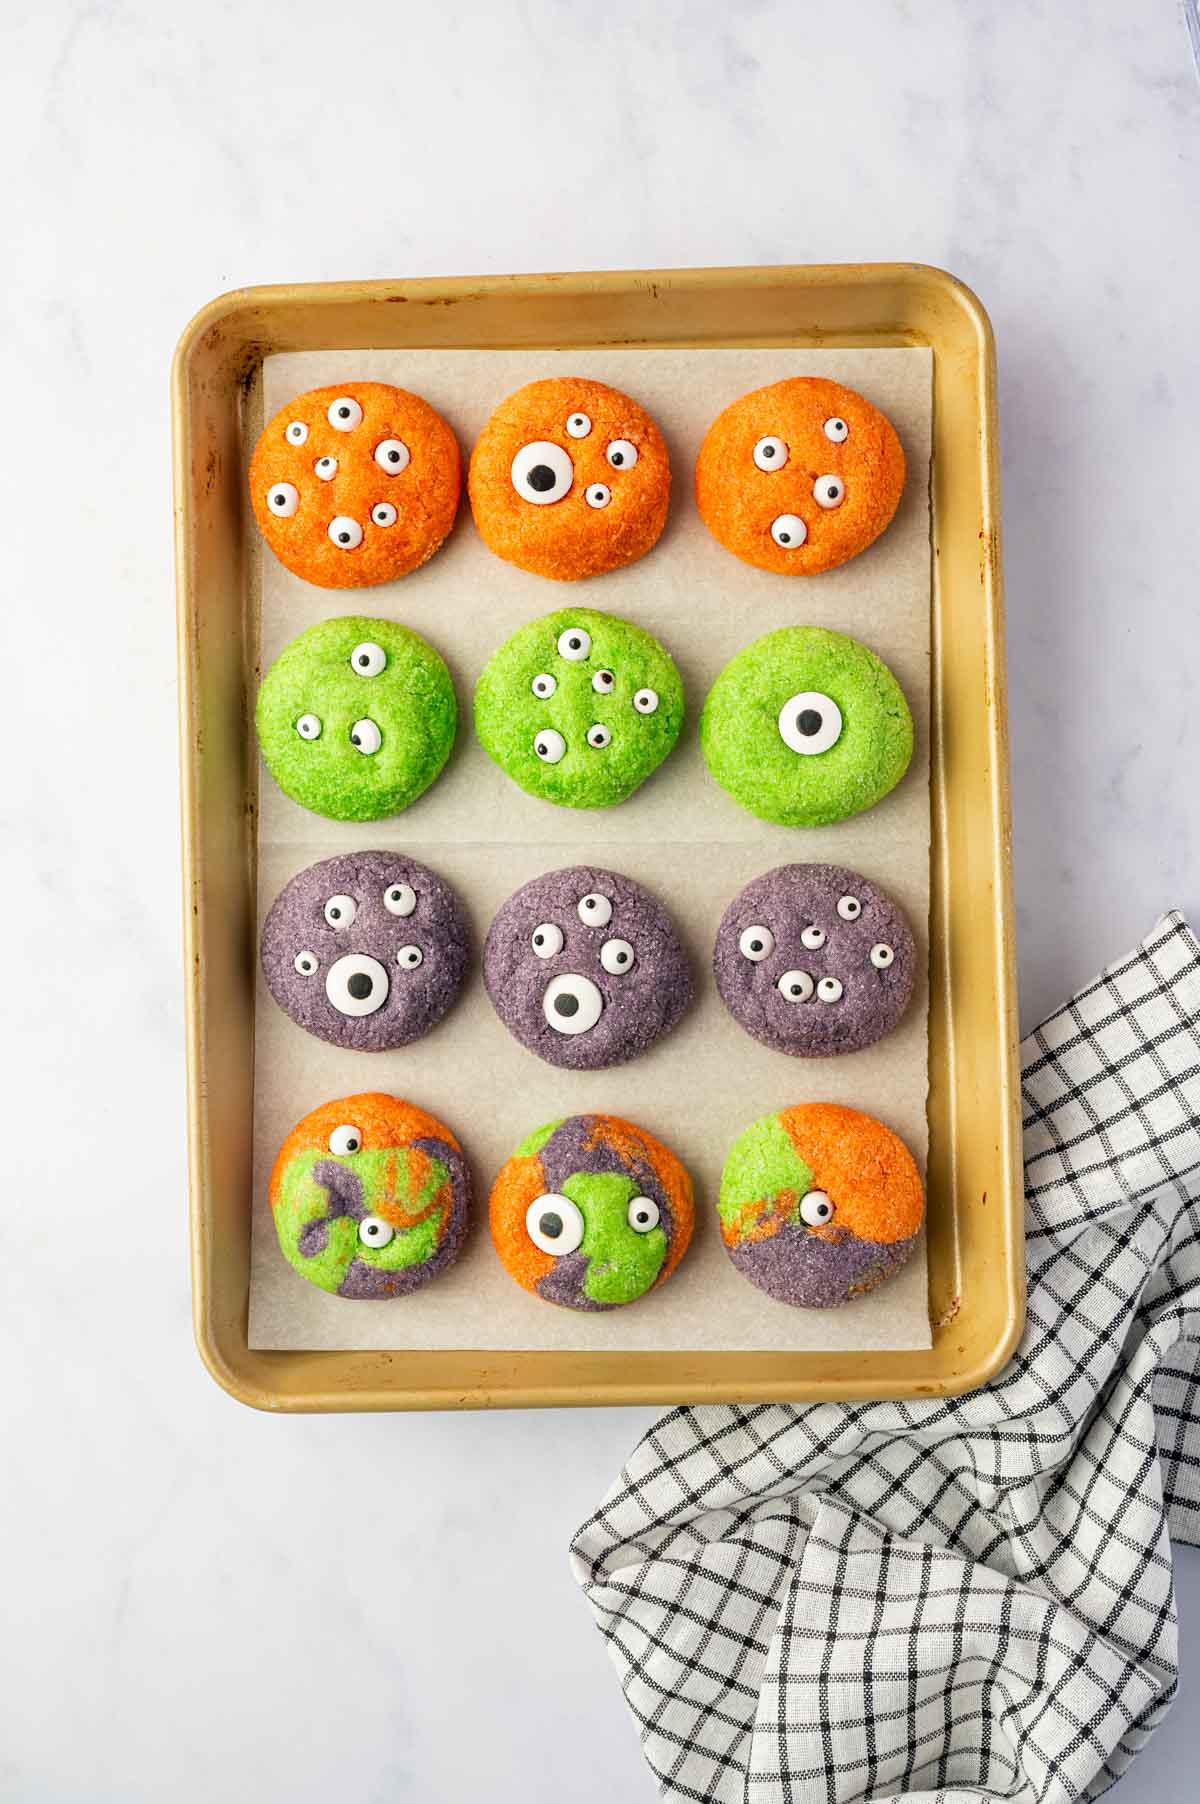
Add the monster eyes. Immediately after removing the cookies from the oven, gently press edible candy eyes into the warm cookies. Use different sizes and numbers of eyes to give each Halloween monster cookie a different look.
Cool. Let the cookies cool on the baking sheet for about 5 minutes before transferring them to a wire rack.
Hint: Use gel food coloring instead of liquid food coloring for vibrant purple, orange, and green cookies without changing the consistency of the dough. Press the edible candy eyes onto the cookies immediately after baking, while they're still warm, so they stick securely without melting or discoloring.
Variations For Halloween Monster Eye Cookies
- Chocolate Monster Eye Cookies – If your kids love chocolate and you must make chocolate cookies even for Halloween, just swap half cup cocoa powder with half cup of flour. Skip the food color and follow the rest of the instructions step by step.
- Infested Spooky Cookies – Make the cookies just like I shared them in the recipe. When you start decorating them, add some candy bugs along with the eyes to make extra spooky halloween cookies.
- Monster Eyes Halloween Mug Cake – I know this one’s a little off the track, but I made everything super dooper easy for you. Prepare your Mug Cake as you do and swap the chocolate chip cookies with candy eyes.
Serving Suggestions
Hot Chocolate: You can simply serve these cookies with a cup of hot chocolate or a glass of warm milk.
Halloween Platter: These Halloween monster eye cookies can be paired with other easy treats for Halloween parties and school events. Pair them with Marshmallow Spider Web Cookies, Halloween Brownies, Pumpkin Hand Pies, Halloween Rice Krispie Treats, or Brownie Cake Pops.
Icecream: Warm cookies with ice cream will give you the same effect you get from brownies and ice cream, cozy and comforting. Just plate your cookies and put a hefty scoop of ice cream on the side right before you serve them.
Equipment
- Mixing Bowls: For combining wet and dry ingredients.
- Mixer (stand mixer or hand mixer): Helps cream the butter and sugars together for the right texture. I have used stand mixer for this recipe.
- Measuring Cups and Spoons: For accurately measuring flour, sugar, and other ingredients.
- Spatula : Useful for folding in the blackberries.
- Baking Sheet: A sturdy, nonstick baking sheet ensures even baking.
- Parchment Paper: Prevents cookies from sticking and makes cleanup easier.
- Cookie Scoop: For evenly sized cookies that bake consistently. I have used 2 tablespoon sized ice cream scoop.
- Wire Cooling Rack: Allows cookies to cool properly.
Storage and Reheating Tips
Room Temperature: You can store these Halloween monster eye cookies at room temperature for 2- 3 days. Keep them in an airtight container lined with parchment paper.
Refrigerator: Keep them in an airtight container in the fridge for up to a week. Keep them at room temperature for two hours for a softer and chewy texture.
Freezer: Place them in a single layer on a baking sheet and freeze for 1 hour. Then transfer to a freezer-safe bag or container. They’ll keep for up to 2 months.
Reheating: Thaw frozen cookies in the refrigerator for 5 - 6 hours. You can reheat the refrigerated cookies in the microwave for 10–15 seconds for a soft, fresh-out-of-the-oven texture. For crispy edge cookies, heat in a preheated oven at 300°F (150°C) for 5–7 minutes.

Top Tips For The Best Halloween Monster Eye Cookies
- Use softened butter. Melted butter will make the dough too hard to shape into balls.
- Don’t over mix the dough. As soon as you stop seeing the white flour, stop mixing. Overmixing will make cookies hard.
- Always use gel food coloring. Liquid food color will make the dough runny and powdered colour will make it too hard.
- Don’t over bake. Pull them out of the oven while the center is still shiny and moist. This will keep them soft and chewy.
- Keep an eye on the color. Pull the cookies out while the colour is still vibrant and the centre is shiny. Over cooking will make the colours tanned.
- Add the eyes while the cookies are warm so they can stick to the cookies and don’t fall off.
FAQ
The butter may have been too warm, or the dough may have been overmixed. Make sure the butter is softened but still cool enough to hold its shape, and mix the dough only until the ingredients are combined.
Yes. You could use small pieces of white icing with a dot of melted chocolate for pupils.
Yes, but gel coloring is the better choice for these cookies. It's more concentrated, so you can achieve bright purple, green, and orange colors without adding much liquid to the dough.
Press the eyes gently into the cookies while they're still warm. The soft surface will hold them in place as the cookies cool.
Related
Looking for other recipes like this? Try these:



Pairing
These are my favorite dishes to serve with this Halloween cookies recipe:



If you tried this Halloween Monster Eye Cookies recipe or any other recipe from my blog, I’d love to hear your thoughts! ⭐ Please leave a STAR rating and share your experience in the COMMENTS below. Your support means so much and helps me continue creating delicious recipes. Thank you for being part of this journey!

Halloween Monster Eye Cookies (Purple, Orange, & Green)
Equipment
- Measuring cups and spoons
- Mixing Bowls
- Cooling rack
- Spatula
- Baking Sheet
- Hand Mixer or Stand Mixer
Ingredients
- 2½ cups all-purpose flour
- ½ teaspoon baking powder
- ½ teaspoon baking soda
- ½ teaspoon salt
- ¾ cup unsalted butter softened
- 1¼ cups granulated sugar
- 1 large egg room temperature
- 1 large egg yolk room temperature
- 2 teaspoons vanilla extract
- Purple gel food coloring
- Green gel food coloring
- Orange gel food coloring
- ⅓ cup granulated sugar for rolling
- Edible candy eyes assorted sizes
Instructions
- Combine the dry ingredients. In a medium bowl, whisk together the flour, baking powder, baking soda, and salt. Set aside.
- Cream the butter and sugar. In a large bowl, beat the softened butter and 1¼ cups sugar for 2–3 minutes, until light and creamy.
- Add the wet ingredients. Beat in the egg, egg yolk, and vanilla until smooth and combined.
- Make the cookie dough. Gradually add the dry ingredients to the butter mixture. Mix just until a soft dough forms. Avoid overmixing.
- Color the dough. Divide the dough evenly among three bowls. Add purple gel food coloring to one, green to another, and orange to the third. Mix each until the color is evenly distributed. Add more gel coloring as needed to get vibrant Halloween colors.
- Prepare for baking. Preheat the oven to 350°F (175°C). Line two baking sheets with parchment paper. Place the remaining ⅓ cup sugar in a shallow bowl.
- Shape and coat. Scoop about 1½ tablespoons of dough per cookie and roll into balls. Roll each ball in granulated sugar until evenly coated.
- Bake. Arrange the cookies about 2 inches apart. Bake for 10–12 minutes, until the edges are set but the centers still look slightly soft.
- Add the monster eyes. Immediately after removing the cookies from the oven, gently press edible candy eyes into the warm cookies. Use different sizes and numbers of eyes to give each monster a different look.
- Cool. Let the cookies cool on the baking sheet for about 5 minutes before transferring them to a wire rack.
Notes
- Use softened butter. Avoid melted butter, as it can make the dough too soft and sticky to easily shape into balls.
- Don’t overmix the dough. Once you no longer see streaks of flour, stop mixing. Overmixing can result in tougher cookies.
- Use gel food coloring. Gel coloring creates vibrant purple, orange, and green colors without adding excess liquid to the cookie dough. Add a little at a time until you reach your desired shade.
- Don’t overbake. Remove the cookies from the oven when the edges are set but the centers still look slightly soft and underdone. They will continue to set as they cool, keeping them soft and chewy.
- Keep an eye on the color. Remove the cookies while their colors are still bright and vibrant. Overbaking can cause the edges to brown and make the Halloween colors look dull.
- Add the candy eyes while the cookies are warm. Gently press the edible eyes into the cookies immediately after they come out of the oven so they stick securely as the cookies cool.



Leave a Reply