
It’s October and spider webs everywhere, fake ones, Thank God. Why aren’t they on Halloween treats? Let’s fix that. I’m making Marshmallow Spider Web Cookies this Halloween for my daughter’s school party. I wanted to test a batch early so that they turn out perfect when I make them for the event. Thought I’ll share them so that we’re all making them.
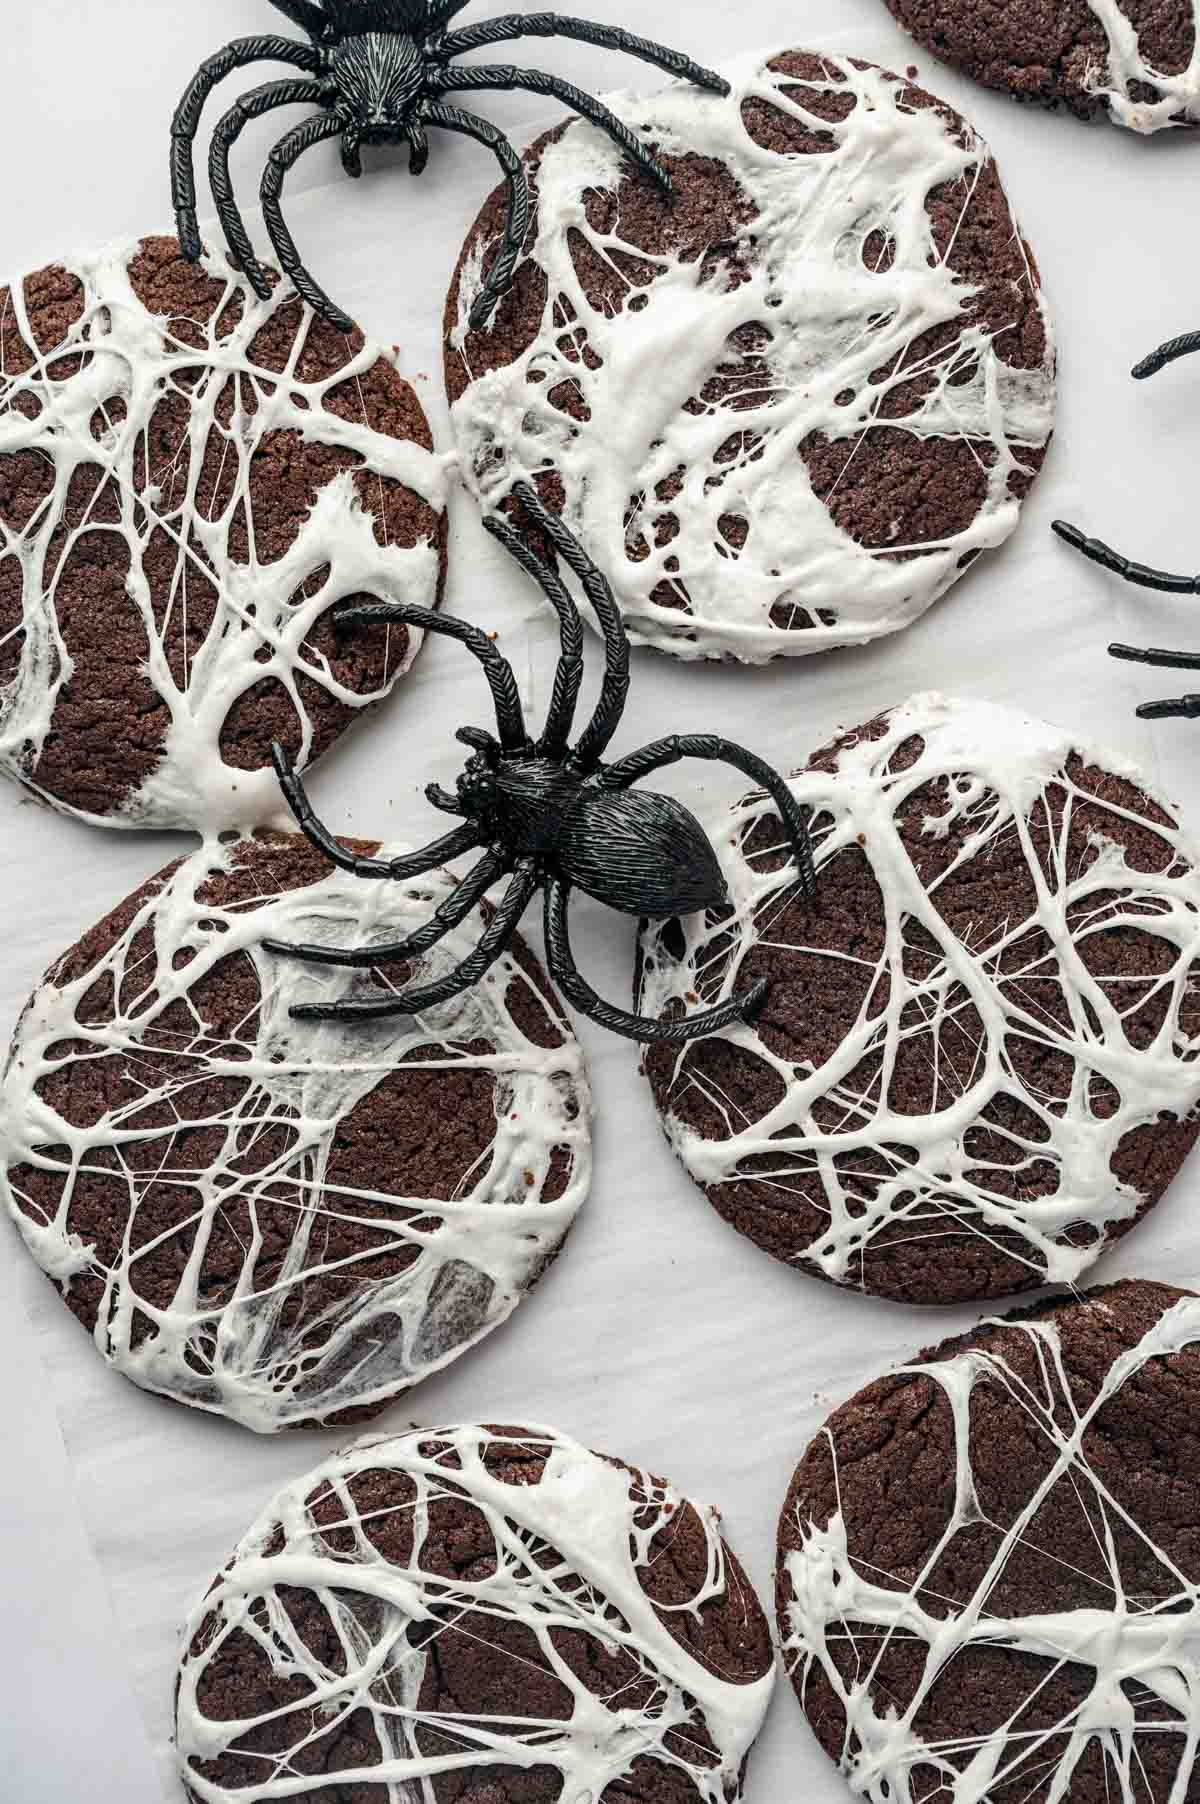
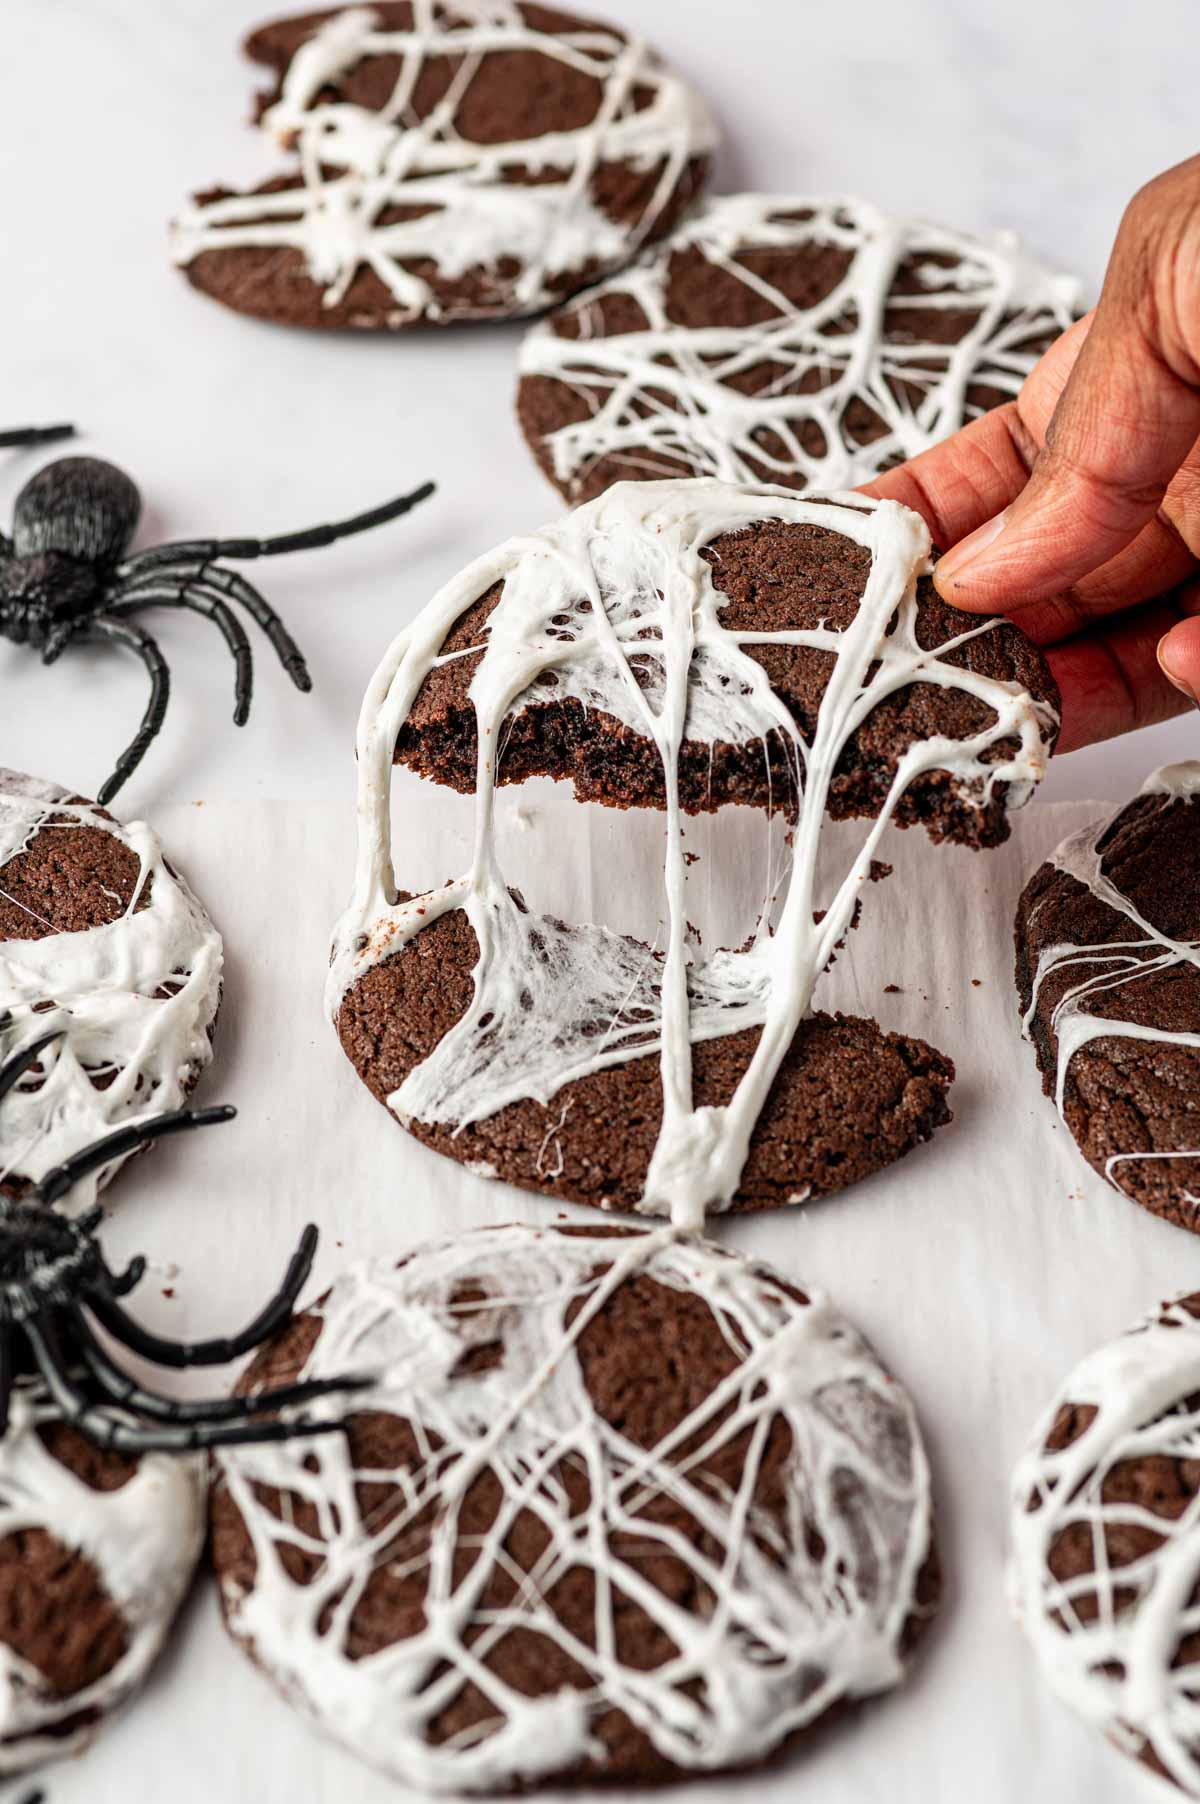
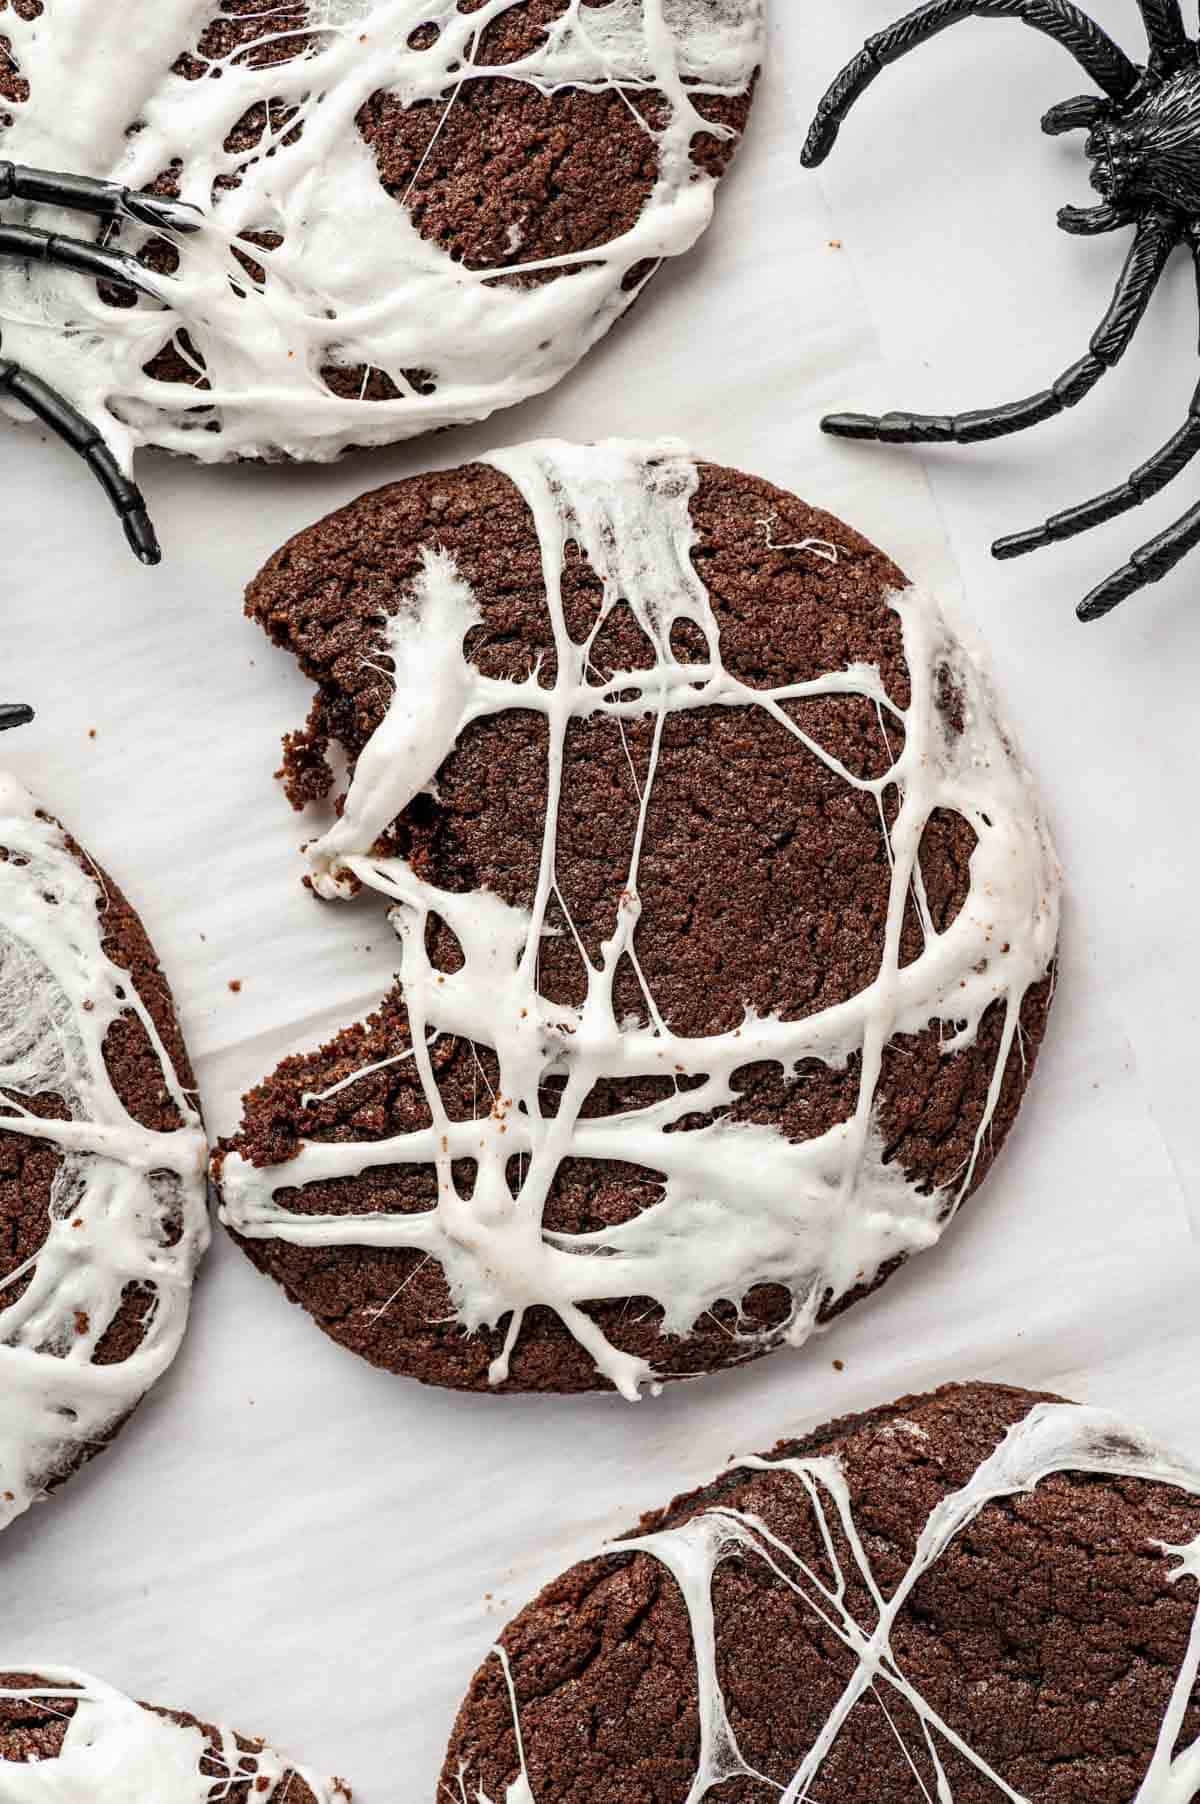
These spider web cookies have a rich cocoa flavor with just enough coffee to make them more decadent. They’re chewy, flavourful, and gooey. The marshmallow spider webs create a signature Halloween look that makes these cookies look spooky and festive. The spider web part might feel a little messy, but it’s a great fun experiment for kids in the kitchen. Just make sure the melted marshmallows are warm, not hot.
I’ve put together this easy Halloween cookie recipe using simple ingredients and the most basic techniques. It’s kids friendly from start to finish. No piping bags, no decoration techniques, no whipping. Just bake the cookies, melt the marshmallows, and make messy spider webs.
If you’re hosting a Halloween party at your house, you need more easy Halloween treats. I recommend pairing these cookies with Halloween Brownies made with marshmallow ghosts. You should also try Halloween Monster Eye Cookies, Halloween Rice Krispie Treats, and Pumpkin Hand Pies.
Jump to:
- Why You'll Love These Marshmallow Spider Web Cookies
- Ingredients and Substitutions
- Instructions: A Step-By-Step Guide For Spider Web Cookies With Marshmallow
- Variations For Marshmallow Spider Web Cookies
- Equipment
- Serving Suggestions
- Storage and Reheating Tips
- Top Tips For The Best Marshmallow Spider Web Cookies
- FAQ
- Related
- Pairing
- Marshmallow Spider Web Cookies (No Piping or Icing)
Why You'll Love These Marshmallow Spider Web Cookies
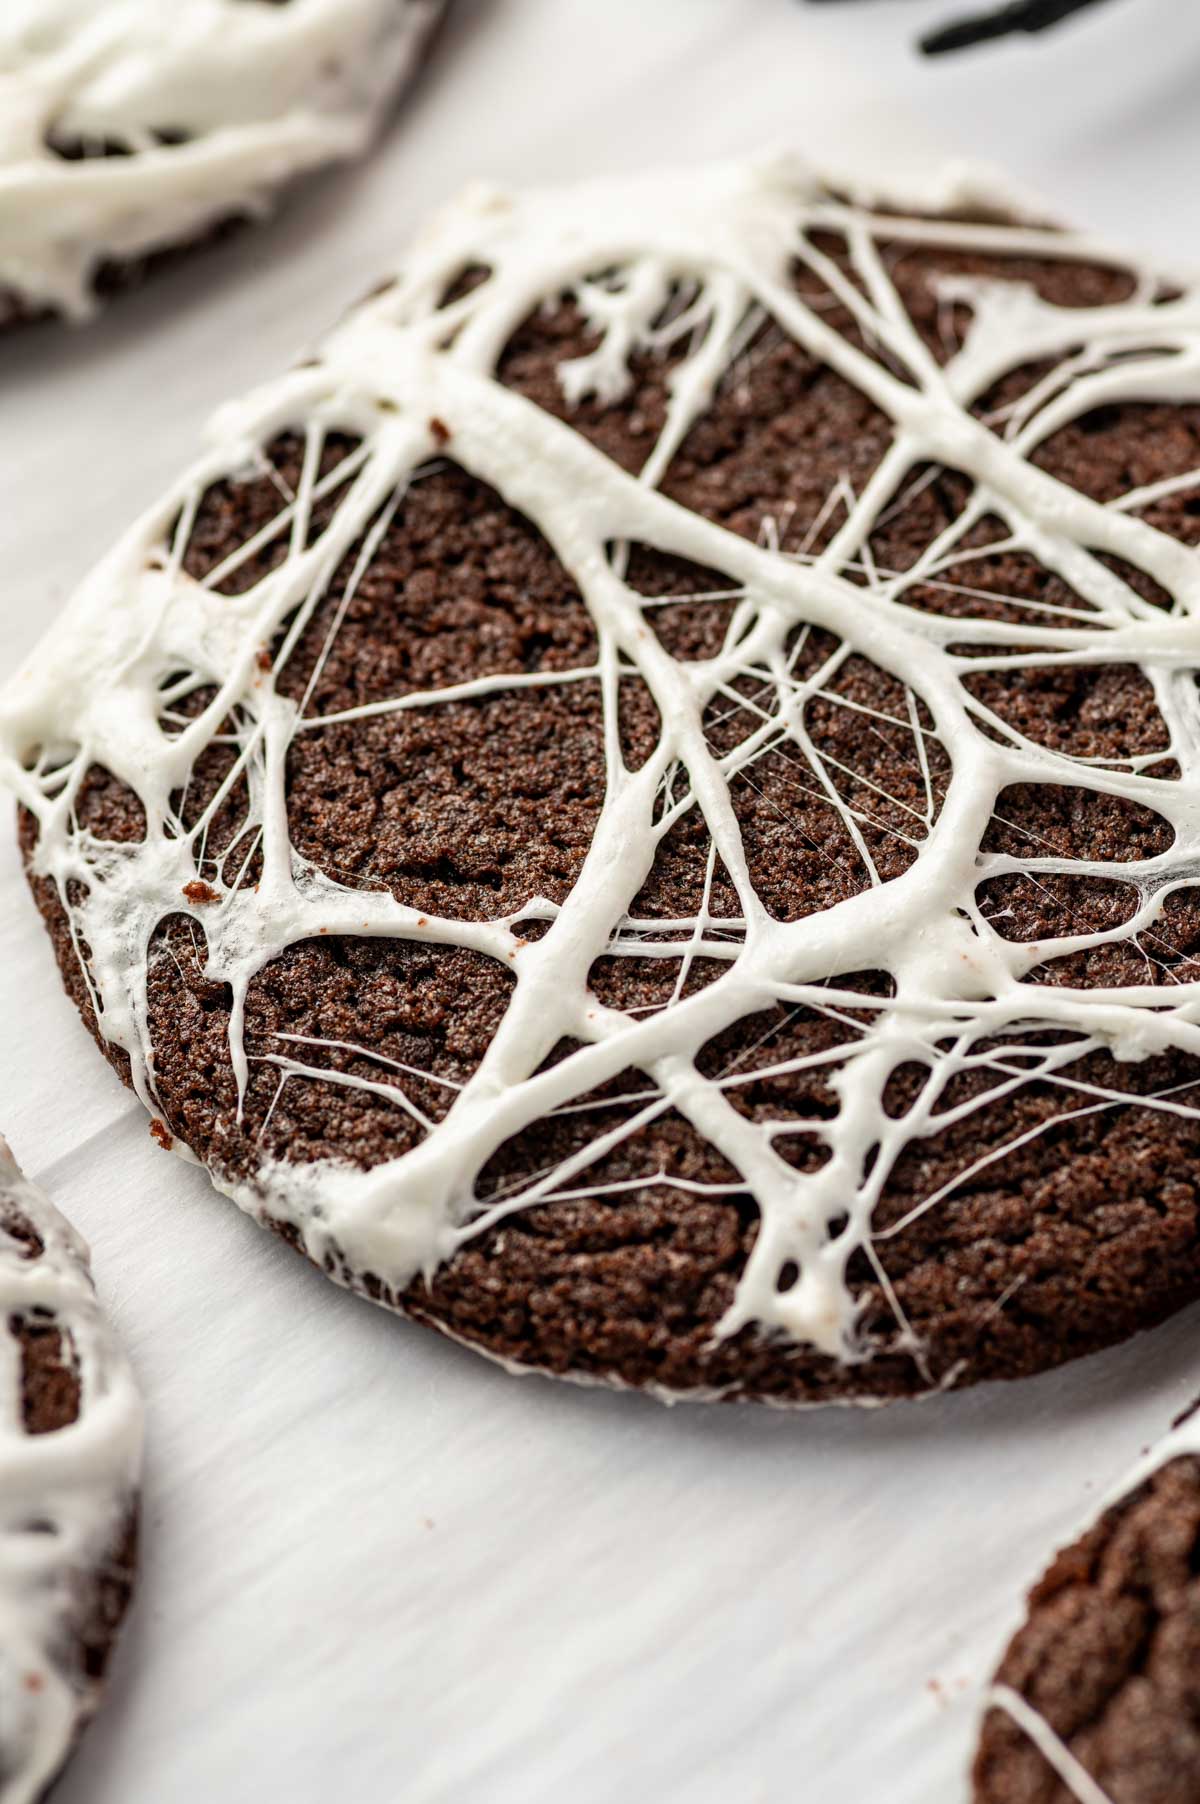
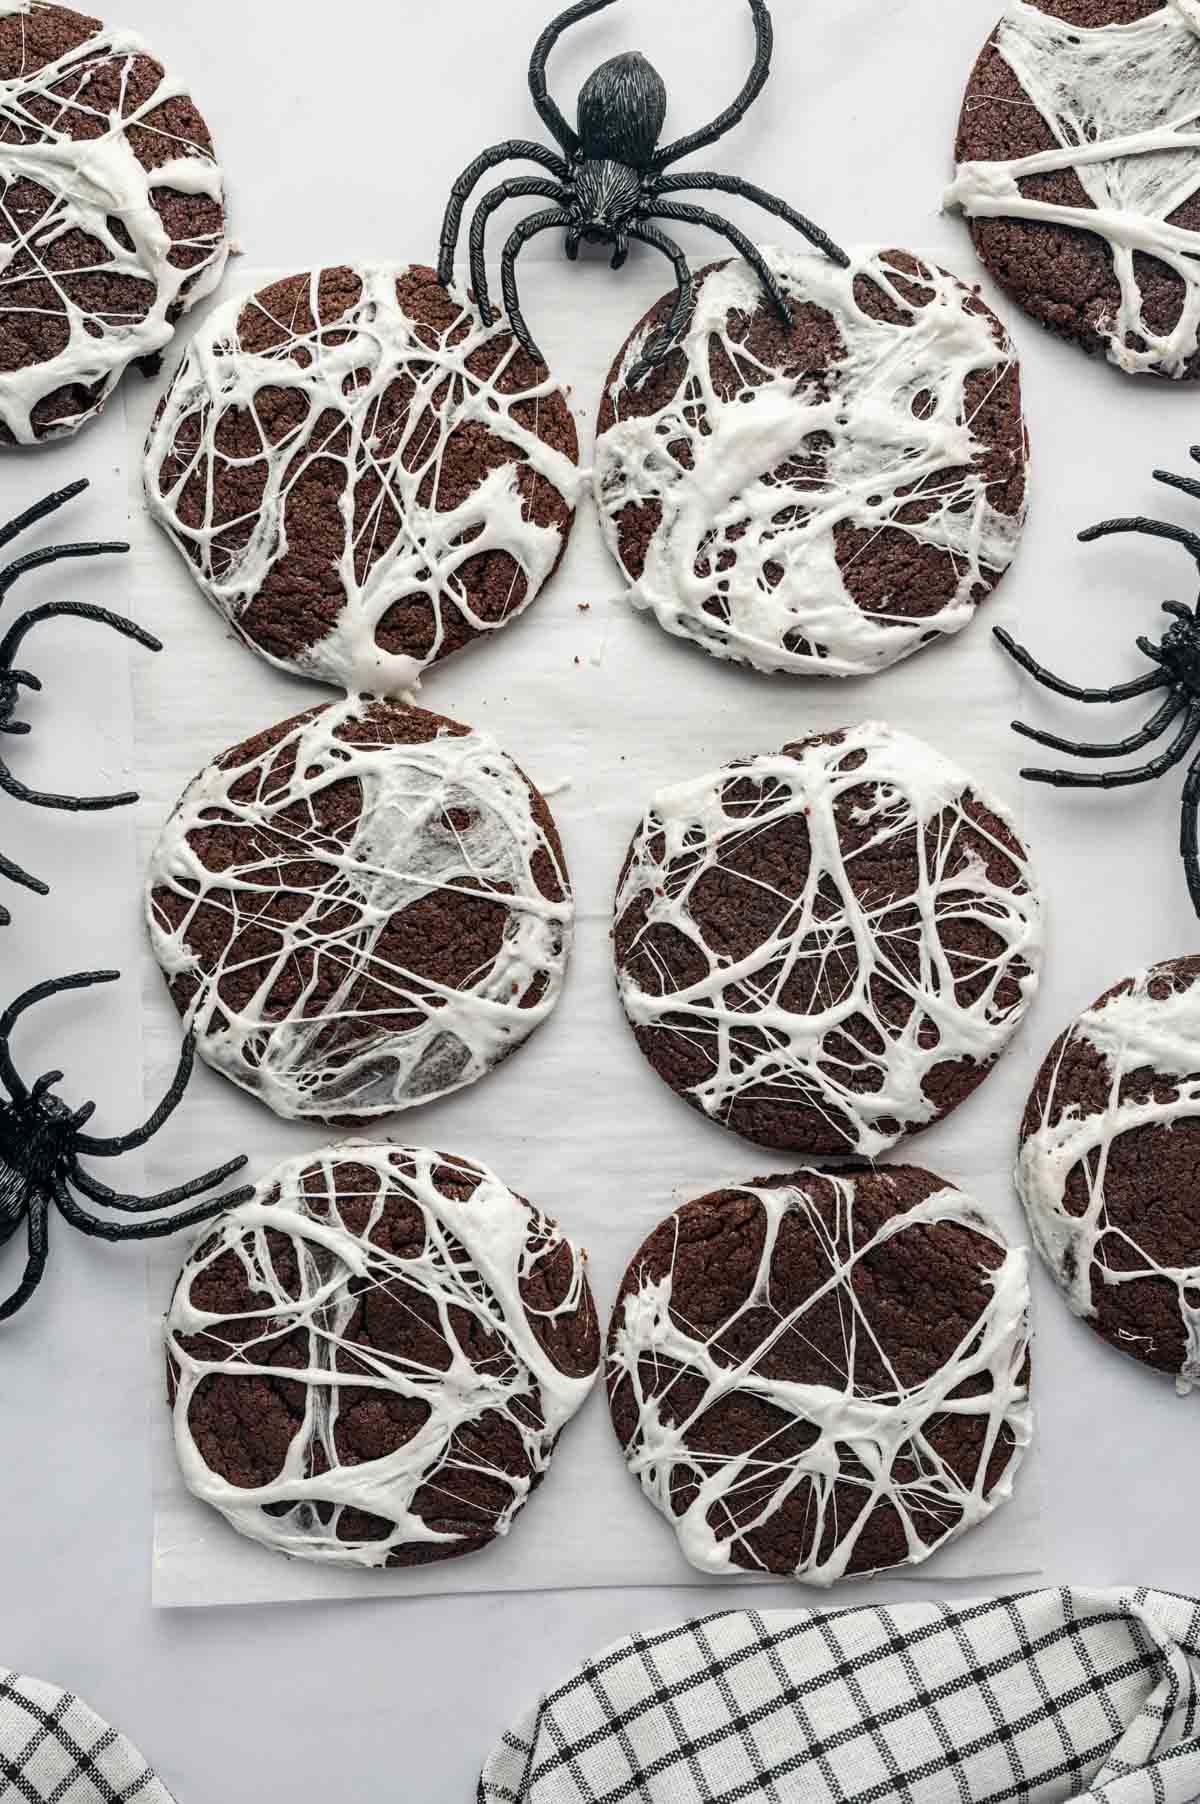
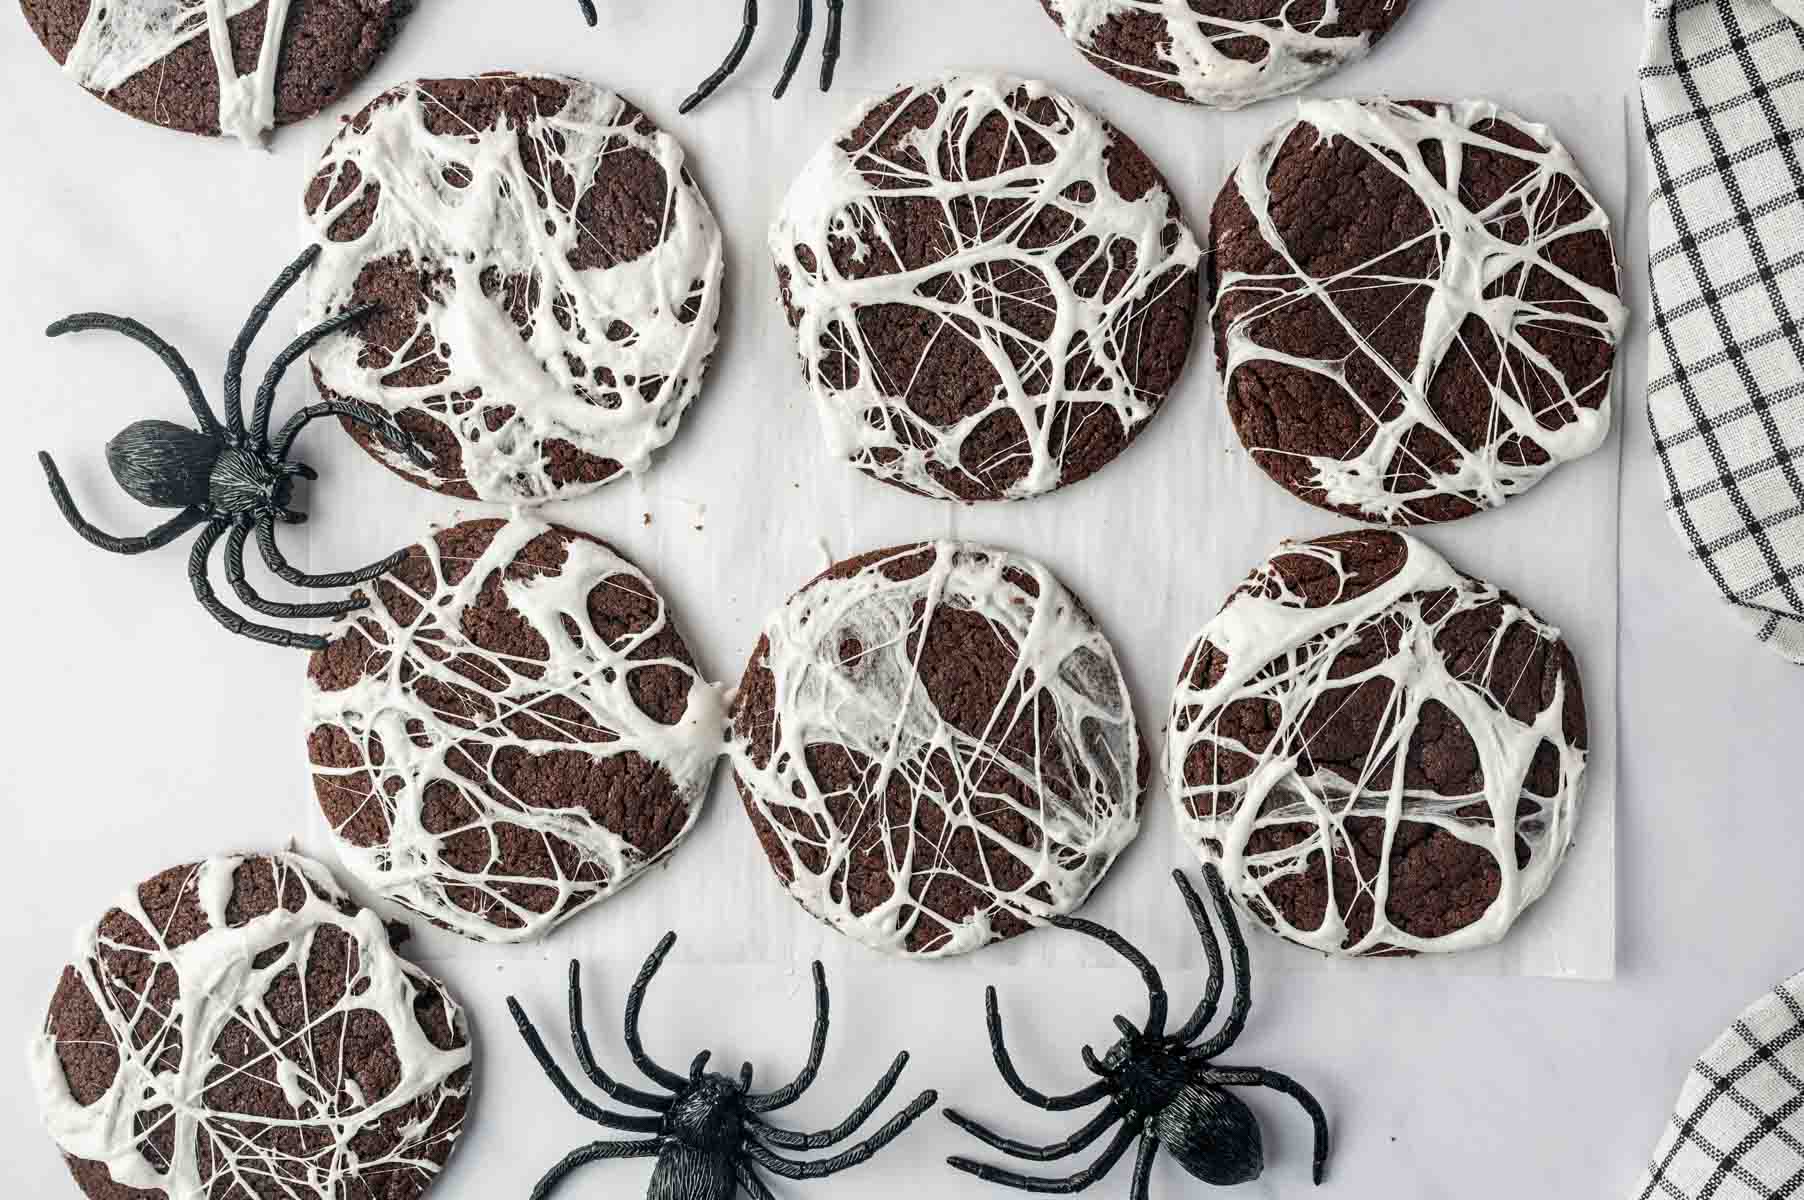
Spooky and Messy – These spider web cookies are an ultimate Halloween recipe because the marshmallow cobwebs look realistic. They’re white, messy, and irregular just like the real ones. They’re a must add to any Halloween spread.
Easy Decoration Technique – Decorating cookies with icing or piping bags takes a lot of time, precision, and effort. I share a simple, quick, and effective technique to achieve better results with less effort and no skills. Even a 5 year old can decorate these cookies!
Rich Flavour and Texture – The dutch-process cocoa powder and coffee powder create a rich combination that yields delicious cookies, better than simple chocolate cookies. They’re slightly crisp around the edges, soft and gooey in the centre.
Family Friendly – Kids and adults will love these marshmallow spider web cookies. They’re eye-catching enough to attract kids and decadent enough to please the adults. My entire family finished two batches in one sitting.
Ingredients and Substitutions
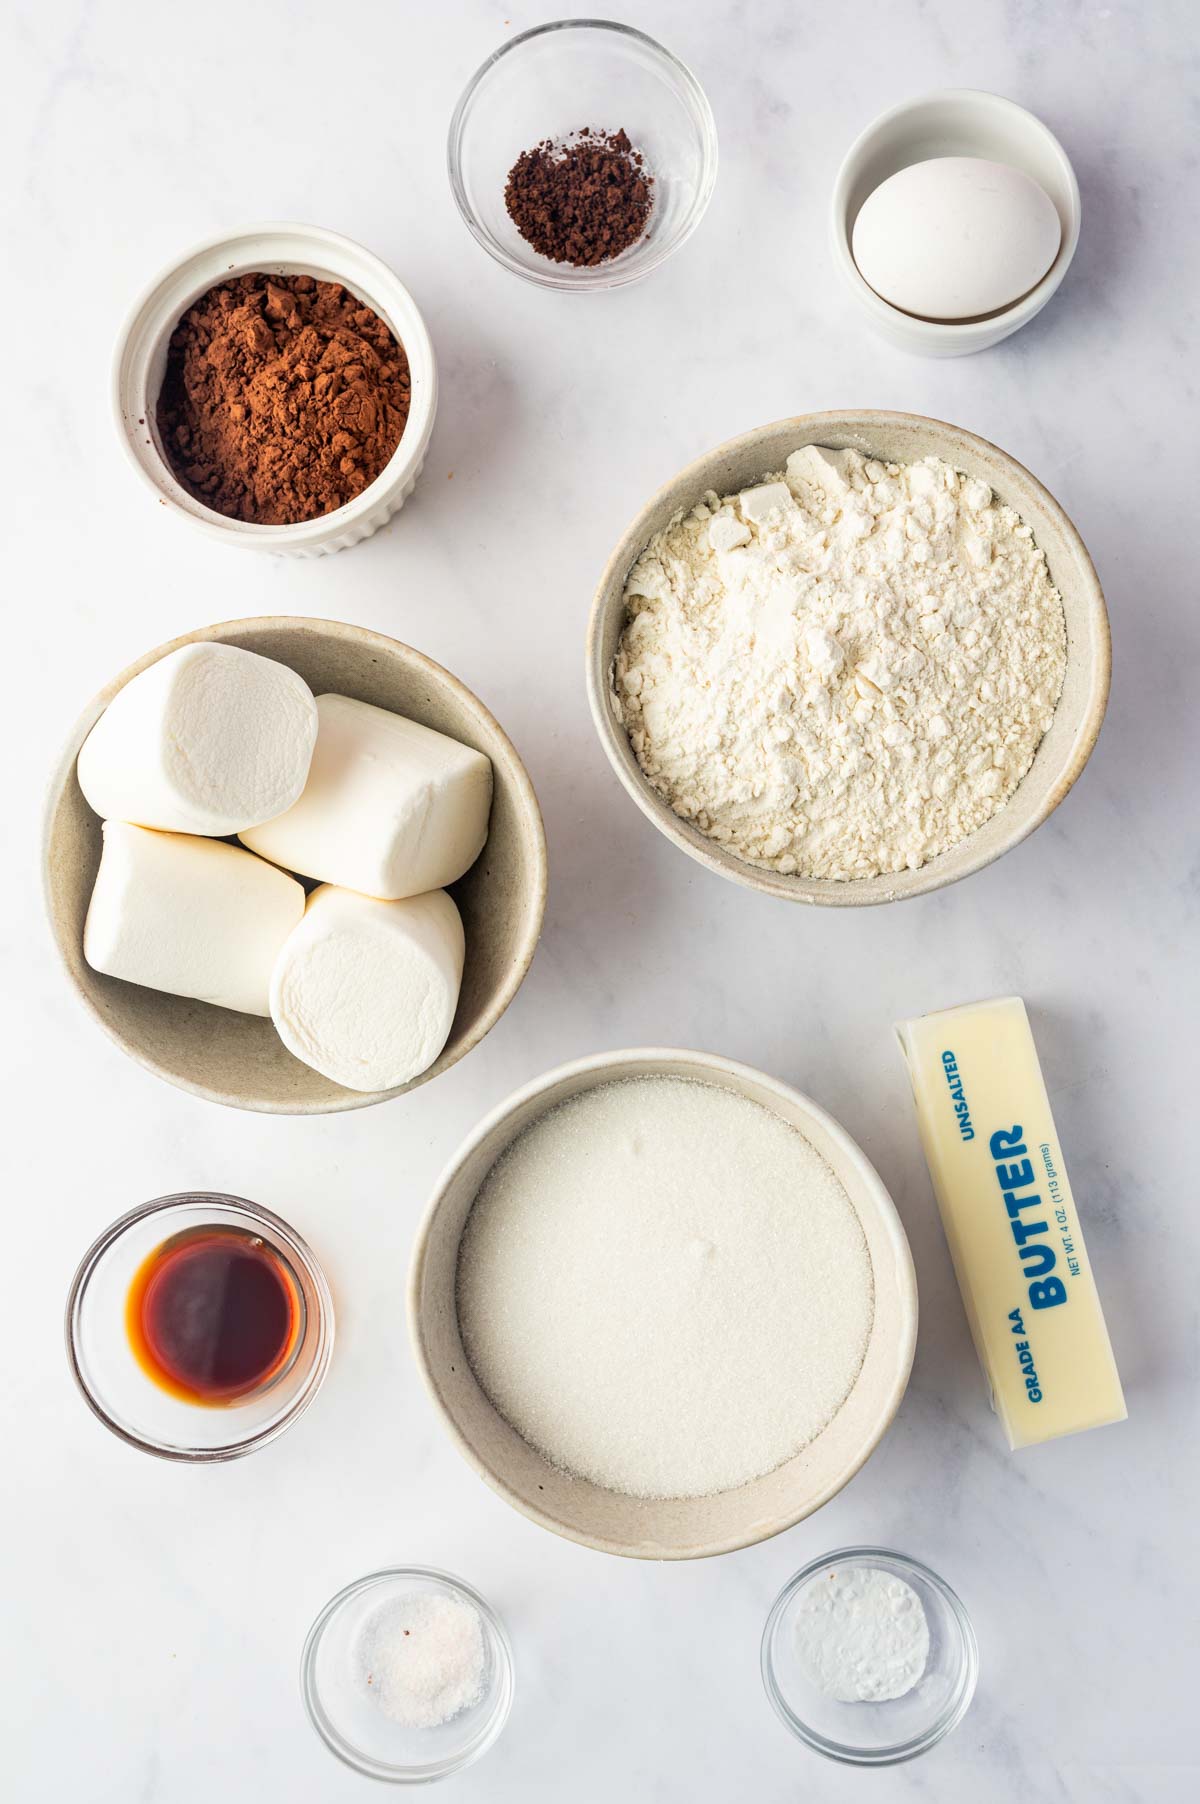
- Dutch-Process Cocoa Powder – I use dutch-process cocoa powder because it has a richer flavour and darker colour. It makes bakery style chocolate cookies.
- Instant Coffee – You can use espresso powder instead if that’s what you have at hand. If your kids don’t like coffee, you can skip it altogether.
- Baking Soda – Baking soda helps the cookies spread nice and evenly.
- Teaspoon Salt – Salt balances the sweetness and brings out the vanilla, chocolate, and coffee flavors. You can use table salt, low-sodium salt, or kosher salt.
- Butter – Use softened, unsalted butter. You can use plant based butter for the vegan version.
- Granulated Sugar – You need granulated sugar for the sweetness as well as for the crisp edges and shiny finish. Substitute it with light brown sugar but it will make the cookies slightly darker.
- Egg – You need one large egg. The egg binds the dough and keeps cookies from crumbling.
- Vanilla Extract – You can use vanilla bean paste if you want the vanilla to be more enhanced than cocoa or coffee flavors.
- Marshmallows – Use jumbo marshmallows for making the spider webs.
See recipe card for quantities.
Instructions: A Step-By-Step Guide For Spider Web Cookies With Marshmallow
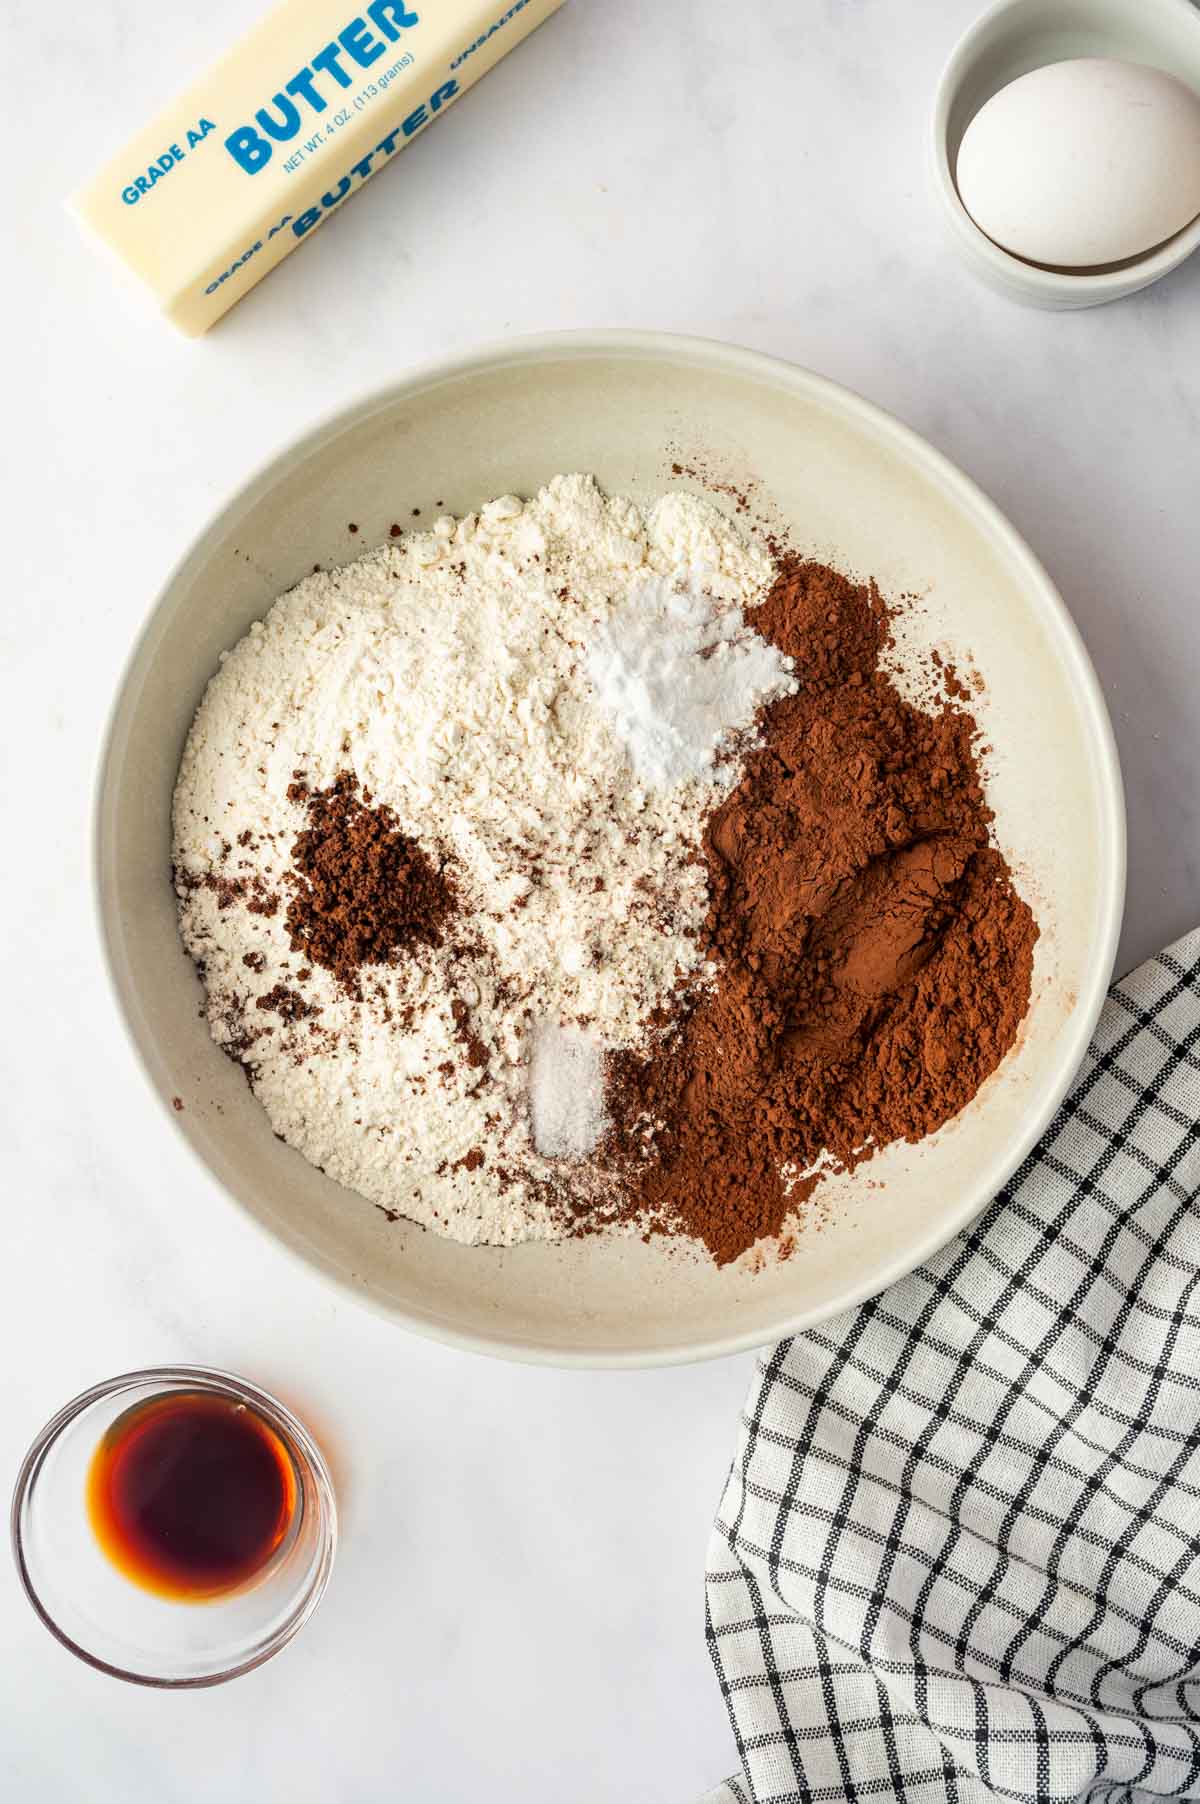
In a medium bowl, whisk together the flour, Dutch-process cocoa powder, instant coffee powder, baking soda, and salt.
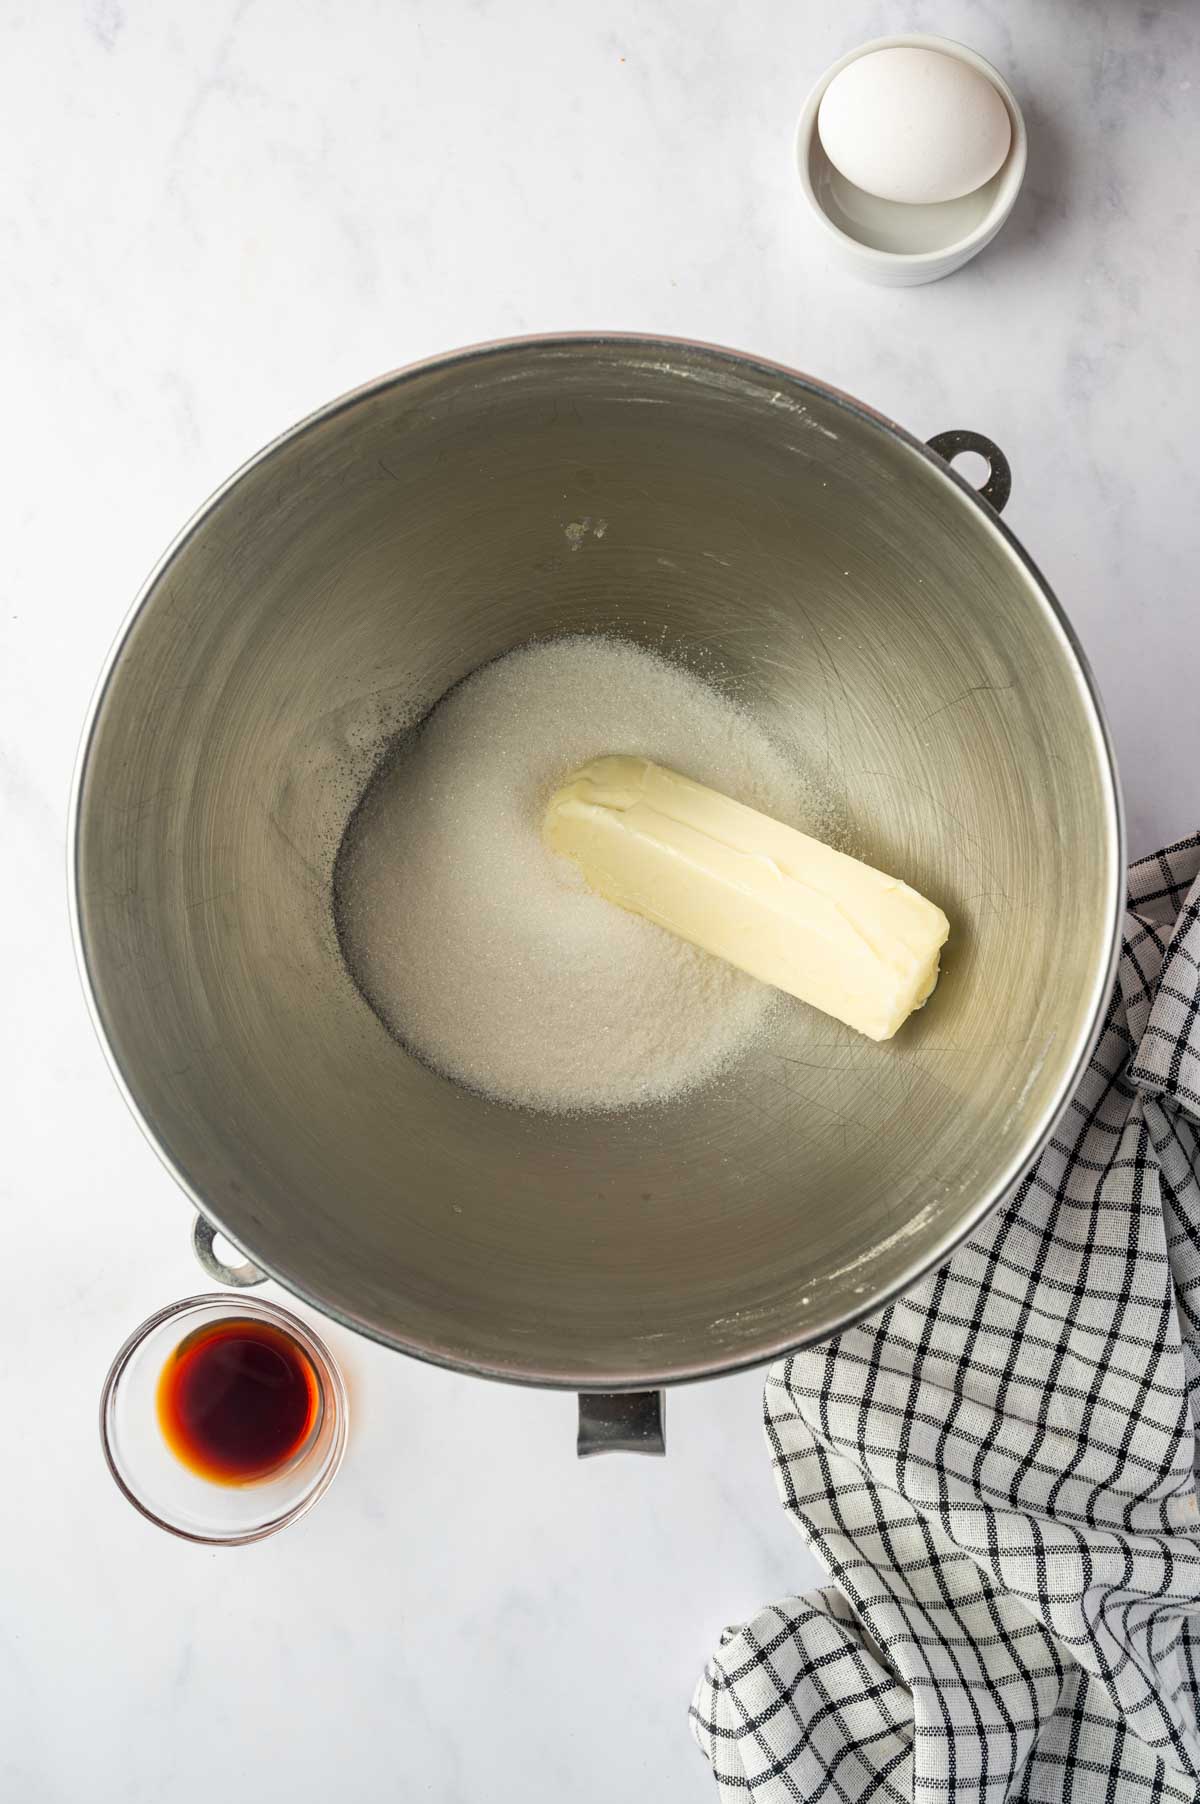
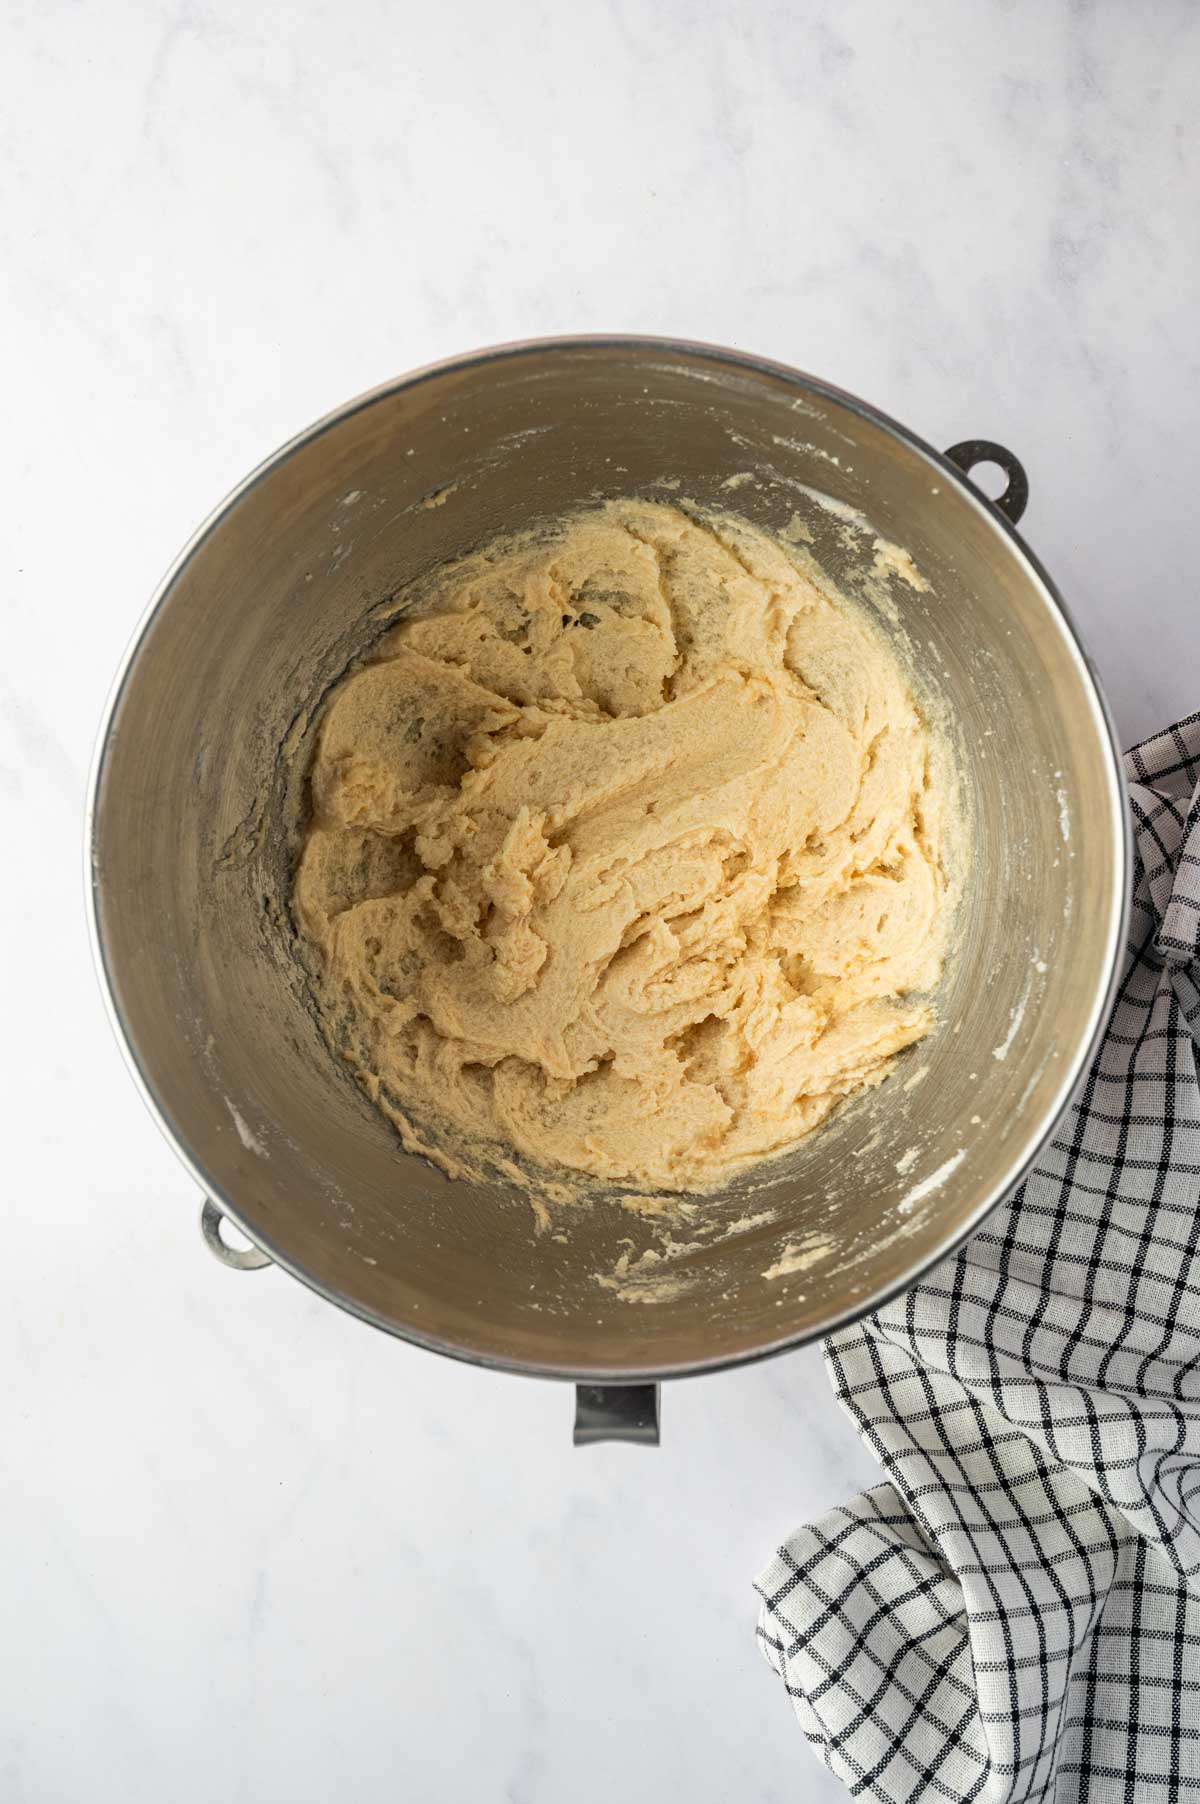
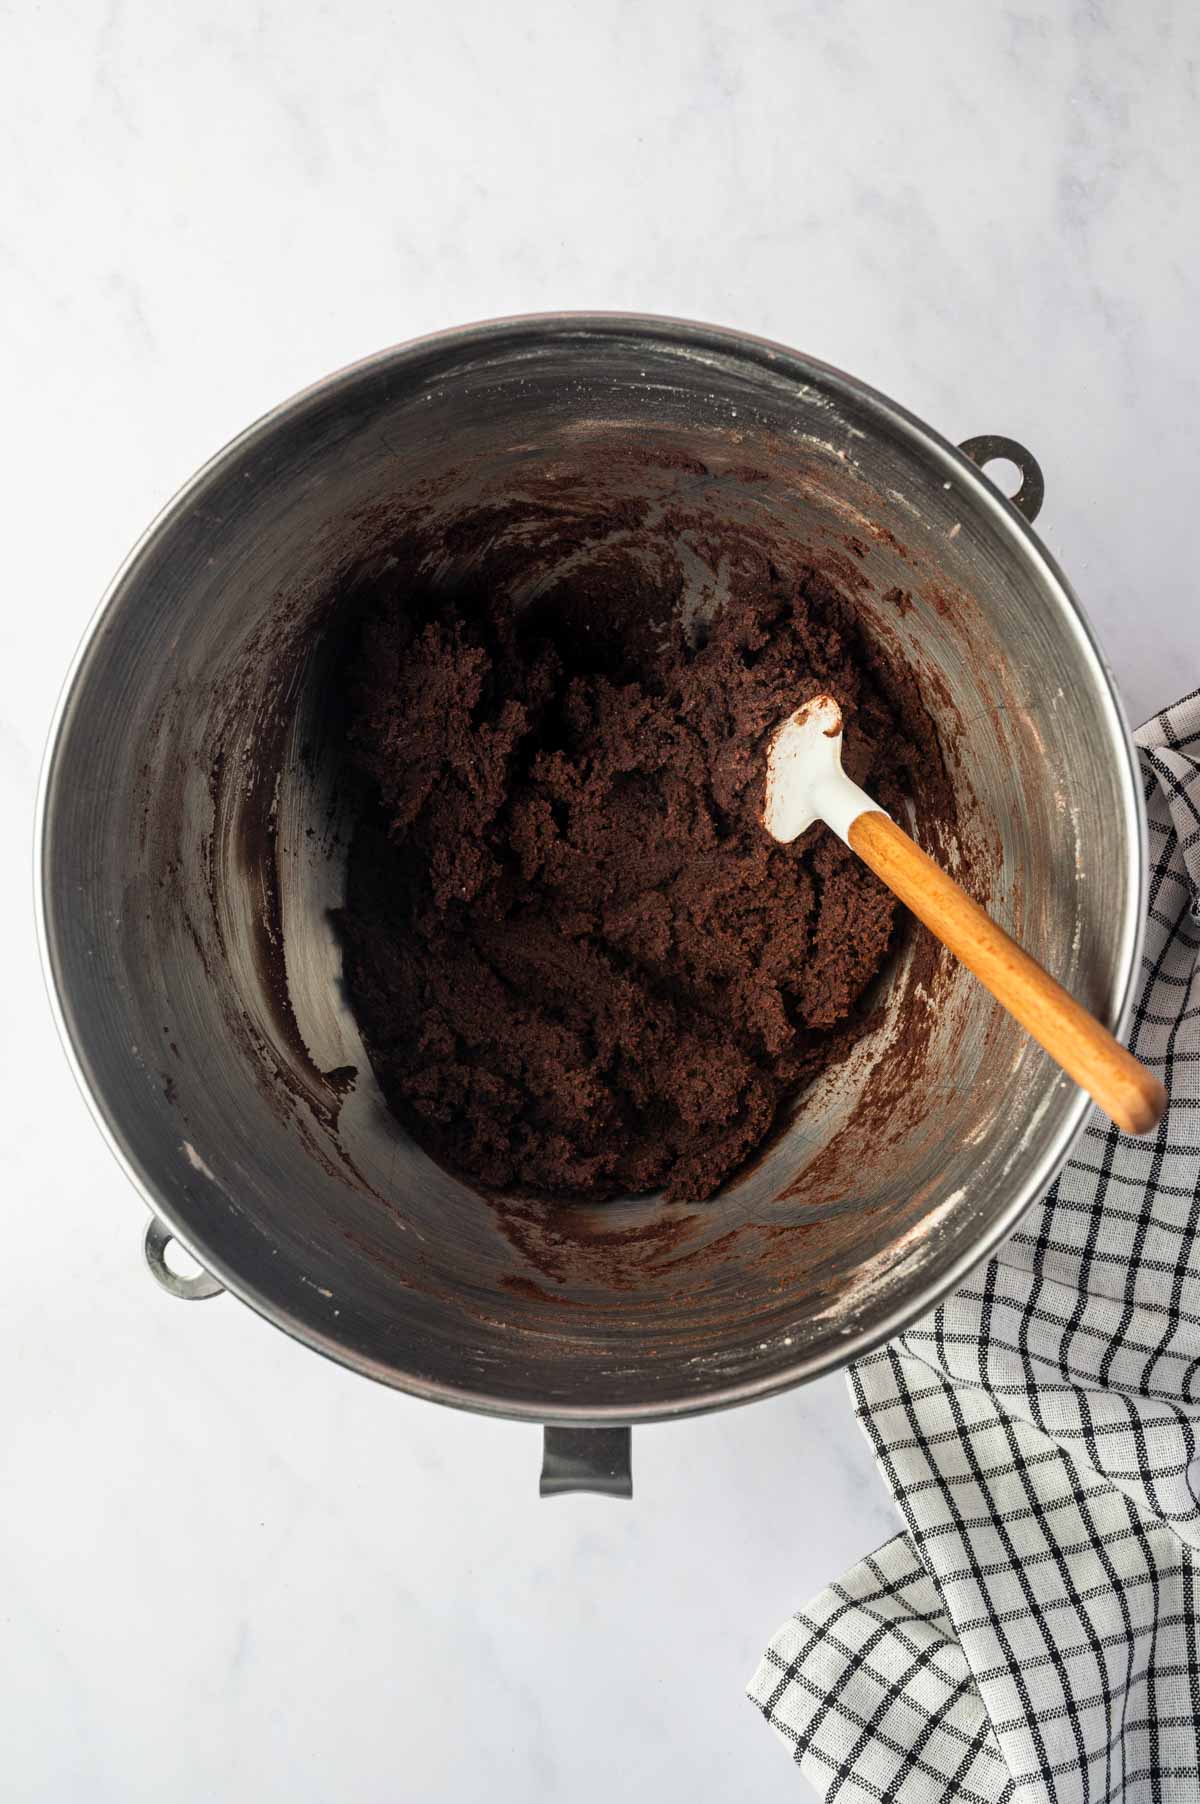
Gradually add the dry ingredients to the wet ingredients. Mix just until a thick chocolate cookie dough forms.
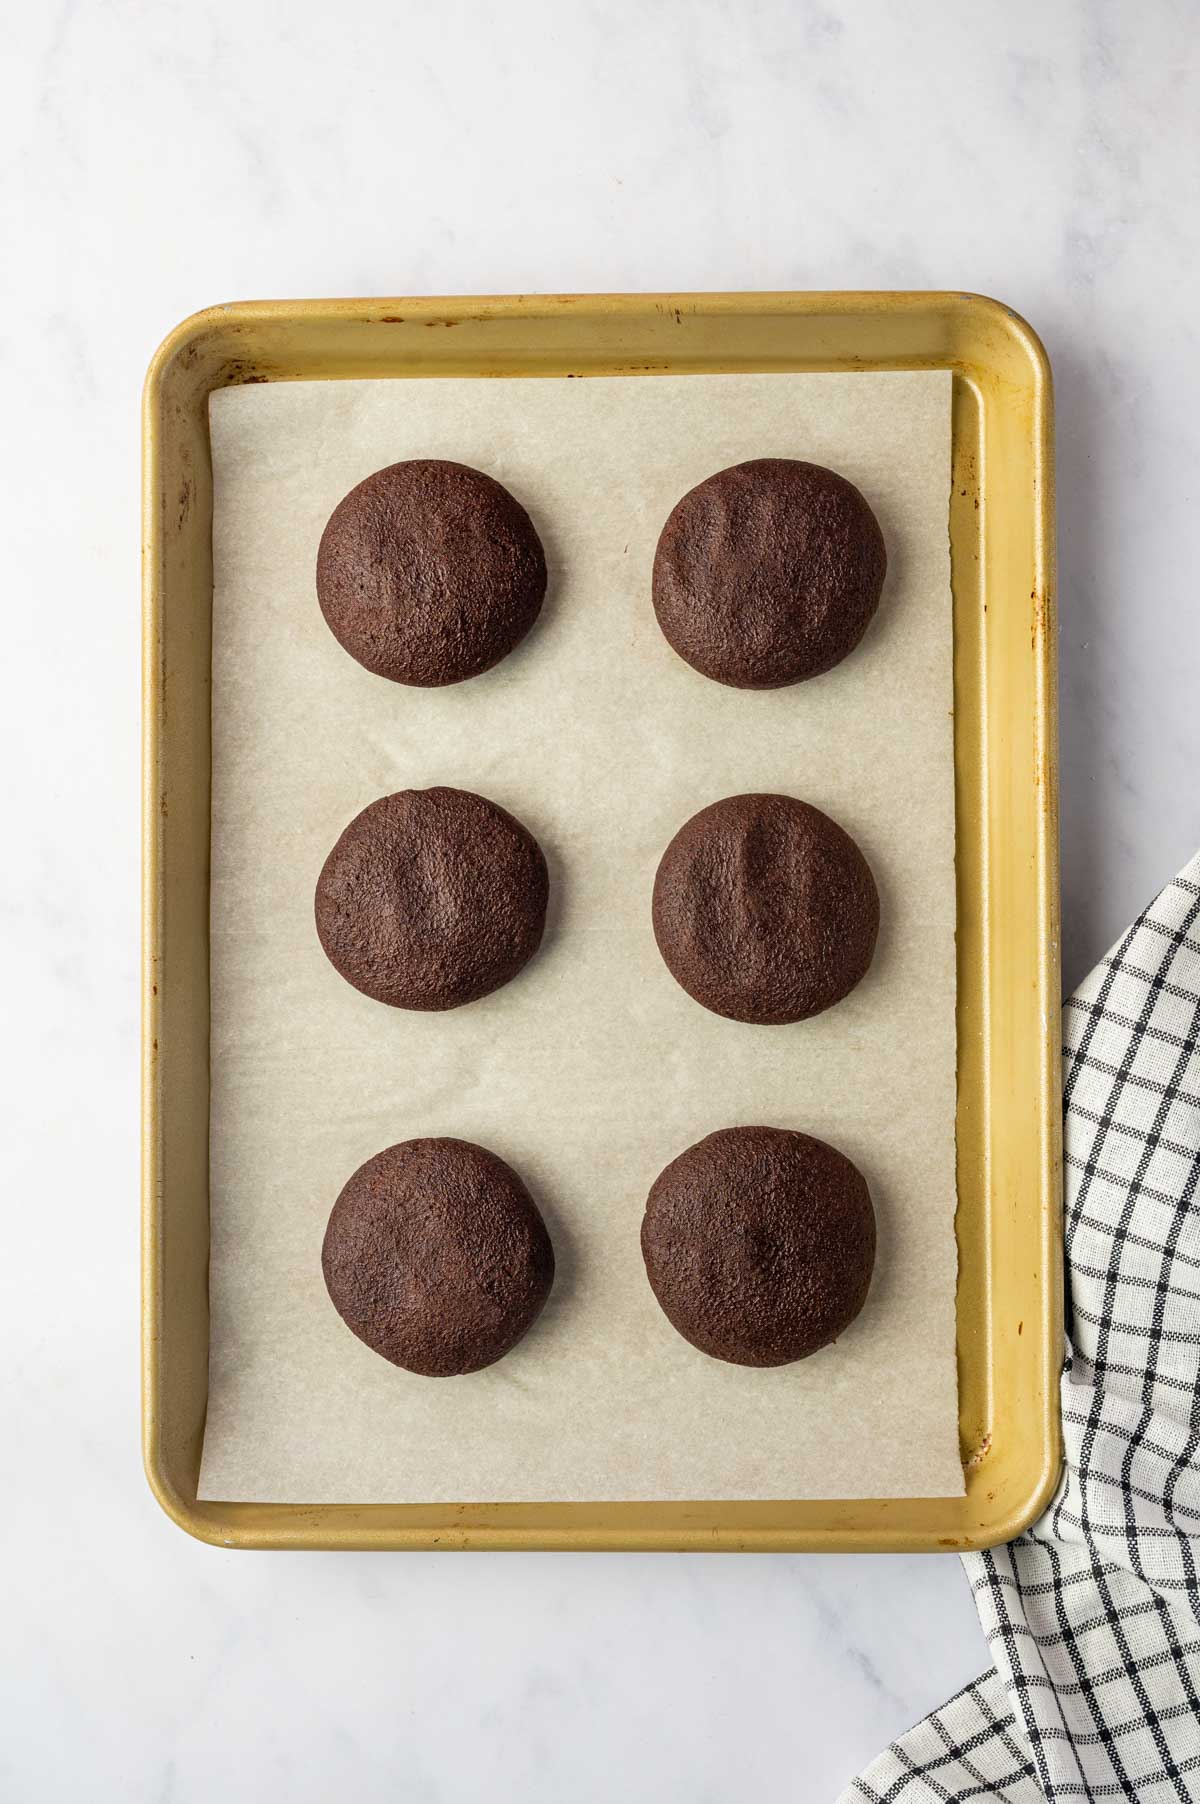
Scoop about 2 tablespoons of dough and roll into balls and press them slightly. Place them about 2 inches apart on the prepared baking sheet. Gently flatten the tops slightly.

Bake for 10–12 minutes, until the edges are set and the centers still look slightly soft. Let the cookies cool on the baking sheet for 5 minutes, then transfer to a wire rack and cool completely before decorating.
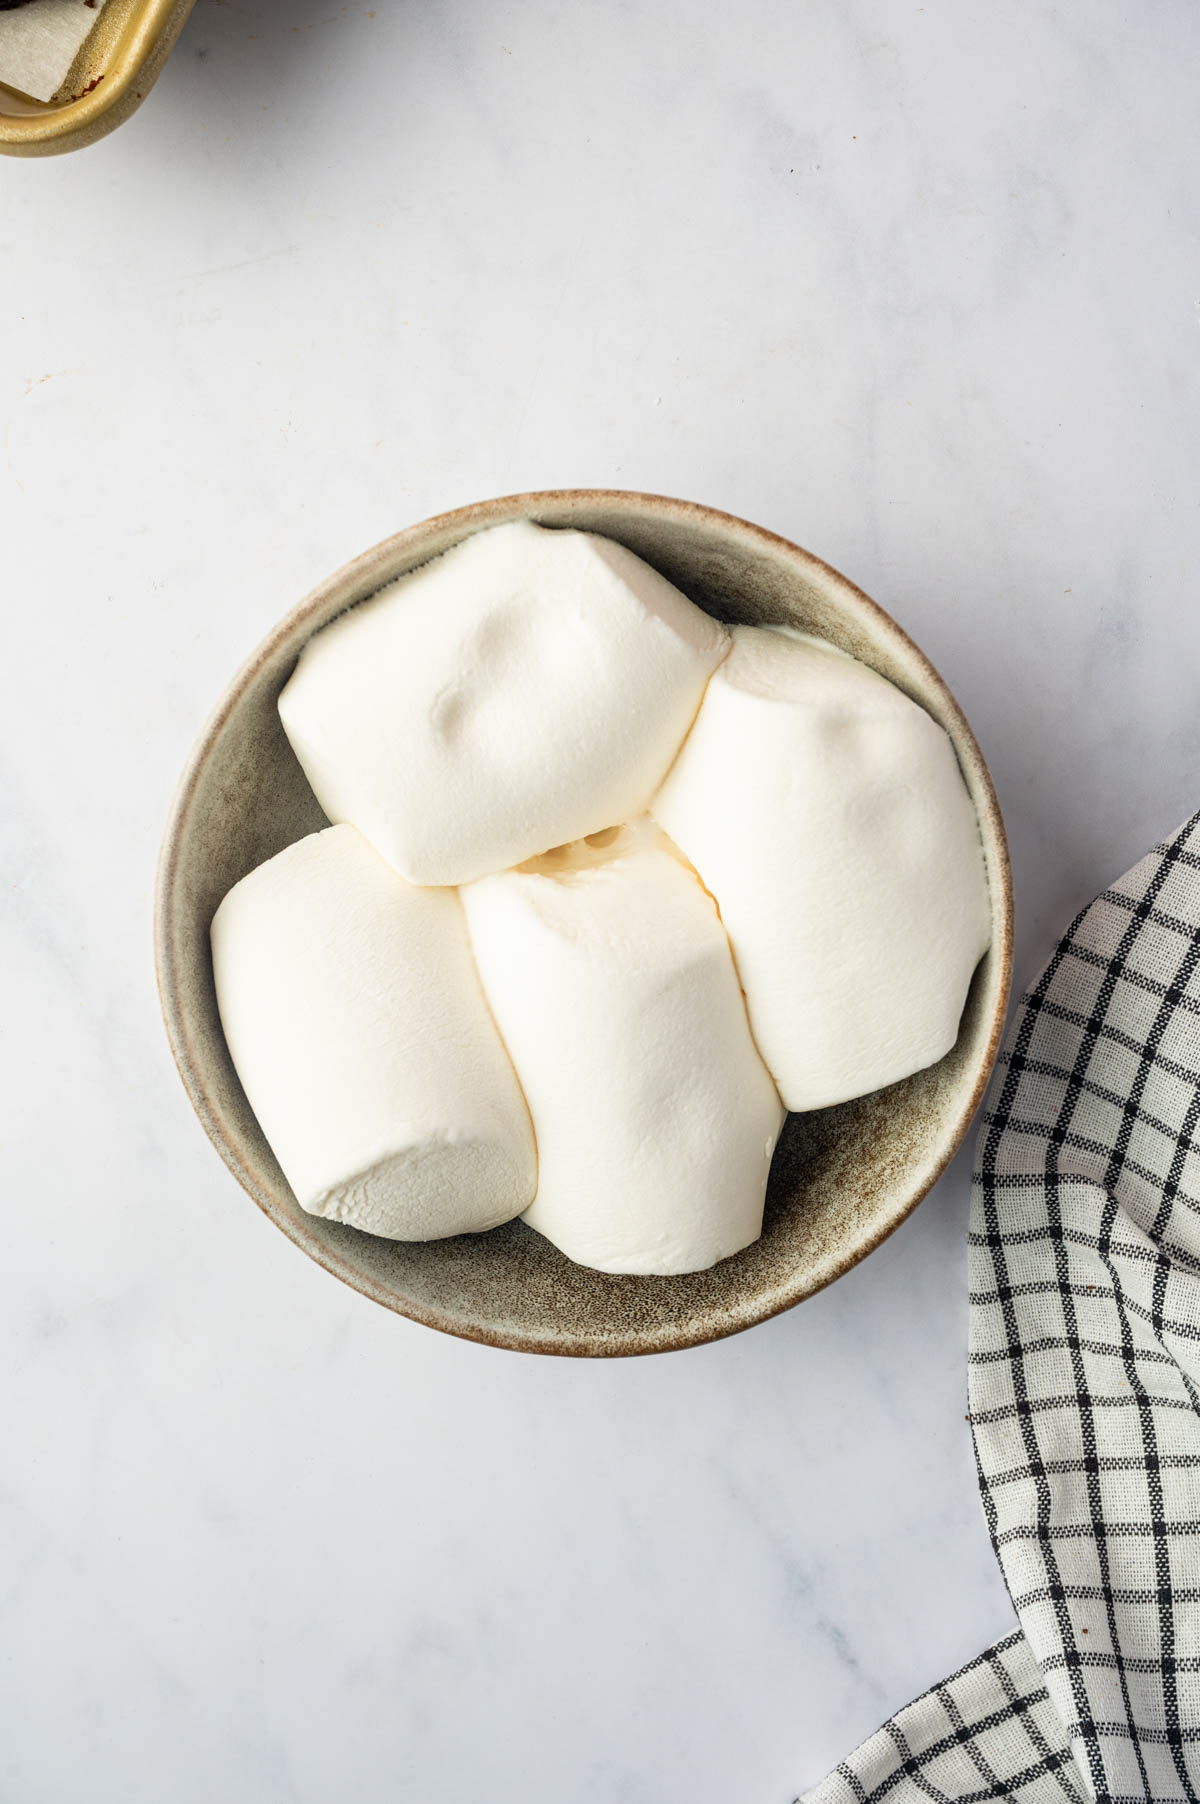
Place the jumbo marshmallows in a microwave-safe bowl. Microwave for about 15–20 seconds, just until puffed and melted.
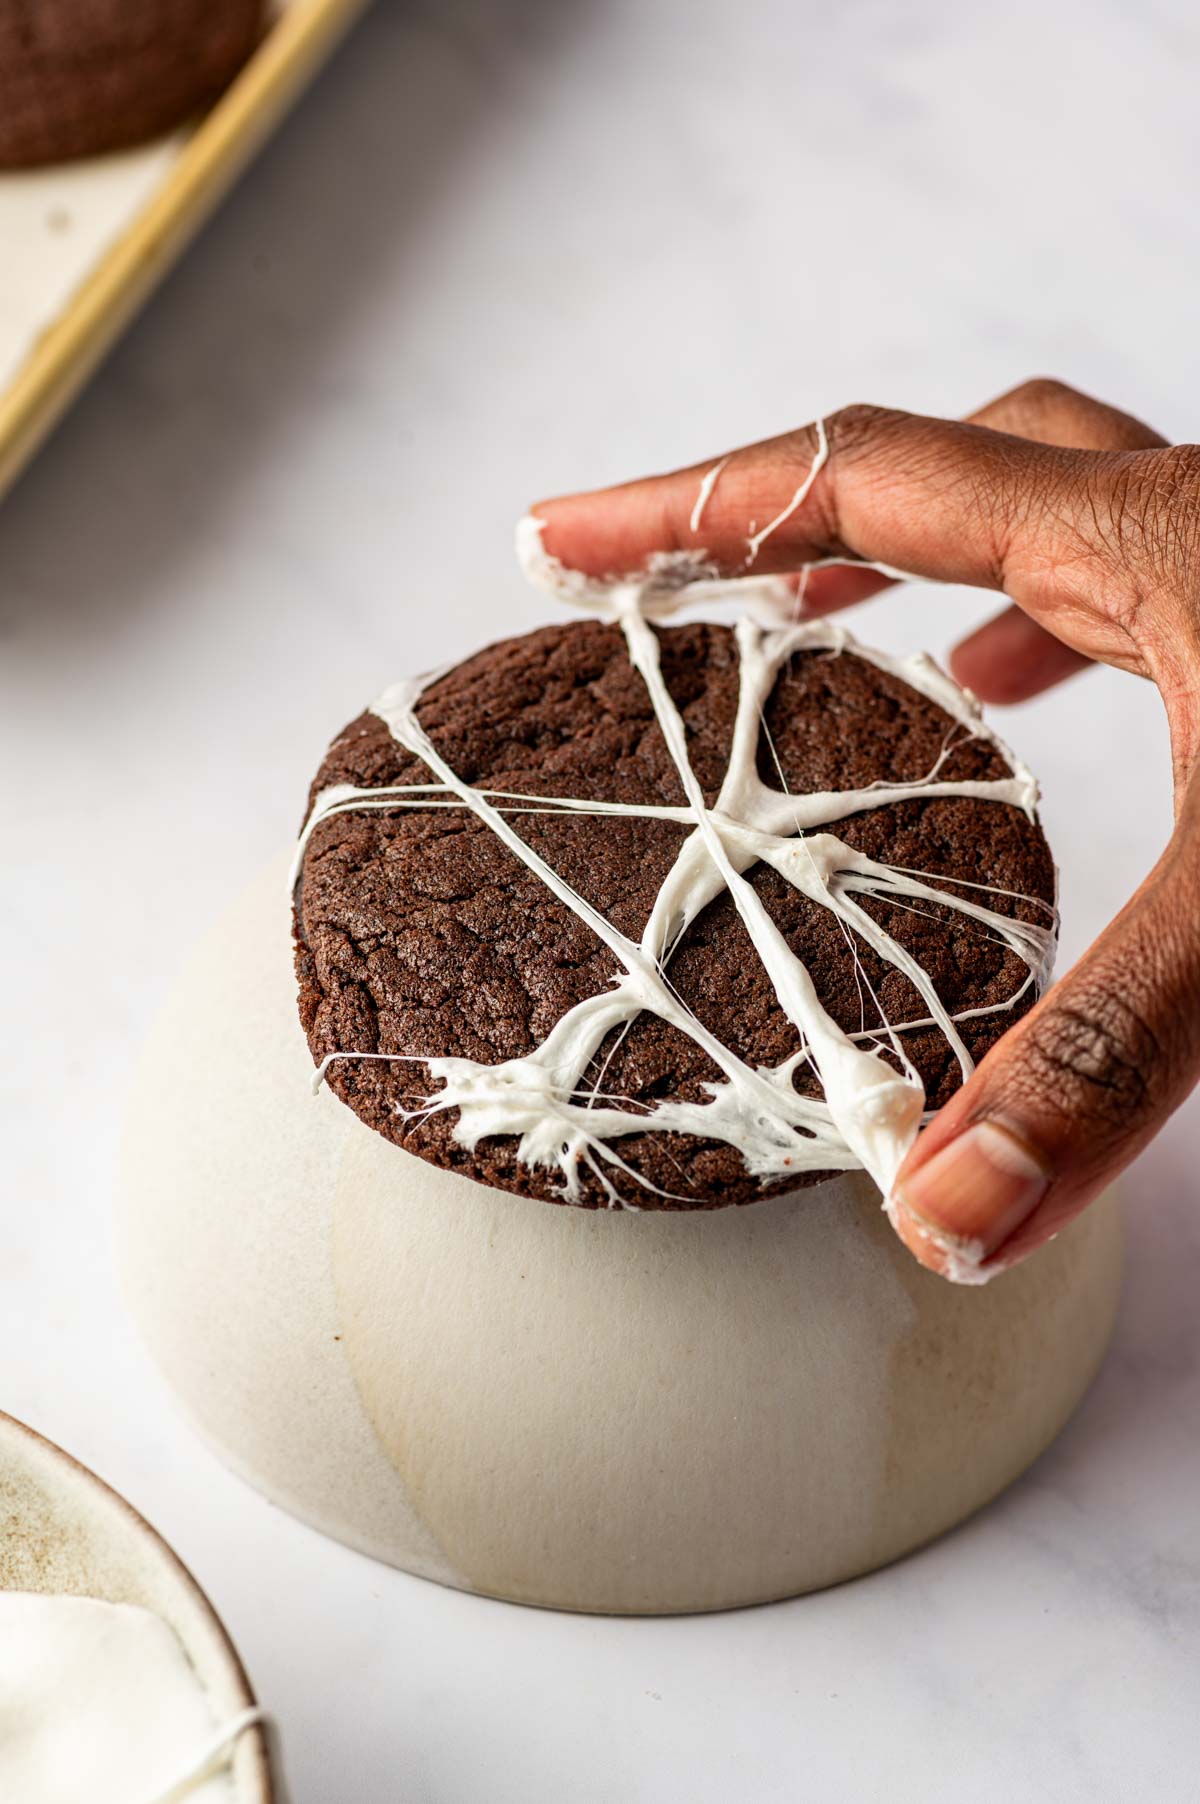
Pick up a small amount of melted marshmallow between your fingers, pull your fingers apart to create thin strands, and gently stretch the strands across the cooled cookies.
Set the webs. Repeat in different directions until each cookie has an irregular spider-web pattern. Allow the marshmallow to set before serving.
Hint: Let the cookies cool completely before adding the marshmallow webs. Melt the marshmallows just until soft and stretchy, then use a small amount between your fingertips and gently pull it into thin strands before stretching it over the cookies.
Variations For Marshmallow Spider Web Cookies
- Marshmallow Filled Spider Web Cookies – Follow the recipe instructions up until the point of making the dough balls. Cut one marshmallow into 4 pieces. Put one piece in the centre of the dough and shape the ball covering the marshmallow. As the cookies spread, the marshmallow will spread along with the dough. You’ll have delicious, centre-filled, gooey cookies.
- Double Chocolate Spider Web Cookies – If your family likes chocolate more than marshmallow, put one small chunk of their favorite chocolate in the centre and shape the ball. Decorate these spooky halloween cookies with melted marshmallows by making webs. There you go. Now you have the same gooey cookies but filled with chocolate.
- Chocolate Chip Spider Web Cookies – Instead of adding cocoa powder and coffee powder, add chocolate chips to the cookie dough. Swap the amount of cocoa powder with all-purpose flour if the dough is too thin. Bake the cookies and make the webs using melted marshmallows. Now you have two variants of marshmallow spider web cookies. What a flex!
Equipment
- Measuring Cups and Spoons
- Mixing Bowls
- Stand mixer or Hand mixer
- Spatula
- Baking sheet
- Cooling rack
Serving Suggestions
S’mores Hot Chocolate: You can simply serve these spooky cookies with a warm cup of cozy S’more Hot Chocolate.
Halloween Spread: You can pair spider web cookies with other easy Halloween treats like Halloween Monster Eye Cookies, Halloween Brownies, Pumpkin Hand Pies, Halloween Rice Krispie Treats, or Brownie Cake Pops.
Icecream: These chocolate marshmallow spider web cookies can be served with ice cream. Since these are chocolate cookies, I recommend serving vanilla ice cream with them for a signature brownie and ice cream dupe!
Storage and Reheating Tips
Room Temperature: You can store these spider web cookies at room temperature for 2- 3 days. Keep them in an airtight container lined with parchment paper. DO NOT STACK THEM. The marshmallow will stick to the cookie on top.
Refrigerator: Line them in a single layer and keep them in an airtight container in the fridge for up to a week. Keep them at room temperature for two hours for a softer and chewy texture before serving.
Freezer: If you intend to freeze them, don’t decorate them. Place them in a single layer on a baking sheet and freeze for 1 hour. Then transfer to a freezer-safe bag or container. They’ll keep for up to 2 months.
Reheating: Thaw frozen cookies in the refrigerator for 5 - 6 hours. You can reheat the refrigerated cookies in the microwave for 10–15 seconds and decorate them with marshmallow spider webs before serving.
Top Tips For The Best Marshmallow Spider Web Cookies
- Work with a small amount at a time. A giant blob of marshmallow is harder to stretch evenly. Small pieces give you thinner, more delicate strands.
- Slightly oil your fingers before making the strands. This way the marshmallow will not stick to your fingers.
- Don't overheat the marshmallows. You want them melted and stretchy, not piping hot. Let them cool enough to handle safely before touching them.
- Work quickly once the marshmallow is ready. It becomes less stretchy as it cools. If it starts turning stiff, a short reheat can make it workable again.
- Don't worry about perfect webs. Pull the marshmallow in different directions and let the strands cross naturally.
- Cool the cookies completely first. Warm cookies can make the marshmallow harder to handle and may soften the web.
- Use parchment paper. It makes cleanup much easier, especially if a few marshmallow strands end up everywhere except the cookie.
FAQ
Instant coffee or espresso powder intensifies the chocolate flavor. You don't need much, and the finished cookies shouldn't taste like coffee.
Marshmallow is naturally sticky. Lightly greasing your fingertips with a little neutral oil or cooking spray can make it easier to stretch. Work with small amounts and avoid overheating the marshmallow.
Warm it again briefly in the microwave. Start with a very short burst, then check it. You want the marshmallow soft and stretchy, not extremely hot.
Use a smaller amount of marshmallow and pull your fingers farther apart to create thinner strands. Several delicate strands usually look more web-like than one thick layer of marshmallow.
Related
Looking for other recipes like this? Try these:




Pairing
These are my favorite dishes to serve with this Spider web cookies recipe:



If you tried this Spider Web Cookies With Marshmallows recipe or any other recipe from my blog, I’d love to hear your thoughts! ⭐ Please leave a STAR rating and share your experience in the COMMENTS below. Your support means so much and helps me continue creating delicious recipes. Thank you for being part of this journey!
Marshmallow Spider Web Cookies (No Piping or Icing)
Equipment
- Measuring cups and spoons
- Mixing Bowls
- Cooling rack
- Baking Sheet
- Hand Mixer or Stand Mixer
Ingredients
- 1¼ cups all-purpose flour
- ½ cup Dutch-process cocoa powder
- 1 teaspoon instant coffee or espresso powder
- ½ teaspoon baking soda
- ½ teaspoon salt
- ½ cup unsalted butter softened
- 1 cup granulated sugar
- 1 large egg room temperature
- 1½ teaspoons vanilla extract
- 4-6 jumbo marshmallows
Instructions
- Combine the dry ingredients. In a medium bowl, whisk together the flour, Dutch-process cocoa powder, instant coffee powder, baking soda, and salt.
- Cream the butter and sugars. In a large bowl, beat the softened butter, granulated sugar for about 2 minutes, until creamy.
- Add the egg and vanilla. Beat in the egg and vanilla until smooth and combined.
- Make the dough. Gradually add the dry ingredients to the wet ingredients. Mix just until a thick chocolate cookie dough forms.
- Prepare for baking. Preheat the oven to 350°F (175°C) and line a baking sheet with parchment paper.
- Shape the cookies. Scoop about 2 tablespoons of dough and roll into balls and press them slightly. Place them about 2 inches apart on the prepared baking sheet. Gently flatten the tops slightly.
- Bake. Bake for 10–12 minutes, until the edges are set and the centers still look slightly soft. Let the cookies cool on the baking sheet for 5 minutes, then transfer to a wire rack and cool completely before decorating.
- Melt the marshmallows. Place the jumbo marshmallows in a microwave-safe bowl. Microwave for about 15–20 seconds, just until puffed and melted. Stir carefully.
- Create the spider webs. Allow the melted marshmallow to cool just enough to handle. Lightly grease your fingertips with a tiny amount of neutral oil or cooking spray. Pick up a small amount of melted marshmallow between your fingers, pull your fingers apart to create thin strands, and gently stretch the strands across the cooled cookies.
- Set the webs. Repeat in different directions until each cookie has an irregular spider-web pattern. Allow the marshmallow to set before serving.
Notes
- Use a small amount of marshmallow at a time. Small amounts are easier to stretch and create thin, delicate spider web strands.
- Lightly oil your fingers. Rub a tiny amount of oil on your fingertips to prevent the melted marshmallow from sticking.
- Don’t overheat the marshmallows. Heat them just until melted and stretchy. Let them cool slightly before handling so they are safe to touch.
- Work quickly. The marshmallow becomes harder to stretch as it cools. If it gets too stiff, microwave it for a few seconds until stretchy again.
- The webs don’t need to be perfect. Stretch the marshmallow strands in different directions and let them overlap naturally for a realistic spider web look.
- Cool the cookies completely. Make sure the cookies are fully cooled before adding the marshmallow webs so the topping stays in place.
- Use parchment paper. Place the cookies on parchment before decorating to make cleanup easier, since the marshmallow strands can get sticky and messy.
Leave a Reply