These Andes Chocolate Mint Brownies are irresistibly fudgy and packed with rich chocolate flavor. Each bite offers the perfect balance of dense, chewy brownie and refreshing mint from the chopped Andes chocolate.
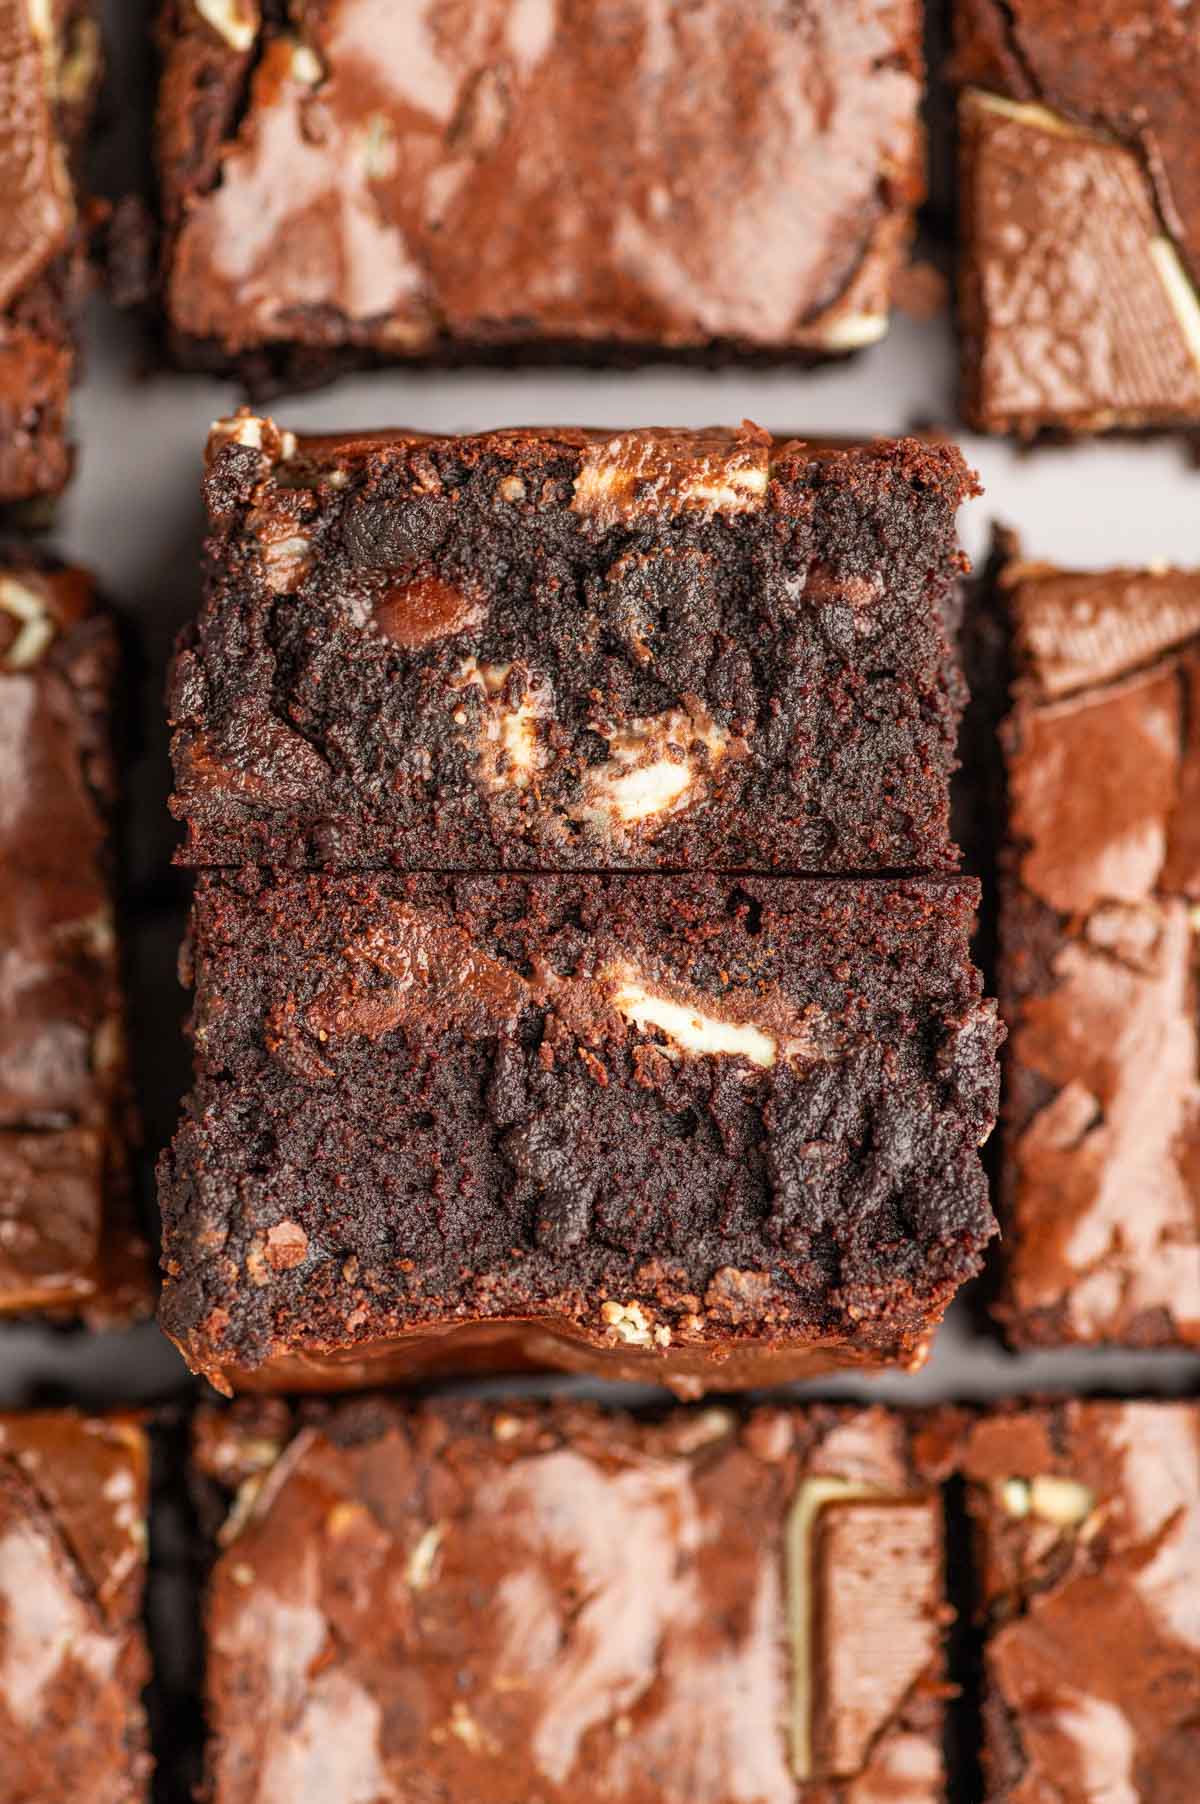
The gooey chocolate center and slight crisp on the edges make these brownies a chocolate lover's dream. Perfect for holidays, parties, or whenever you're craving a decadent, homemade dessert, these mint brownies are sure to impress!
If you like more chocolate desserts like me try this Dark Chocolate Fudge with Almonds recipe! Want to explore more Holiday desserts? Try these Christmas Cake Pops and Butterscotch Chocolate Chip Oatmeal Cookies .
Jump to:
- Why you will love this recipe
- Two key steps for achieving a shiny, crackly top on Brownies
- What’s the secret to fudgy brownies?
- Serving Options for Andes Chocolate Mint Brownies
- Ingredients
- Instructions
- Substitutions
- Variations
- Equipment
- How to store these Andes chocolate mint brownies
- Top Tip
- FAQ
- Related
- Andes Chocolate Mint Brownies - Rich , chewy and Fudgy Recipe!
- Andes Chocolate Mint Brownies
Why you will love this recipe
They're the perfect balance of decadent chocolate and refreshing mint, guaranteed to leave you wanting more! Here's why I highly recommend making these Andes Chocolate Mint Brownies:
- Quick & Simple: The steps are easy to follow, making it a breeze to whip up a batch of these brownies whenever you’re craving something sweet.
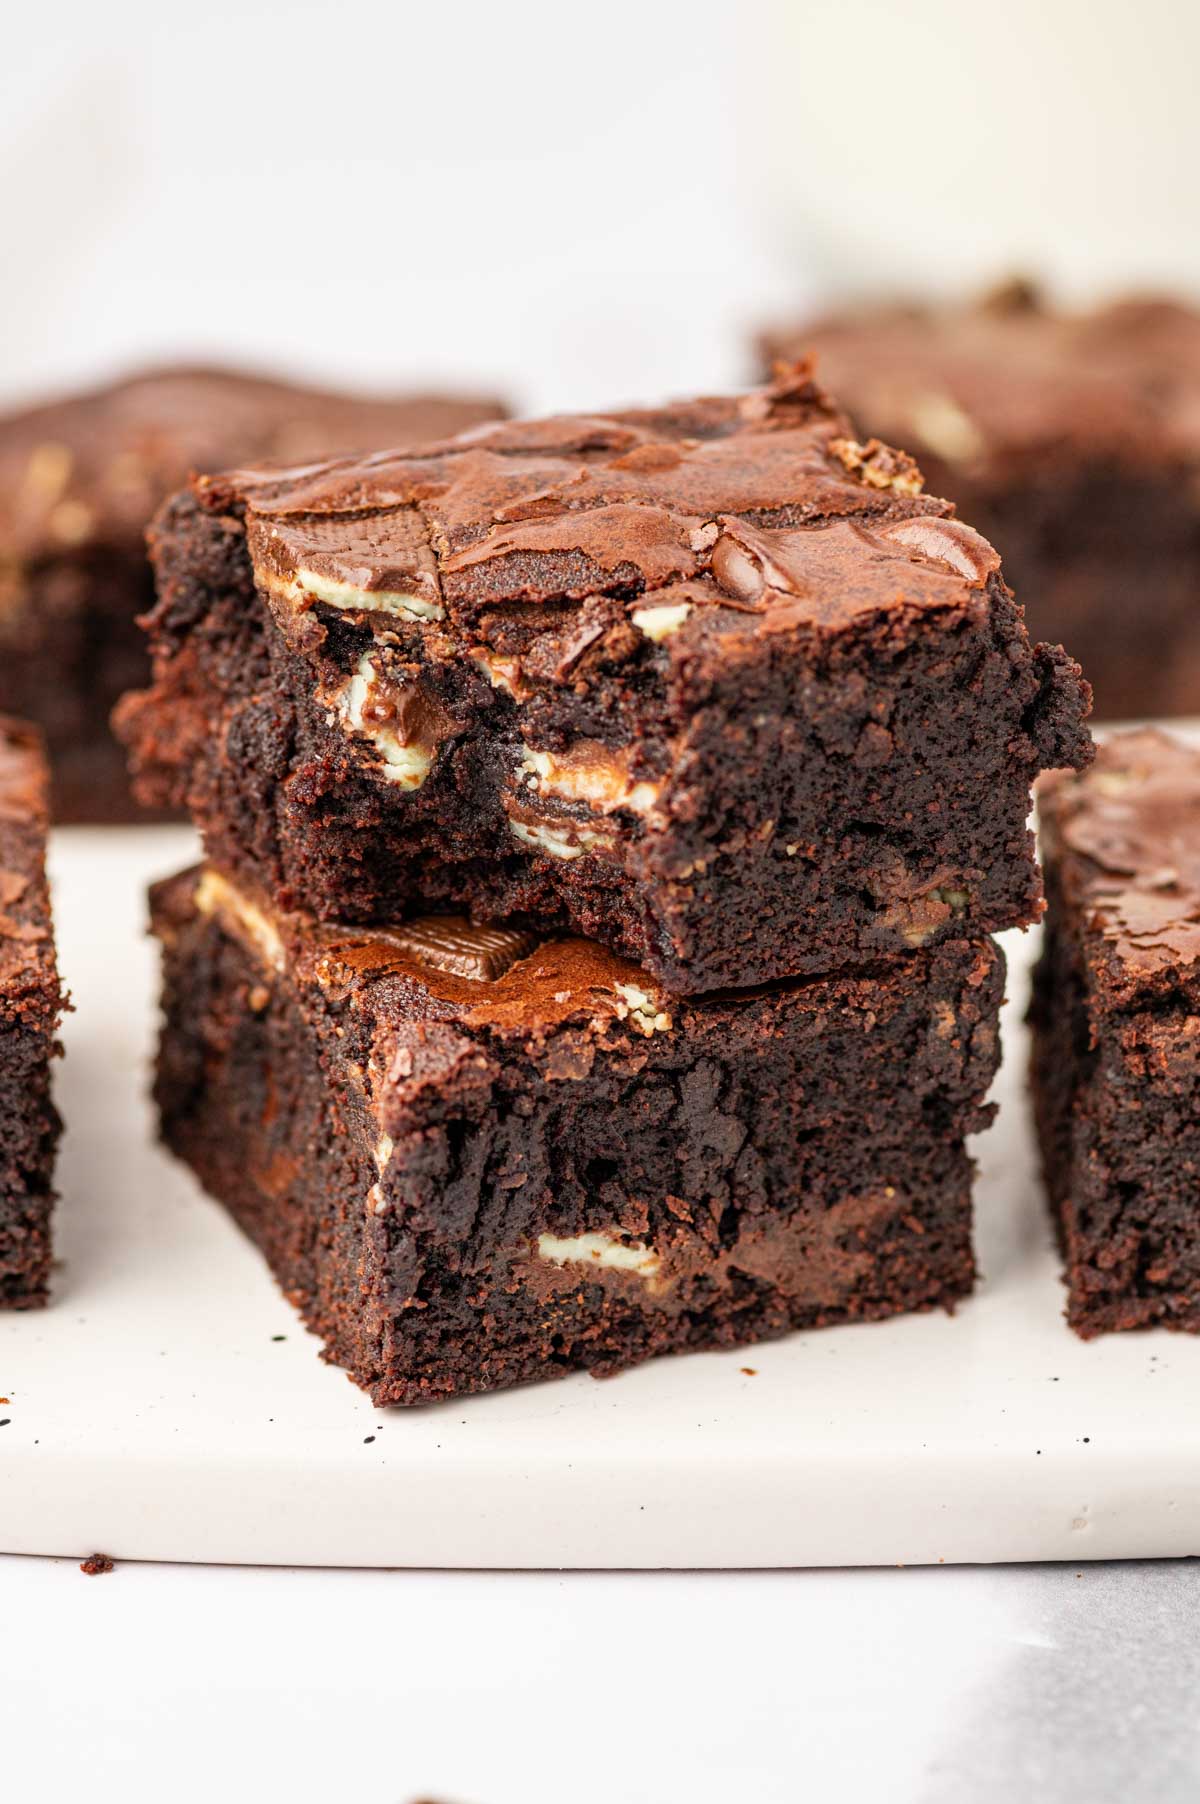
- Rich, Fudgy Texture: These brownies are rich, fudgy, and have that ideal chewy center—every chocolate lover’s dream! Trust me, brownies are meant to be fudgy, and this recipe nails it.
- Minty Twist: The burst of refreshing Andes mint chocolate adds a delicious twist to the classic brownie. You won’t believe how amazing they taste until you try them!
- Easy to Make: With simple ingredients and easy-to-follow steps, this recipe is perfect for bakers of all levels. No need to wait for the holidays to enjoy these!
- Crowd-Pleaser: Whether it’s for a holiday, party, or just a special treat, these brownies are always a hit! Be prepared for everyone to ask you for the recipe!
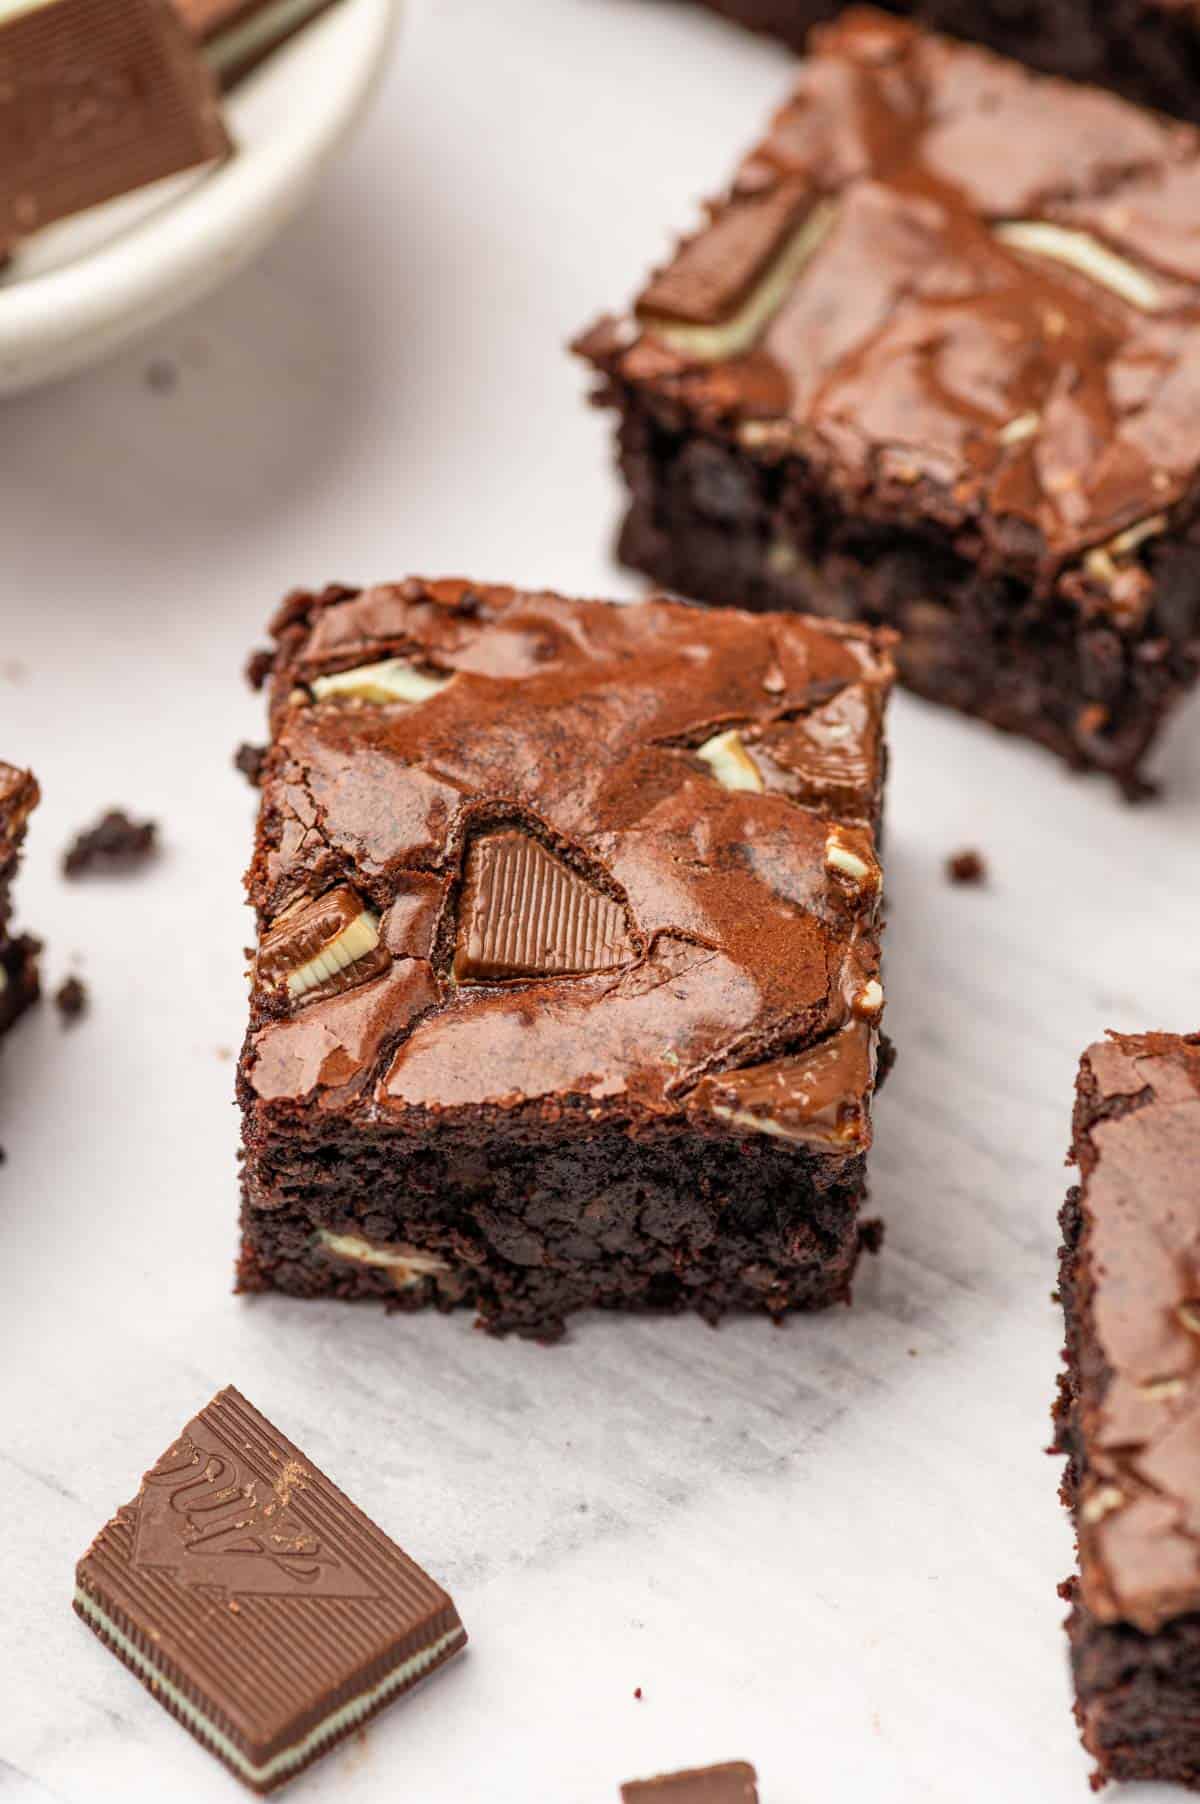
Two key steps for achieving a shiny, crackly top on Brownies
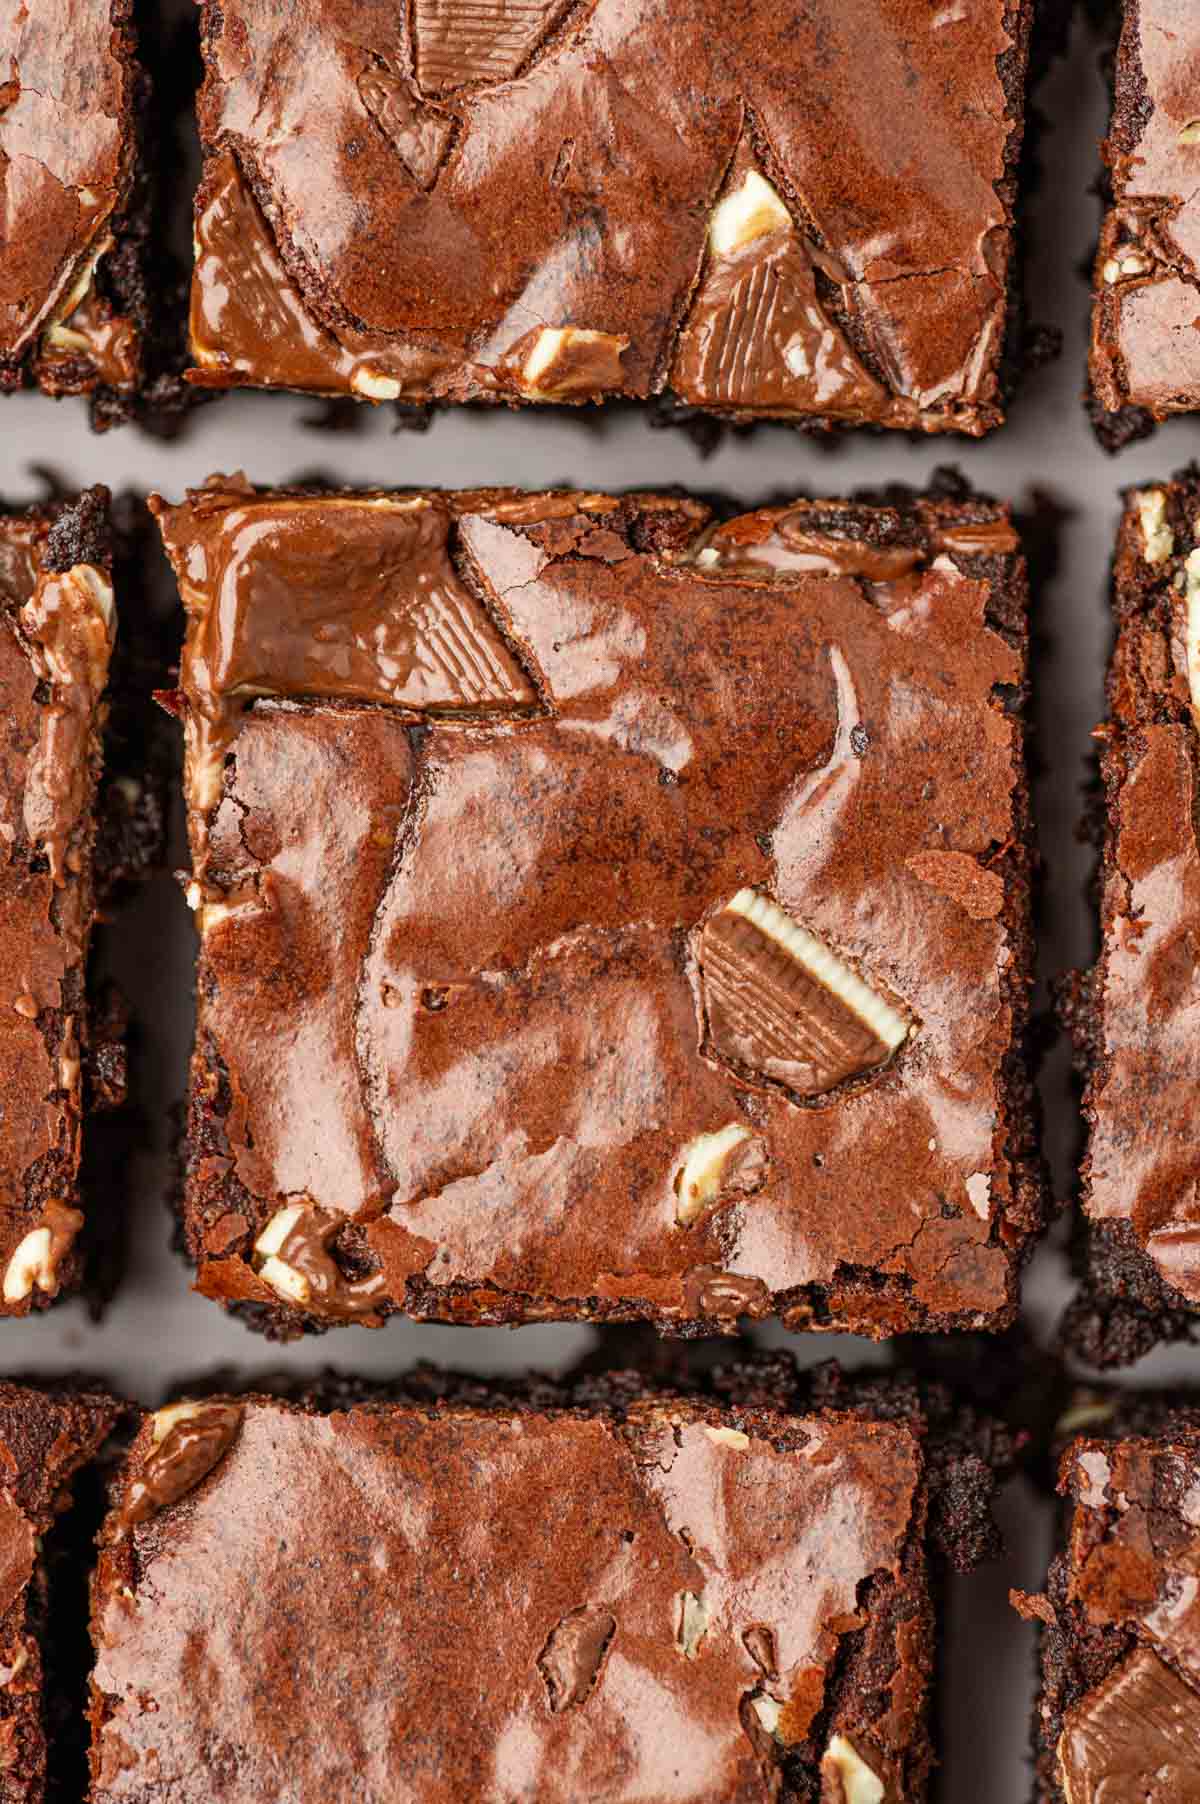
- Melting the butter and sugar together: Dissolving the sugar in warm butter helps form that glossy, crackly top layer everyone loves. As the sugar recrystallizes during baking, it creates the signature shiny crust.
- Whisking the eggs and sugar: Beating the eggs and sugar until the mixture is pale and frothy ensures the sugar dissolves properly. This step is key to achieving that beautiful, glossy finish on top as the brownies bake.
What’s the secret to fudgy brownies?
The key is adding oil to the brownie batter, which keeps them moist and gives them that delicious fudgy texture. Another important factor is baking time—be sure not to bake the brownies for more than 30 minutes!
After that, they start to lose their fudginess and can turn cakey, so keeping an eye on the clock is crucial for achieving that perfect fudgy brownie. If you follow the exact steps you can achieve the perfect fudgy Andes mint brownies!
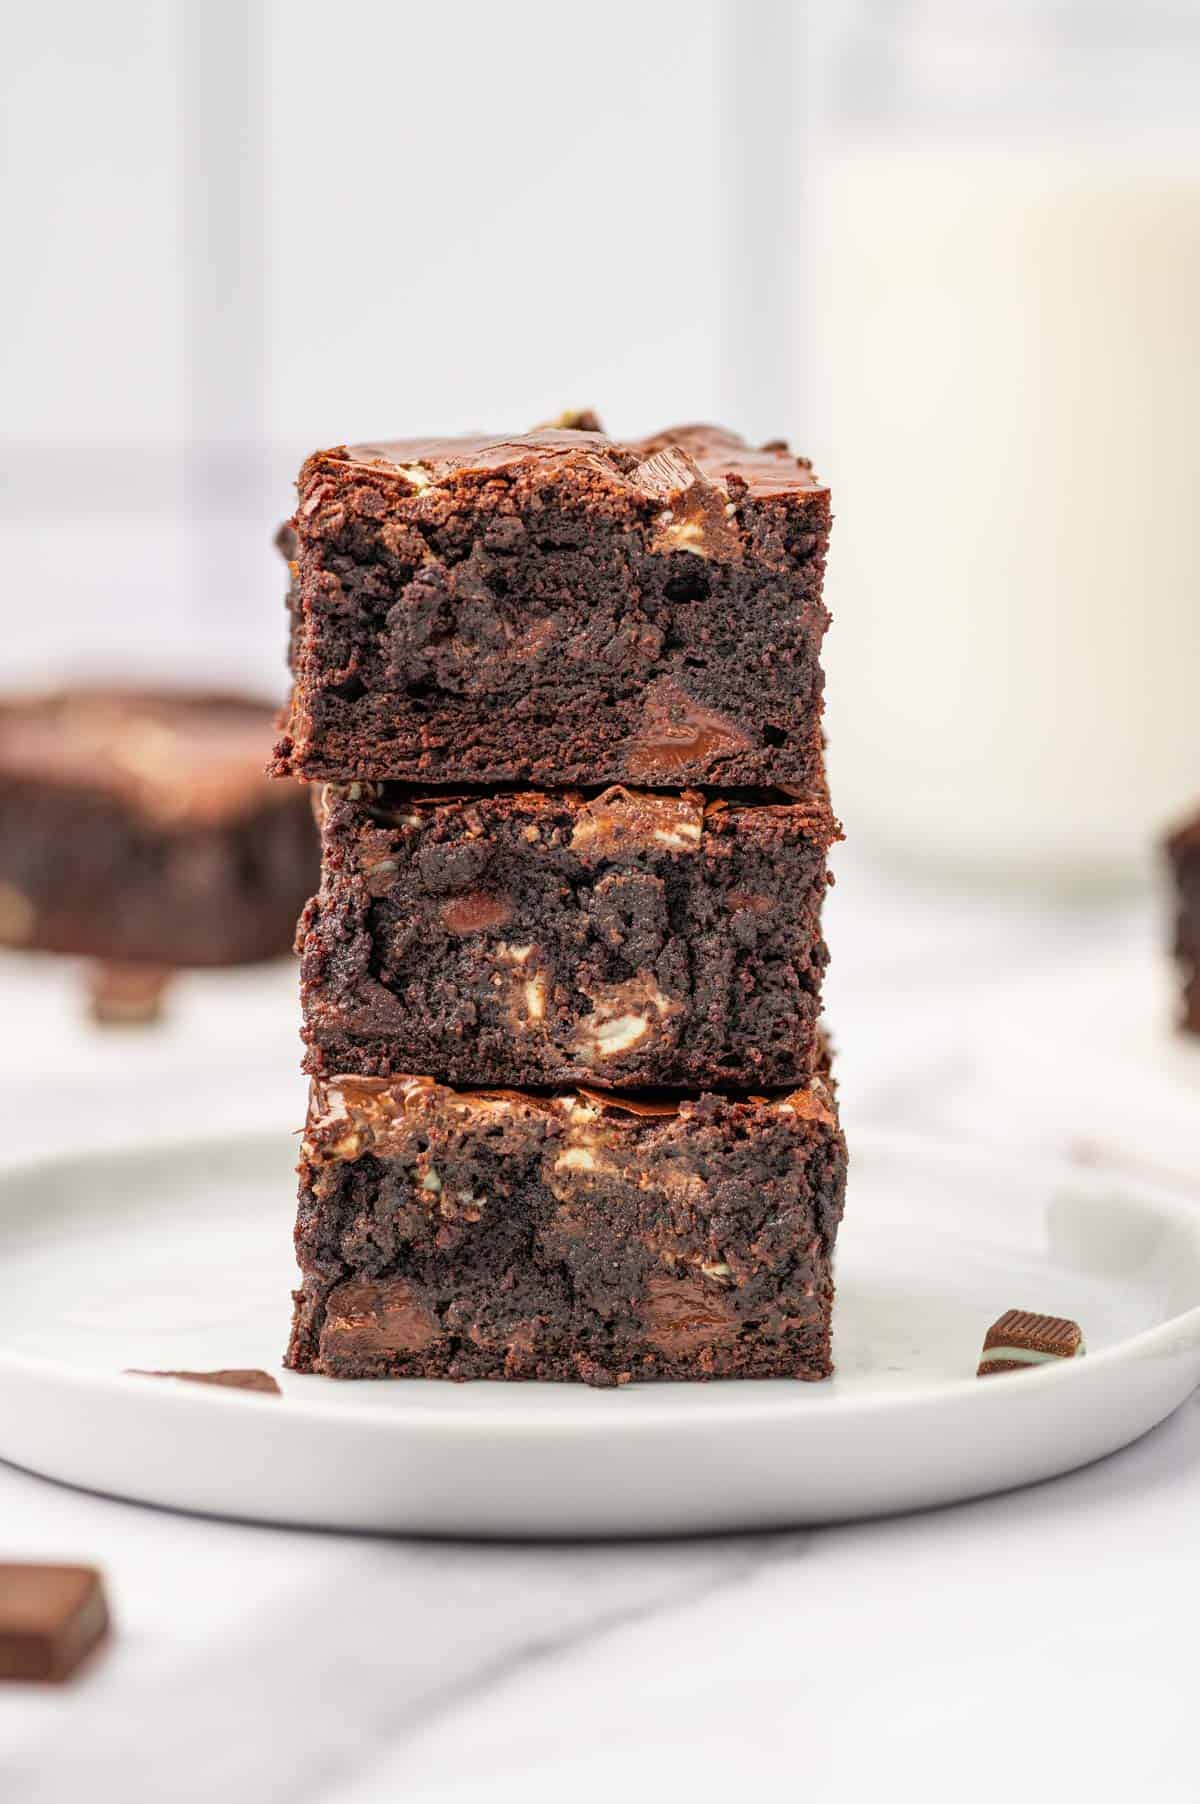
Serving Options for Andes Chocolate Mint Brownies
Serve the brownies as they are to let the rich chocolate and mint flavors shine. For a delightful contrast in temperature and texture, top warm brownies with a scoop of vanilla, mint, or chocolate ice cream—it's my favorite way to enjoy them!
If you’re looking for a lighter option, serve them with a dollop of mint-flavored or regular whipped cream for a refreshing touch. And if you want to indulge a little more, drizzle warm brownies with chocolate sauce or fudge—kids absolutely love this option!
Ingredients
This delicious recipe combines a variety of dry and wet ingredients to create a rich and chocolatey treat.
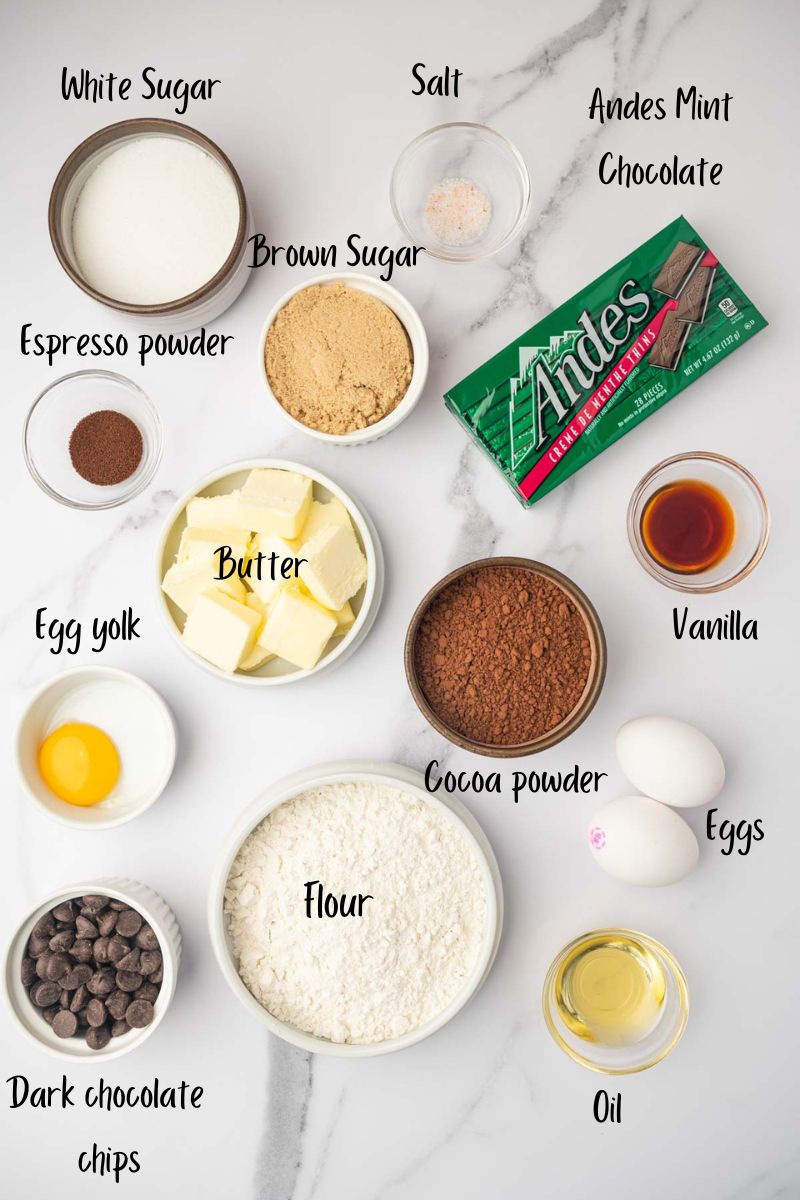
- Flour: You'll need all-purpose flour; I haven't tried any substitutes, so I recommend sticking with this for the best results.
- Cocoa Powder: For a deep chocolate flavor, I highly recommend using unsweetened Dutch-processed cocoa powder. The quality of your cocoa powder is crucial for making great brownies!
- Espresso Powder: This helps enhance the chocolate flavor. If you're not a fan of coffee, you can skip this ingredient, but trust me—you won’t taste the coffee in the final product!
- Salt: A little salt goes a long way in baking; it helps bring out all the flavors.
- Butter: Use good quality unsalted butter for the base of the brownies.
- Eggs: Always use room temperature eggs for the best results. If you forget to take them out ahead of time, you can place them in warm water for about 10 minutes to bring them to room temperature.
- Oil: Any flavorless oil will work here; I personally use avocado oil.
- Sugar: This recipe calls for both brown sugar and white granulated sugar to achieve the perfect sweetness and texture.
- Vanilla Extract: Adds a lovely flavor to the brownies.
- Dark Chocolate Chips: These provide a rich and decadent flavor.
- Andes Mint Chocolates: They add a delightful twist, making each bite a perfect blend of chocolate and mint!
See recipe card for quantities.
Instructions
Step by step process of making Andes Chocolate Mint Brownies:
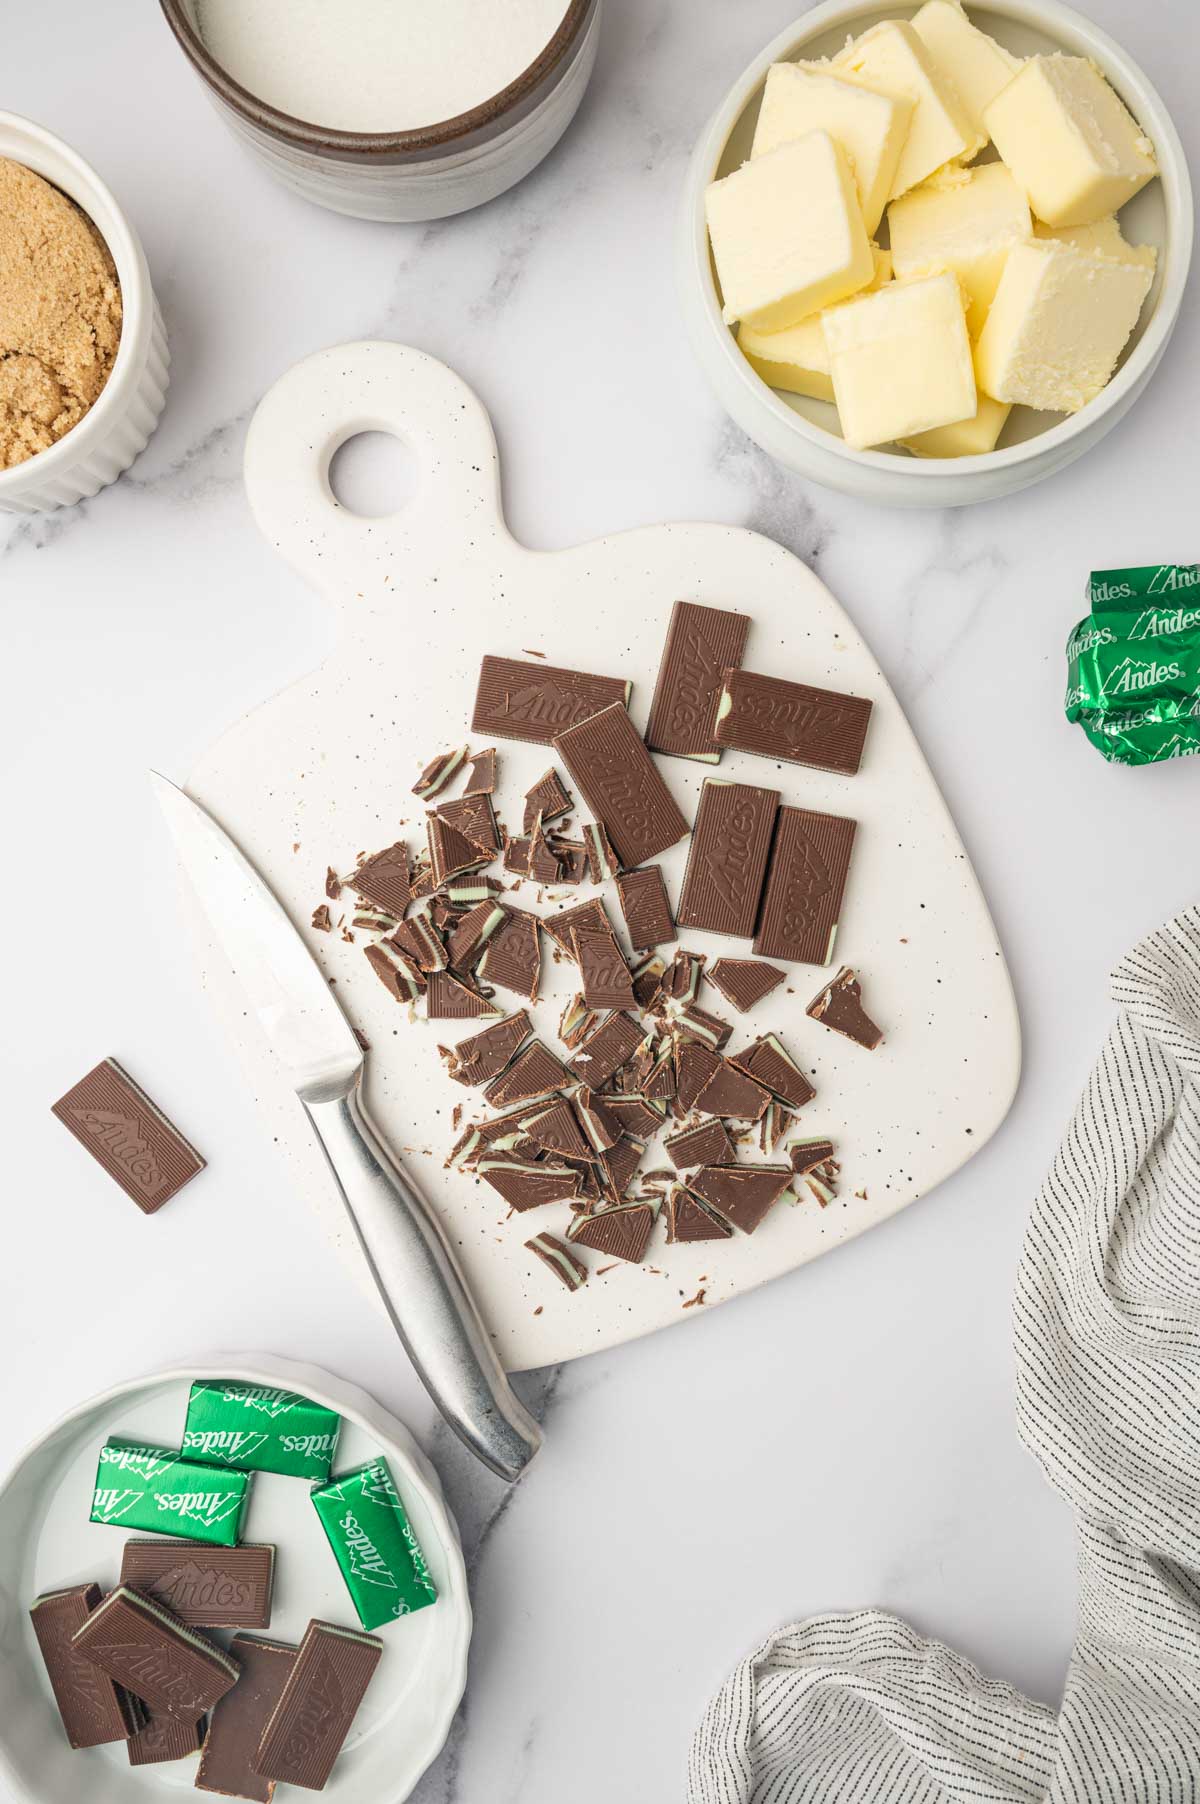
- Step 1: Unwrap and roughly chop the Andes mint chocolate; set aside.
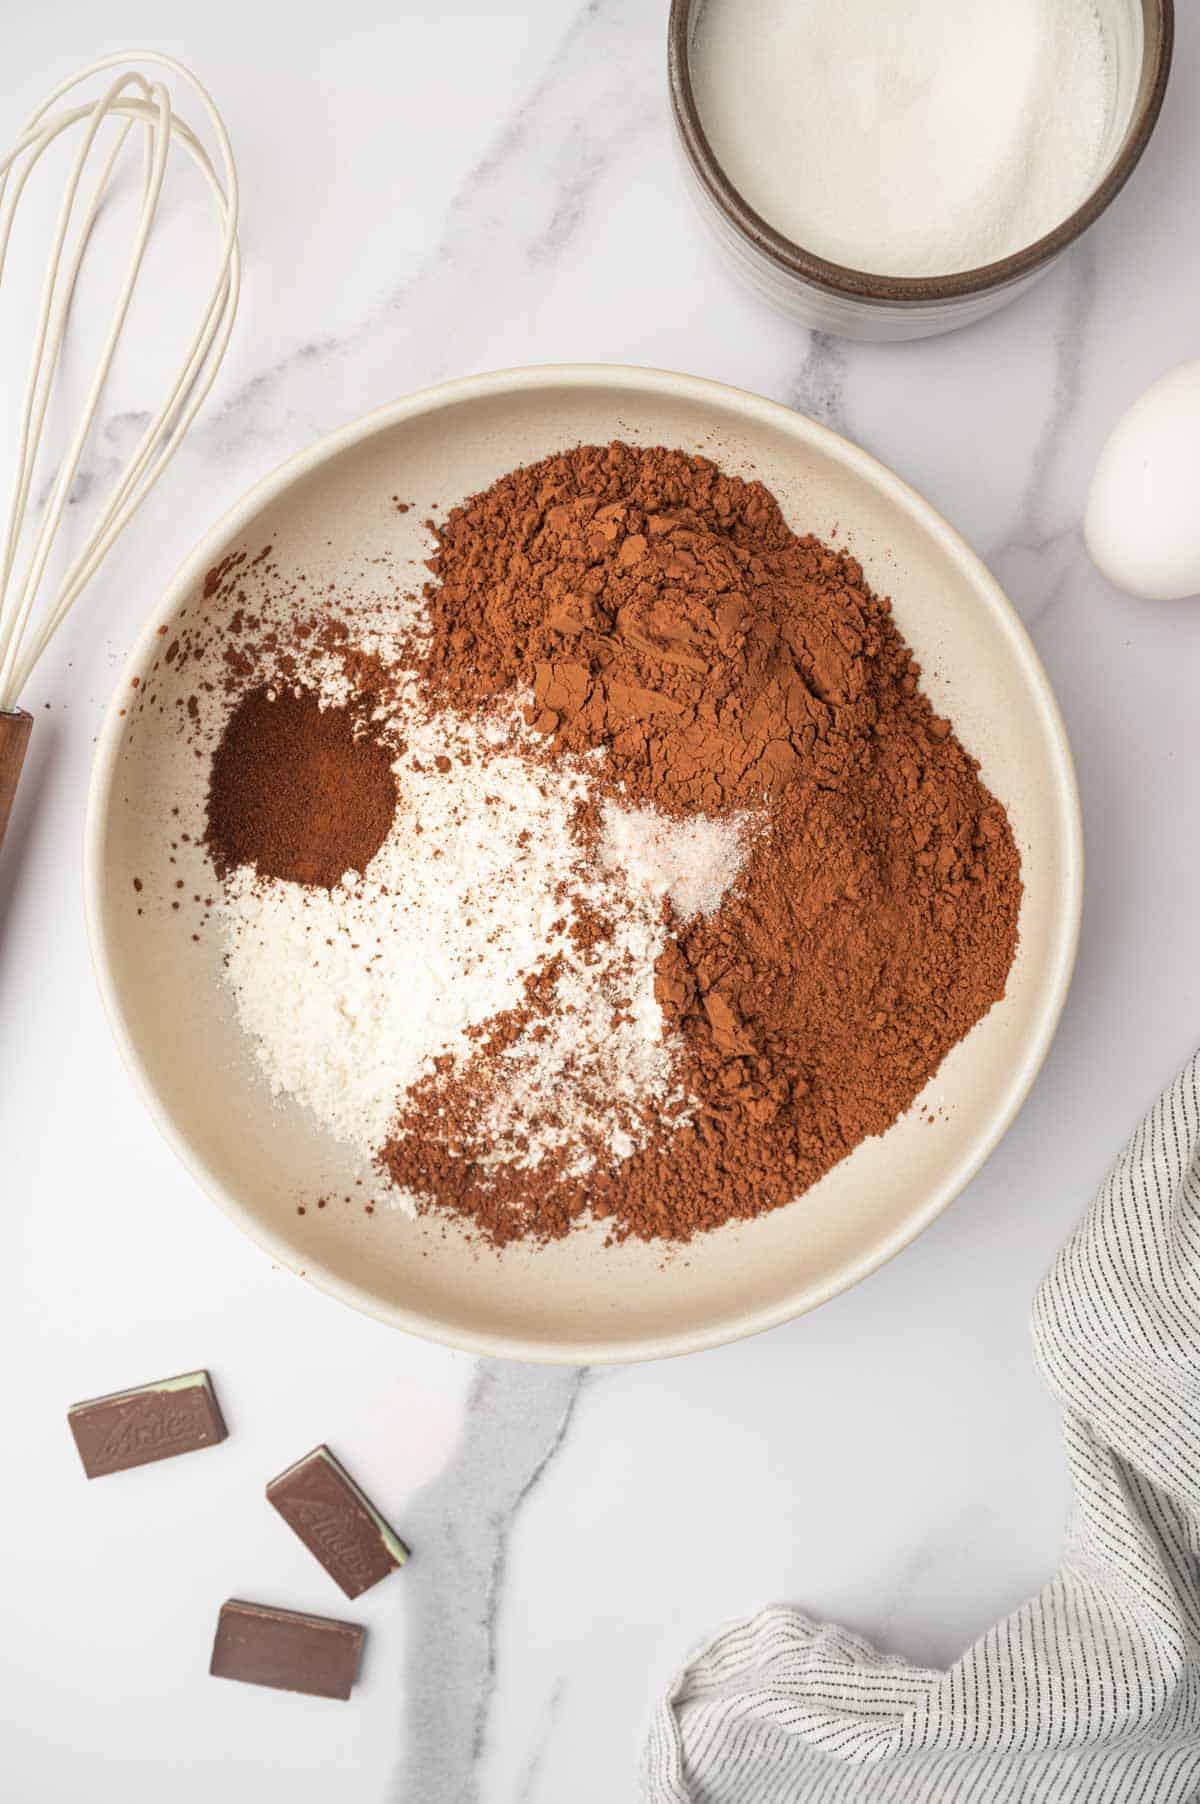
- Step 2: In a medium bowl, whisk together the dry ingredients: flour, cocoa powder, espresso powder, and salt; set aside.
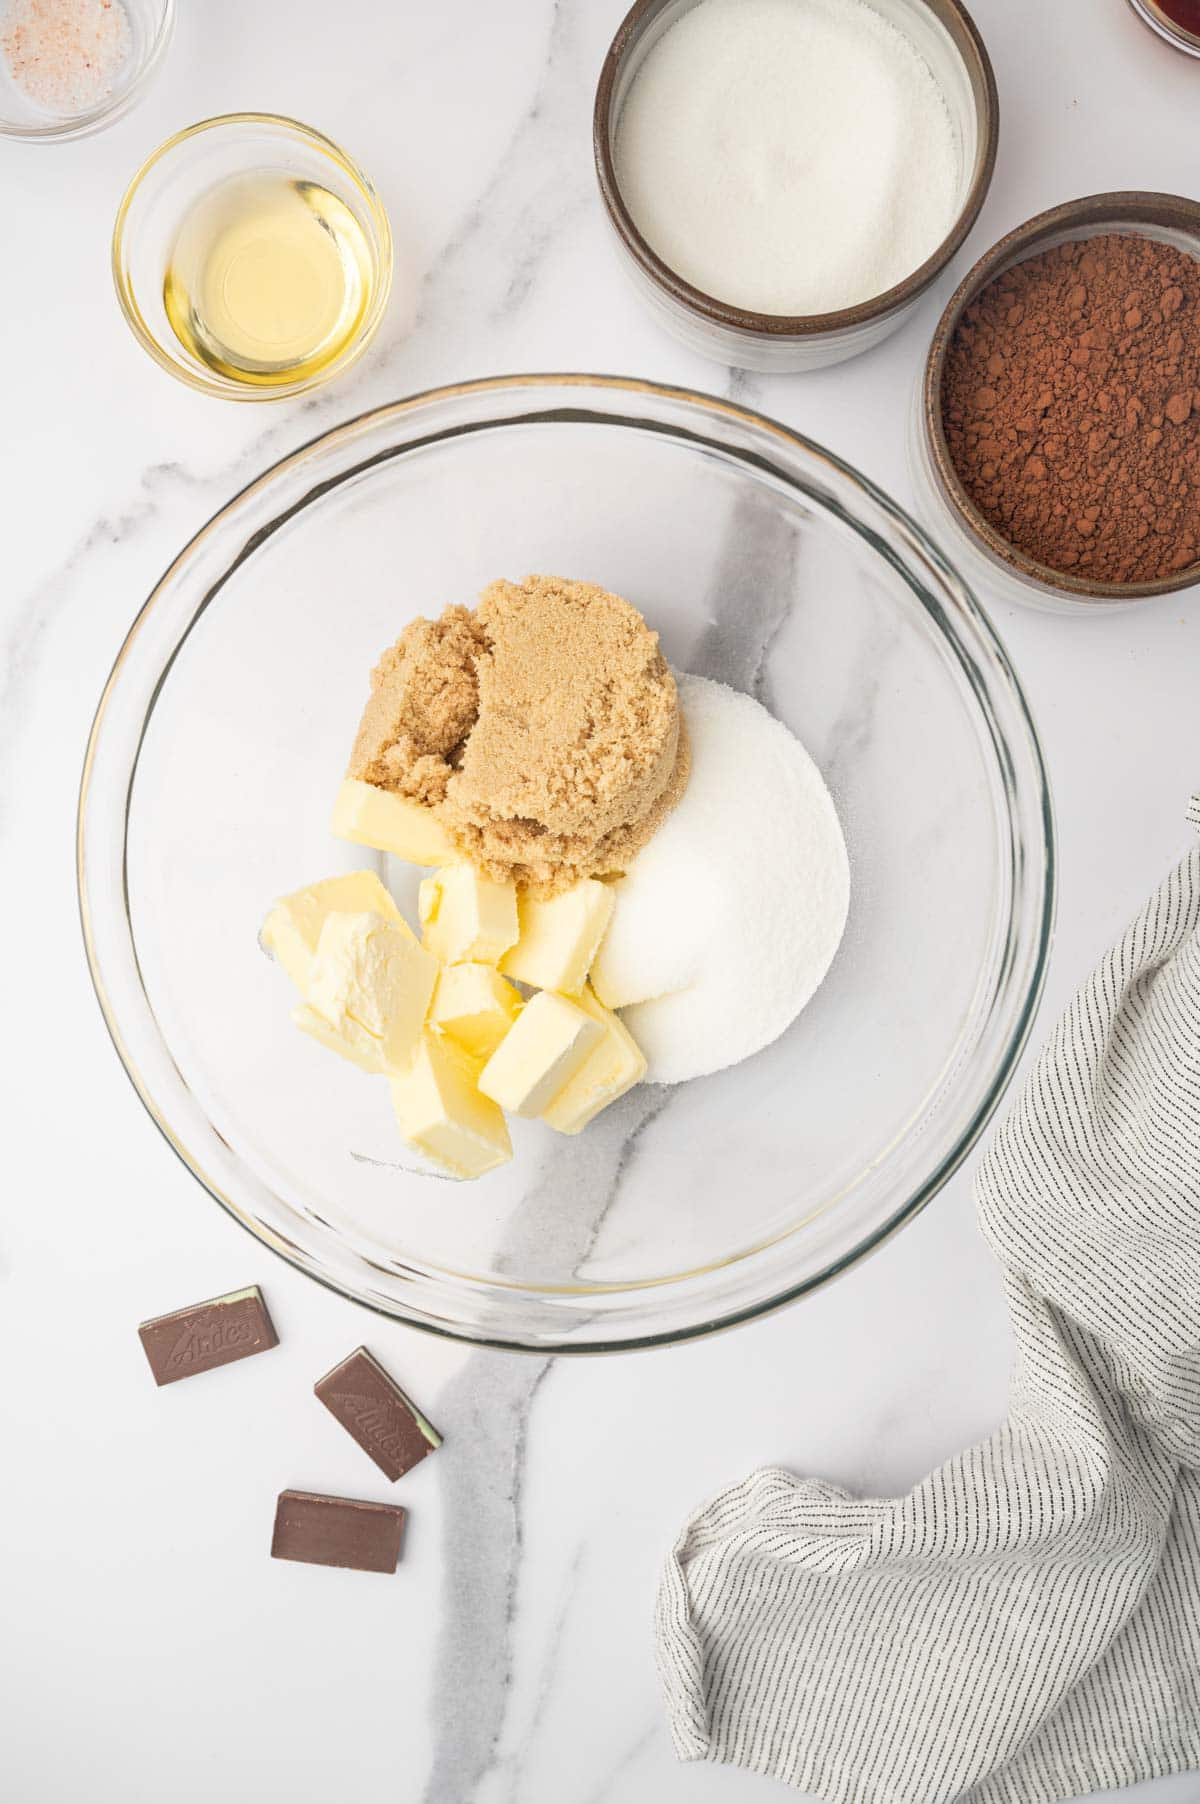
- Step 3: In a separate microwave-safe bowl, combine the butter, oil, brown sugar, and ½ cup of granulated sugar.
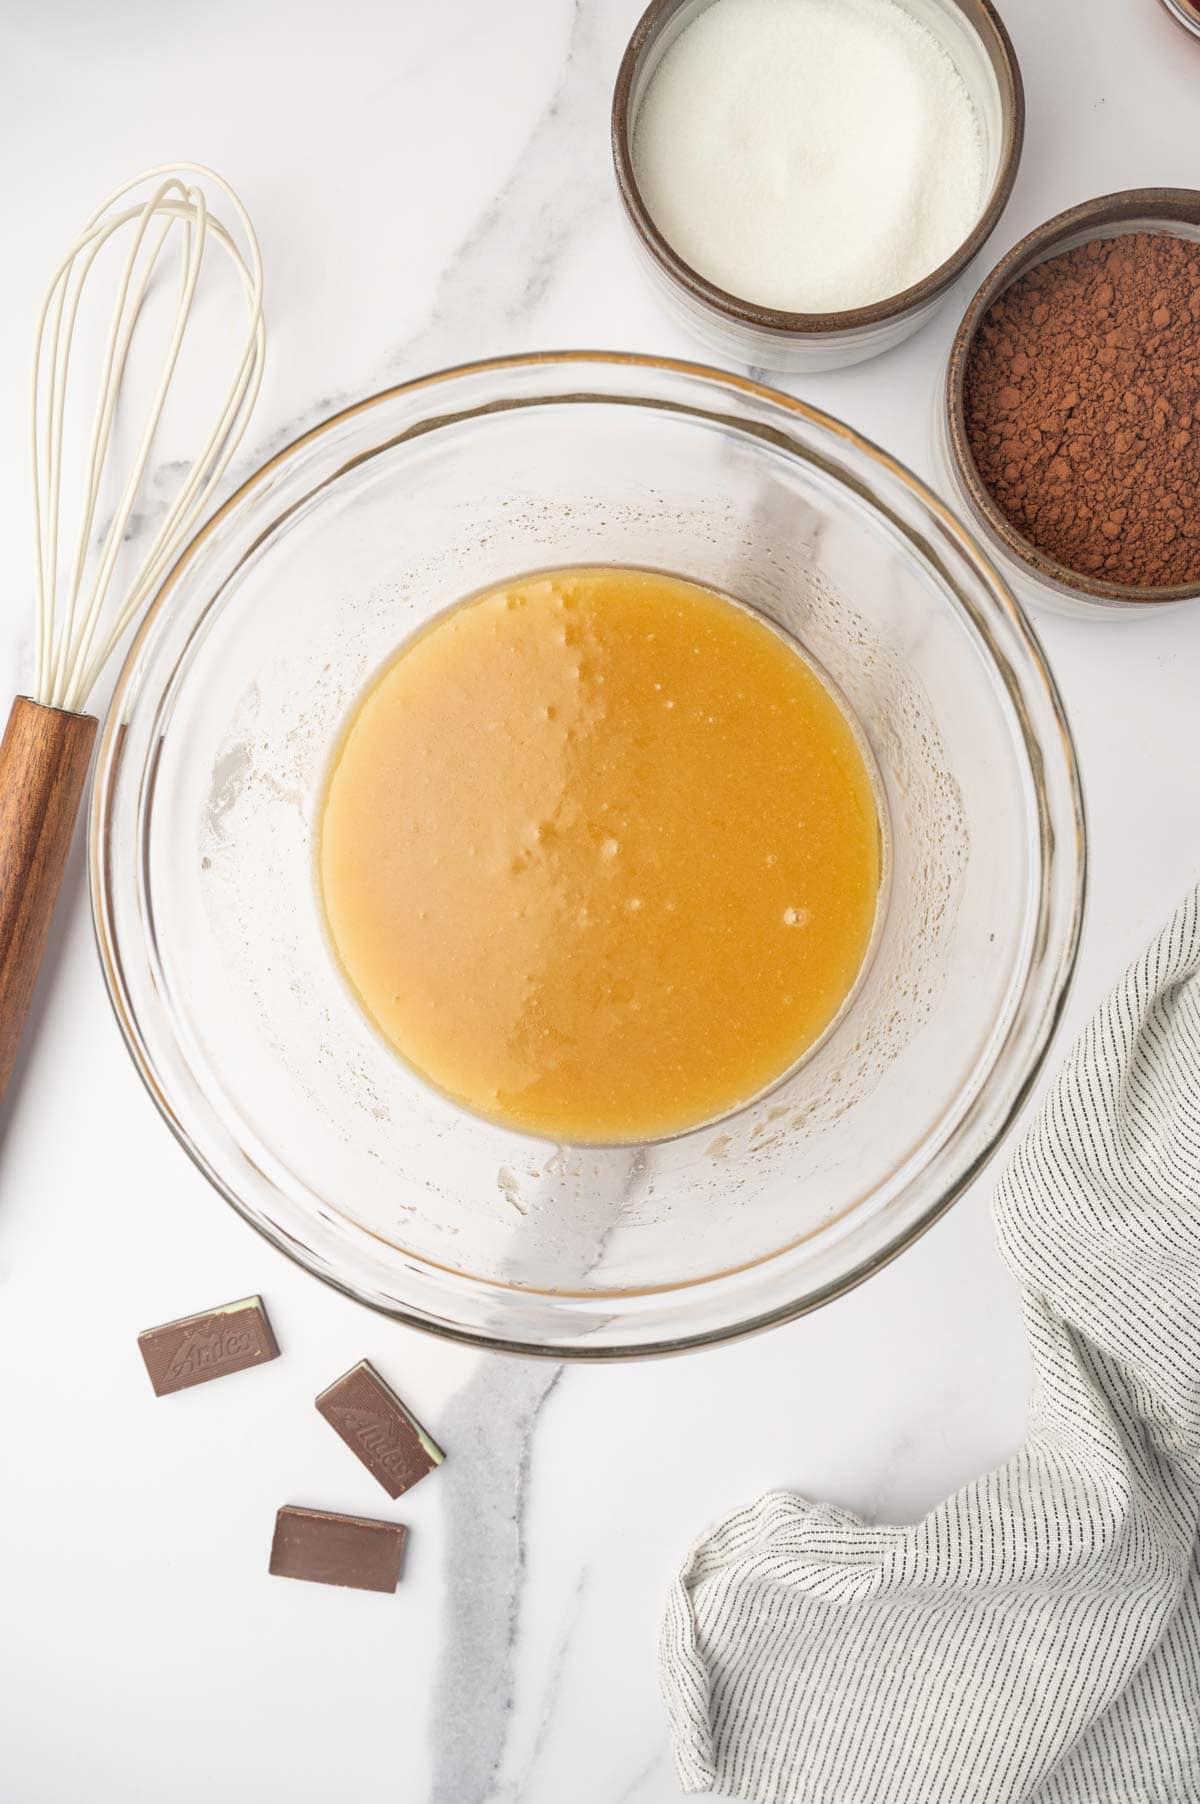
- Step 4: Microwave for 30 seconds, stir, then microwave for another minute, stirring every 30 seconds, until the butter is fully melted and the sugar dissolves.

- Step 5: In another bowl, beat the eggs, egg yolk, and the remaining ½ cup of granulated sugar on medium speed using a hand mixer.
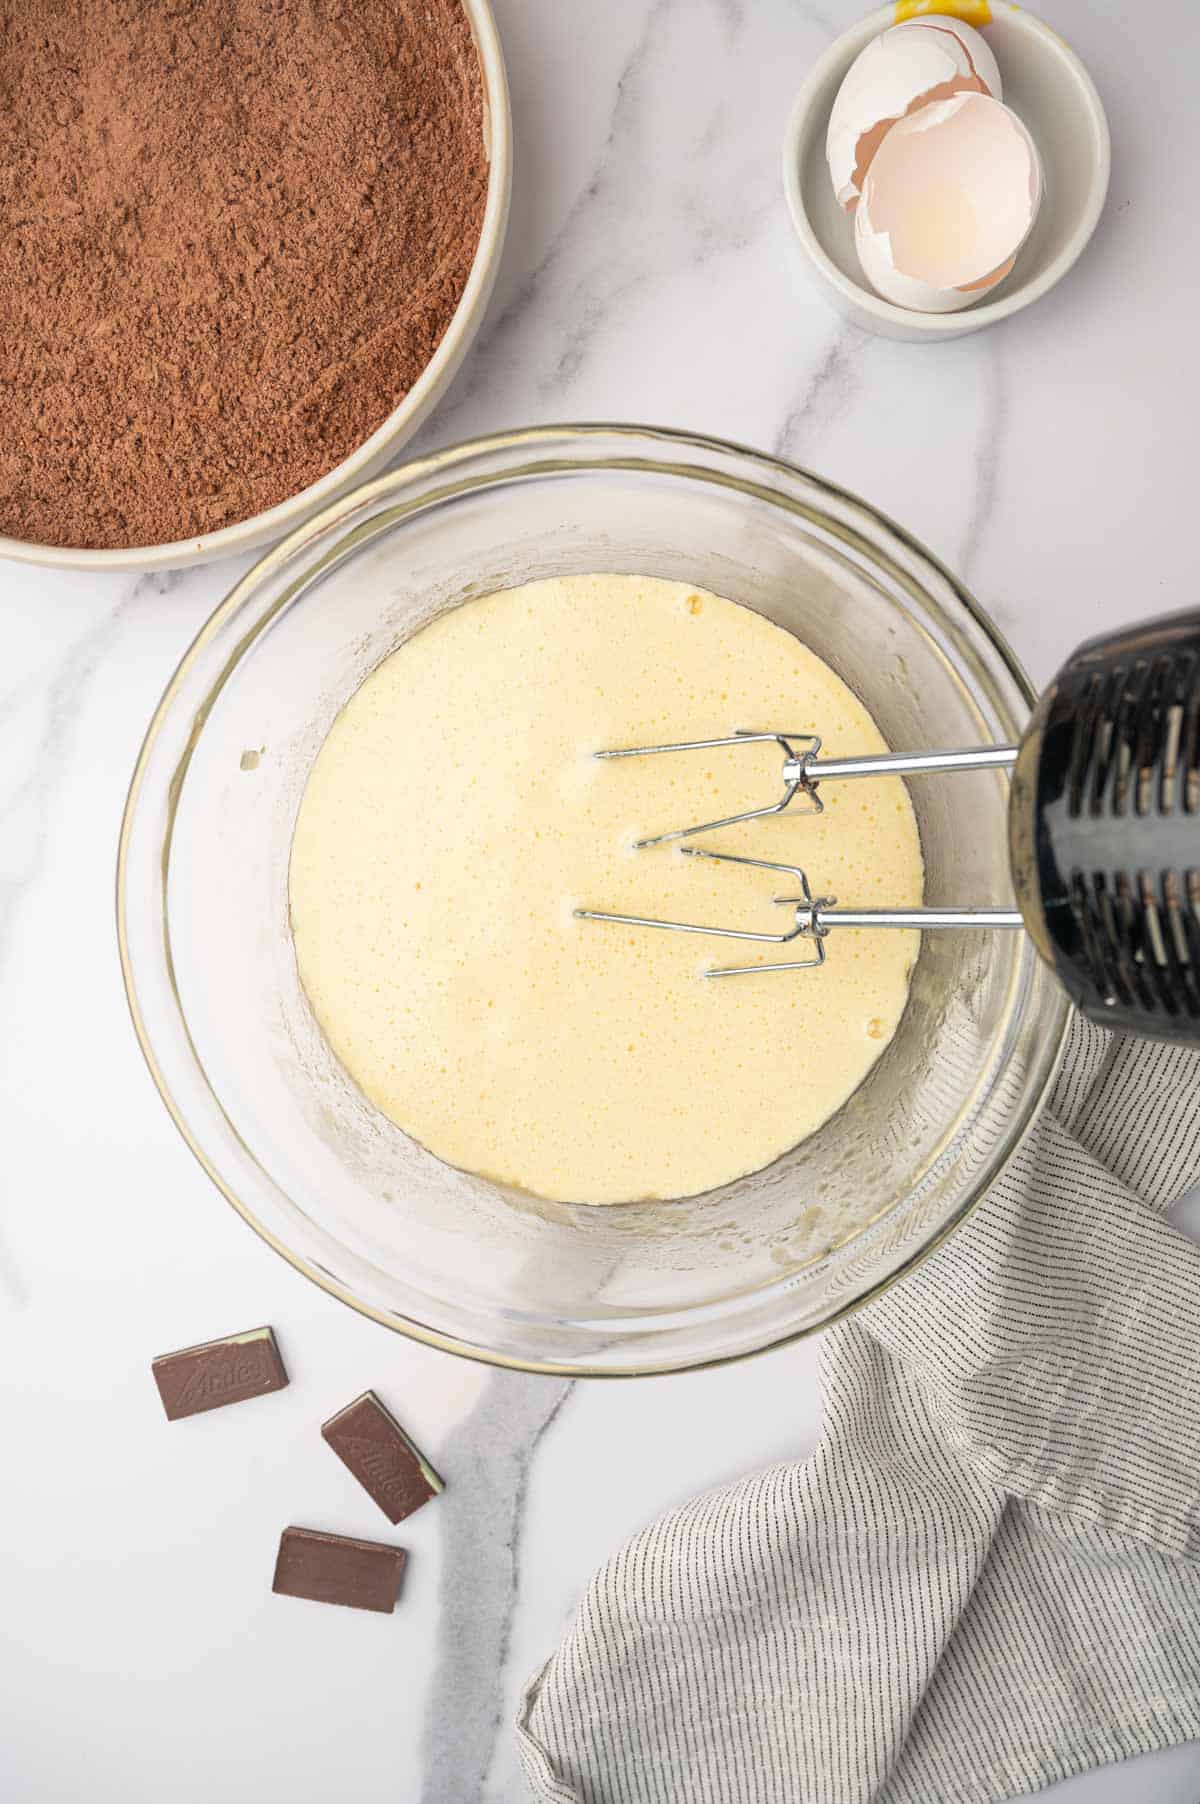
- Step 6: Add the cooled butter mixture to the egg mixture and mix until just combined.
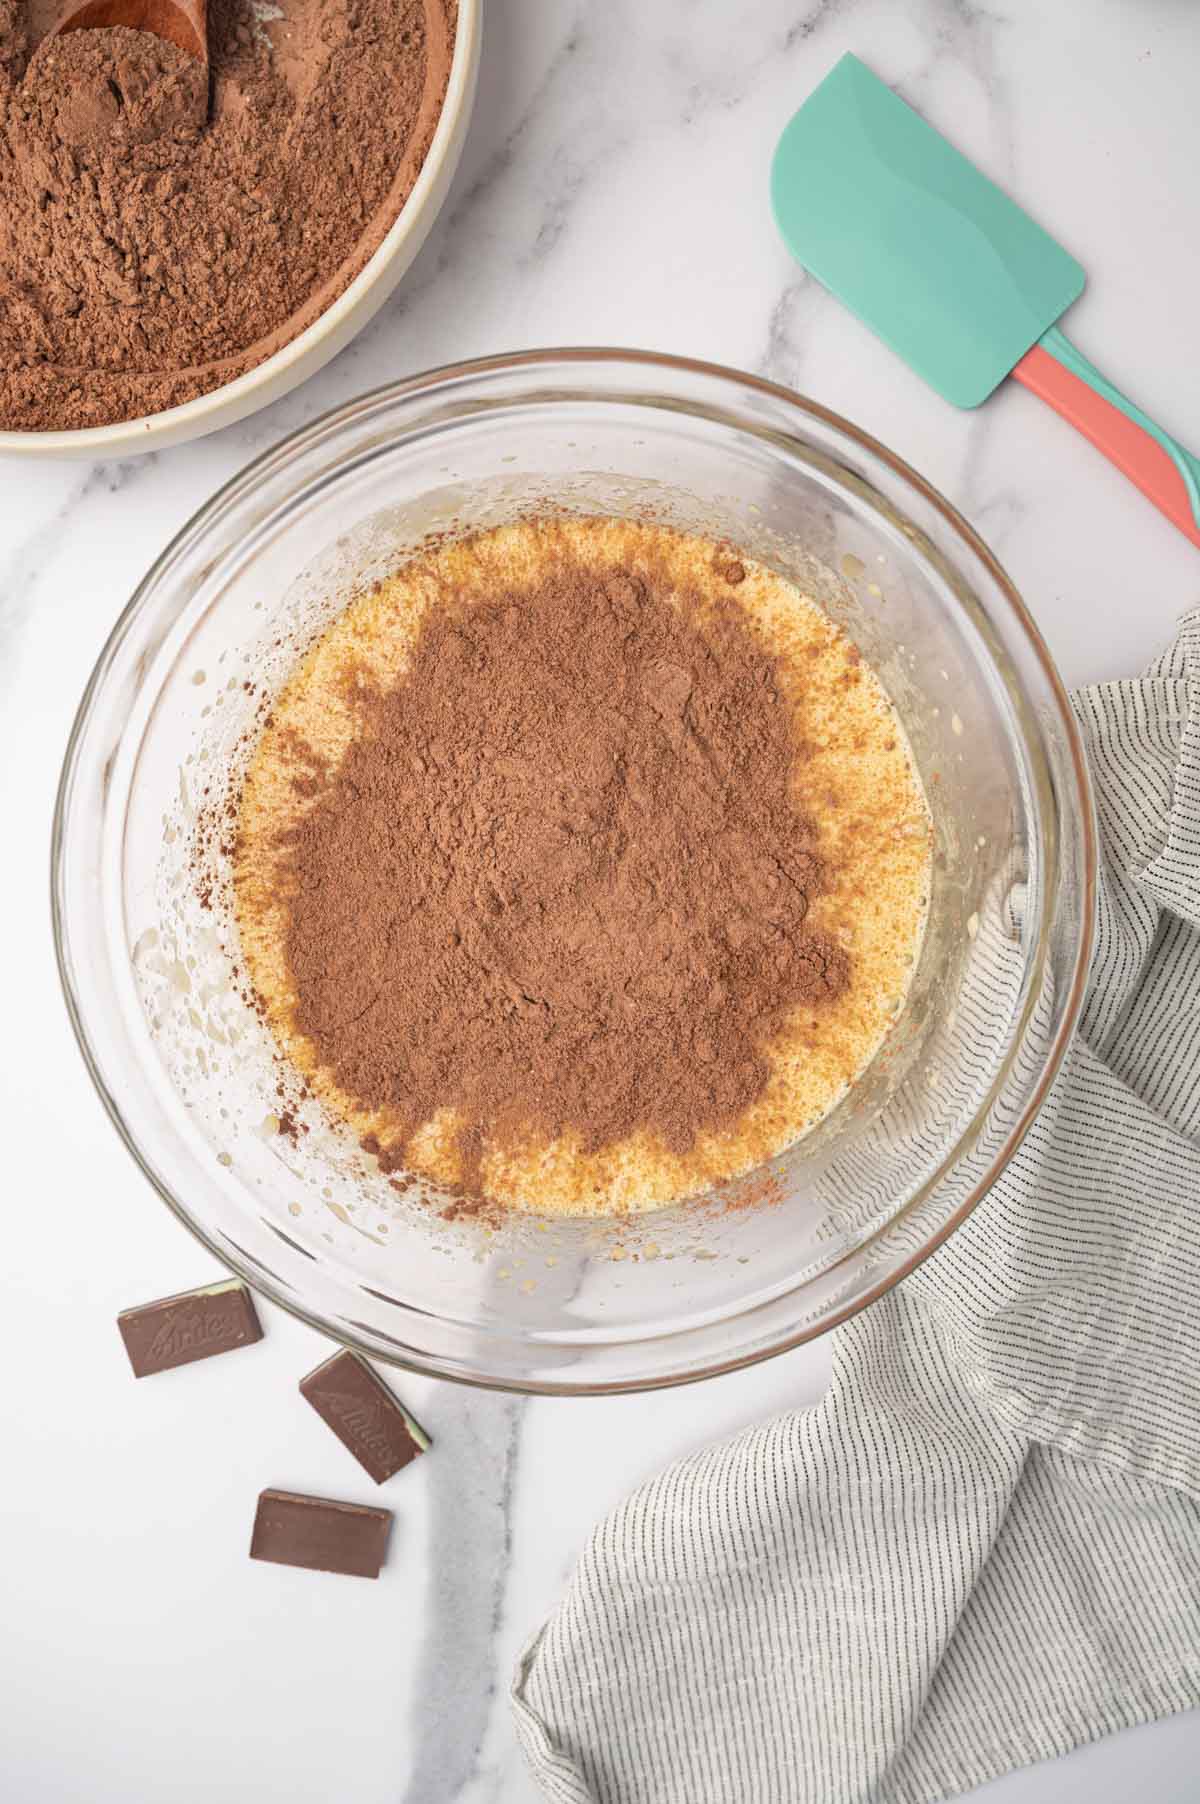
- Step 7: Add in the dry ingredients in batches and fold.
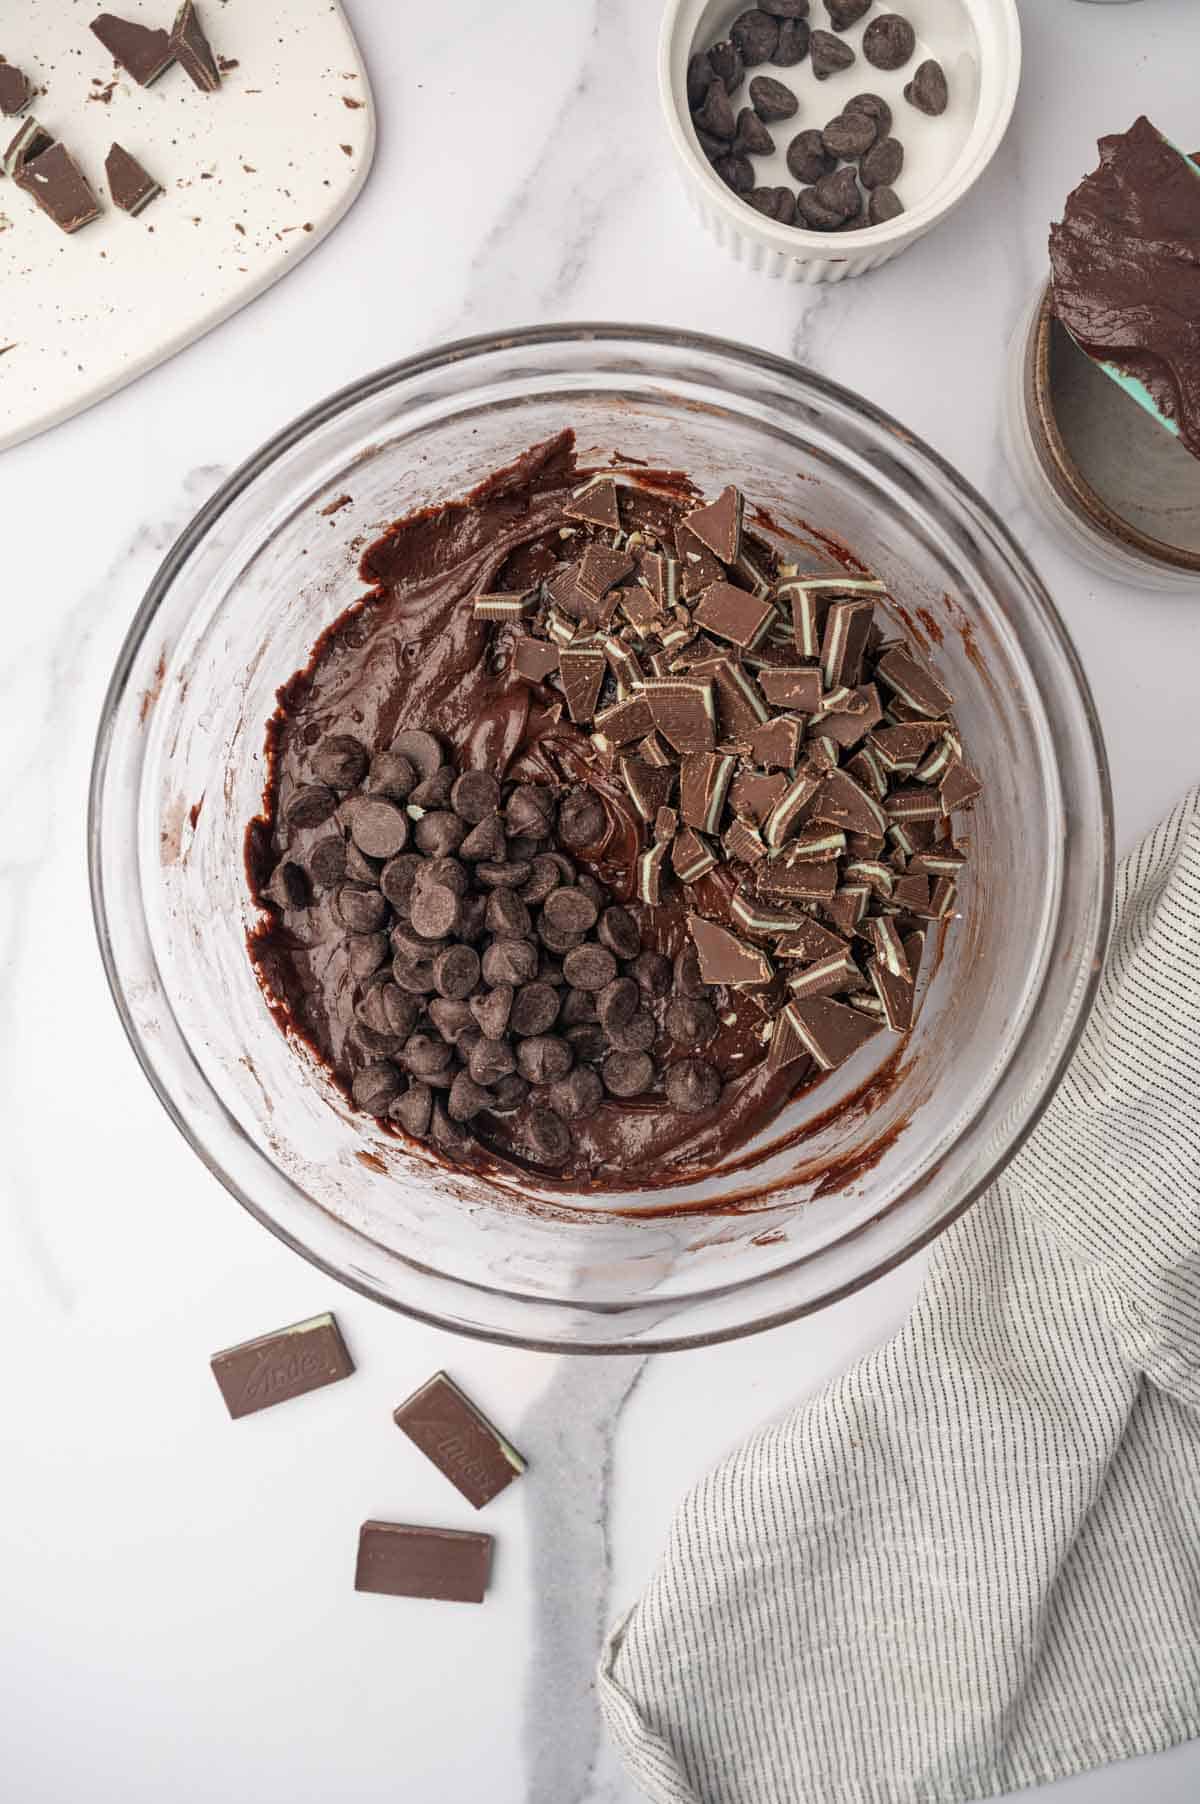
- Step 8: Fold in the dark chocolate chips and most of the chopped Andes mint chocolate.
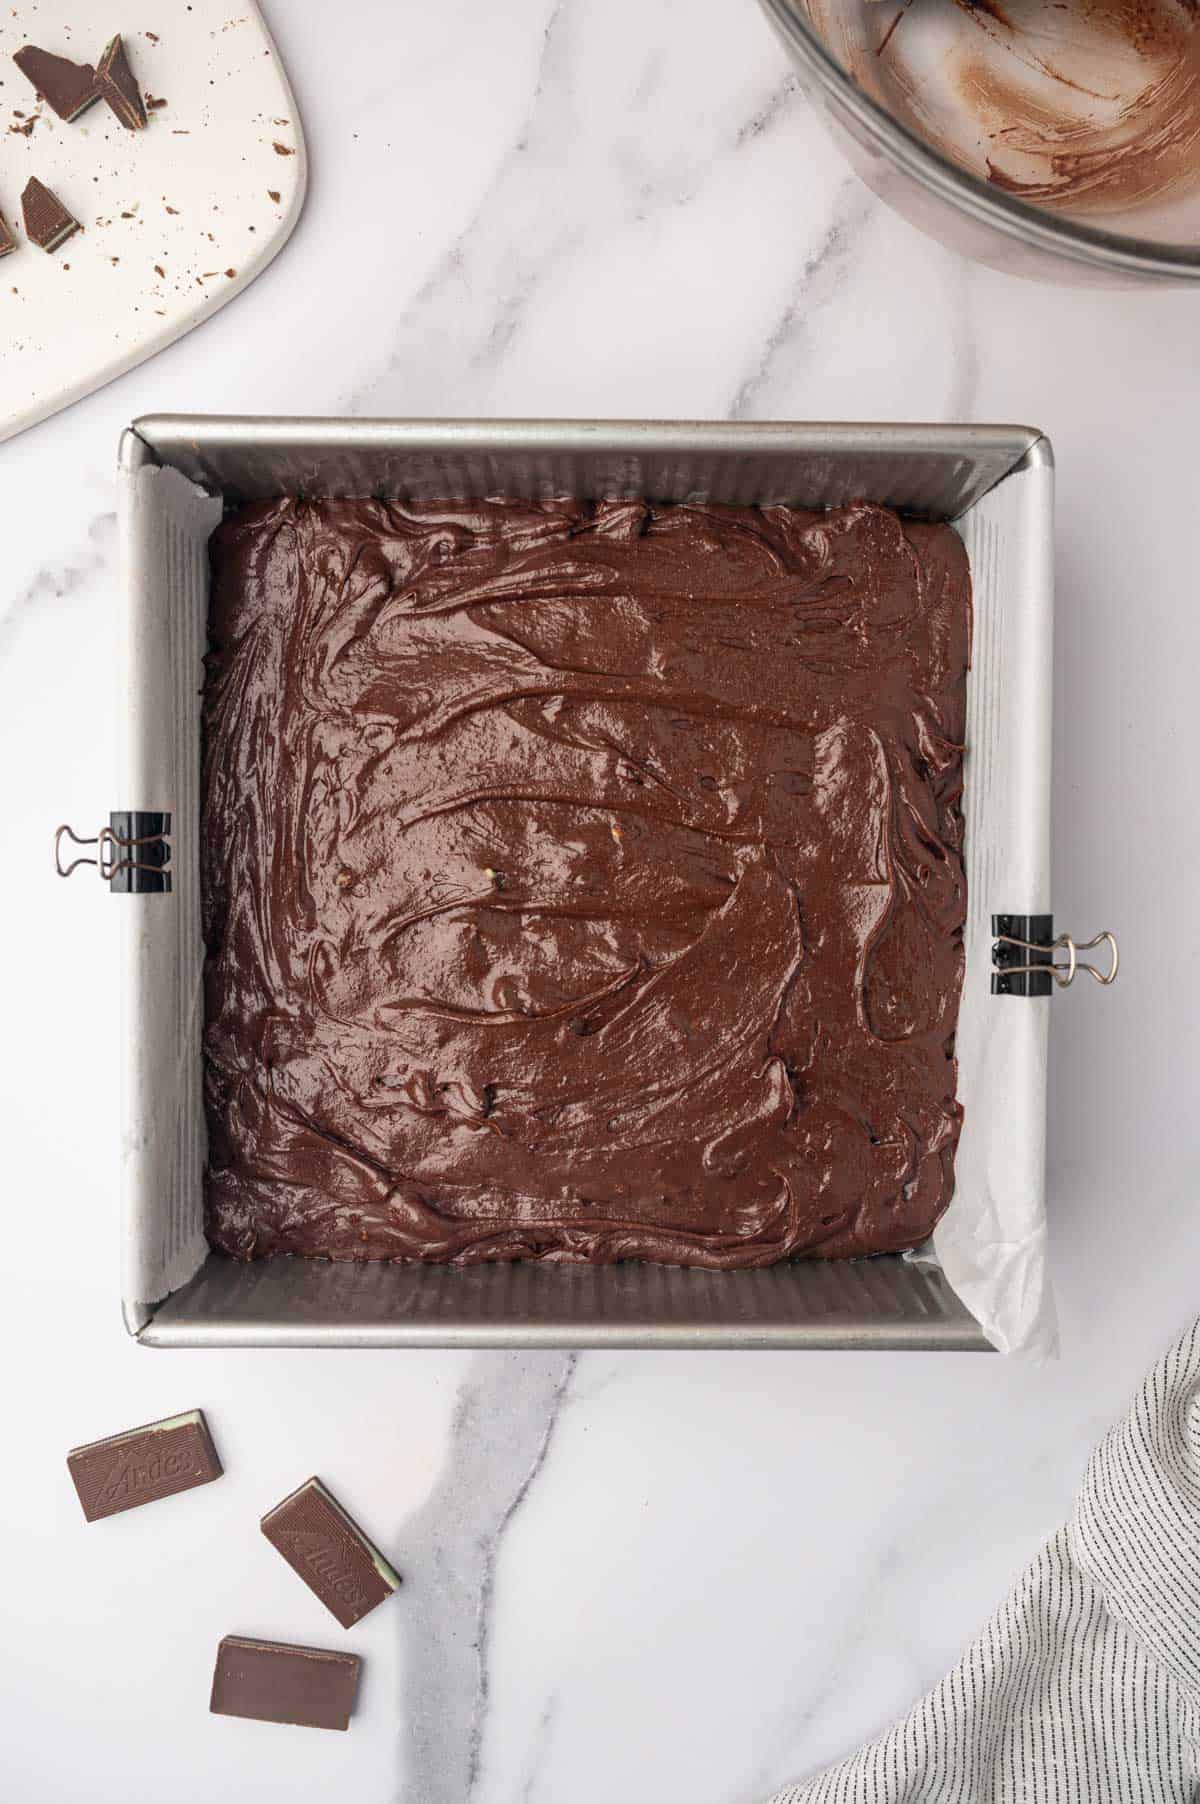
- Step 9: Pour the brownie batter into the prepared pan.
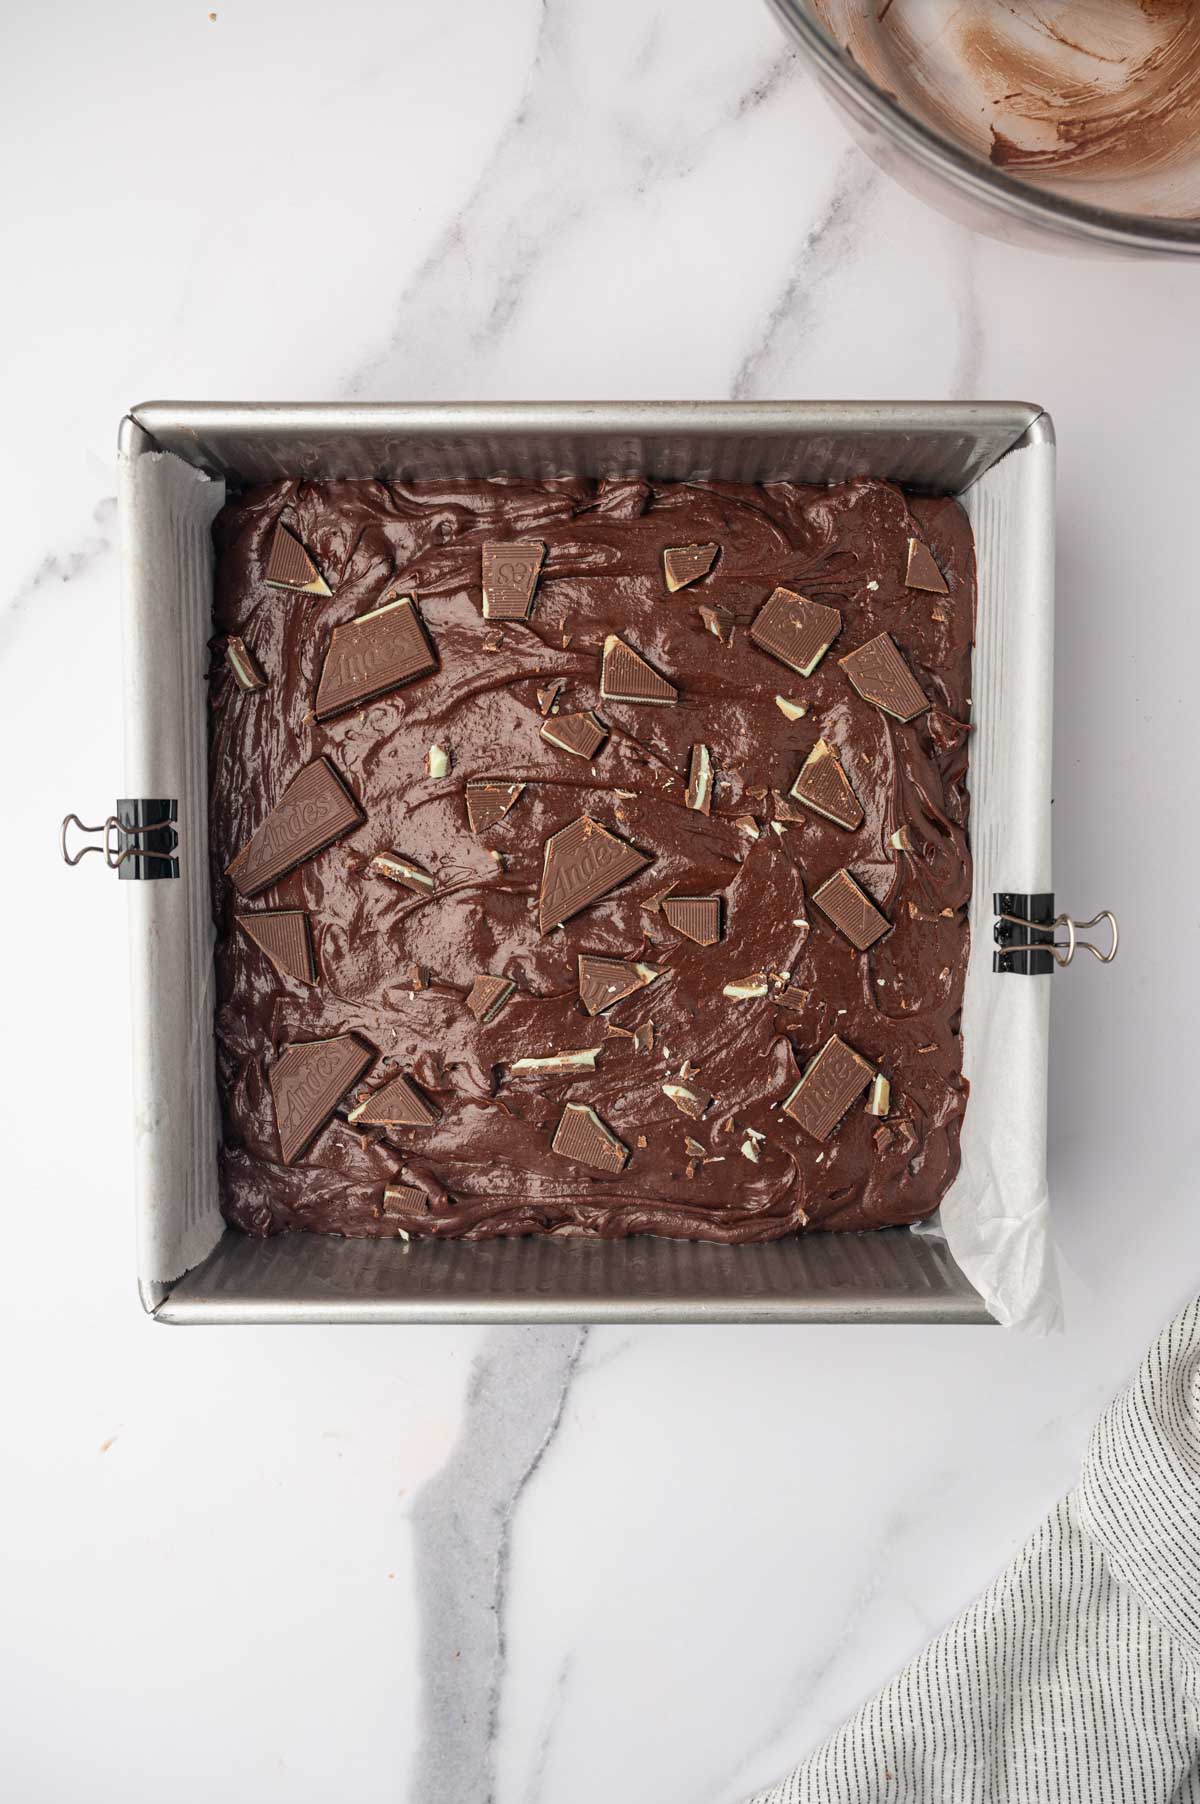
- Step 10:Sprinkle the reserved Andes mint chocolate on top
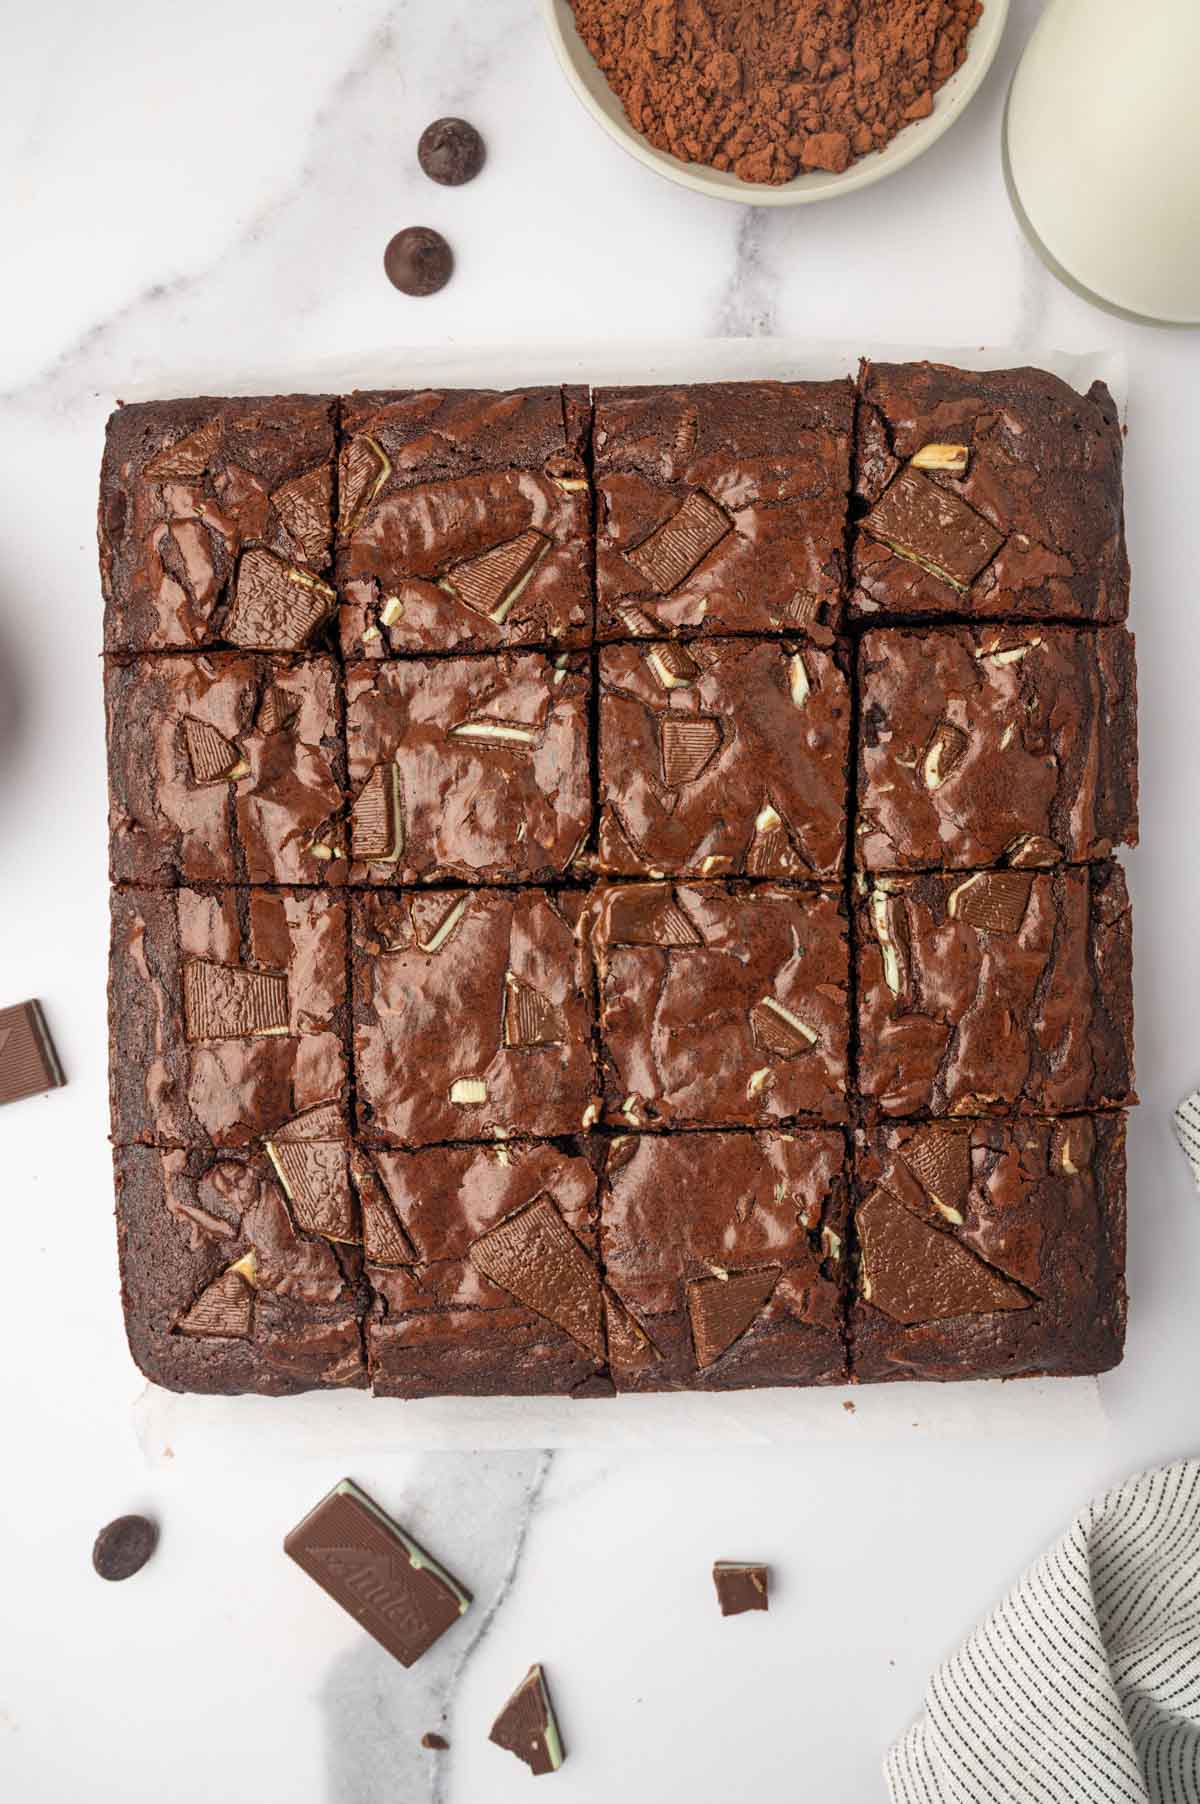
Bake for 27-30 minutes, until a toothpick inserted in the center comes out with moist crumbs for that perfect fudgy texture. Once fully cooled, slice into 8 or 12 squares and enjoy!
Hint: Place the brownie pan on the top rack of the oven for slow cooking, as the middle rack tends to cook faster.
Substitutions
- Flour: You can use gluten-free all-purpose flour for a gluten-free version. Just make sure it contains xanthan gum for the best texture. But I haven’t tried it though.
- Butter: Unsalted butter works perfectly for this recipe! Just remember to omit the salt from the ingredients list if you choose to use unsalted butter.
- Chocolate Chips: Feel free to substitute milk chocolate or semi-sweet chocolate for the dark chocolate chips if you prefer a sweeter flavor.
- Sugar: This recipe calls for both light brown sugar and white granulated sugar to achieve the ideal texture in the brownies. You can also use dark brown sugar instead of light brown sugar if that’s what you have on hand!
- Espresso Powder: You can substitute with instant coffee granules if you don't have espresso powder. Just use a little less, as it can be more potent.
Variations
Here are some fun variations you can try with Andes Mint Chocolate Brownies to mix things up. I always love to explore more flavor combinations!
Mint Chocolate Swirl:
- Instead of mixing the Andes Mints into the batter, try swirling melted mint chocolate on top for a decorative touch.
Nutty Brownies:
- Add chopped nuts like walnuts or pecans to the batter for added crunch and flavor. You can mix them in or sprinkle them on top before baking.
Sea Salt Topping:
- Sprinkle a little flaky sea salt on top of the brownies after they come out of the oven for a sweet and salty flavor contrast.
Marshmallow Topping:
- Add mini marshmallows on top of the brownies during the last few minutes of baking. They’ll melt slightly and create a gooey, sweet topping.
Raspberry Mint Brownies:
- Add fresh or frozen raspberries to the brownie batter for a fruity twist that pairs well with the mint flavor.
Equipment
Mixing Bowls:
Use one or two mixing bowls for combining the wet and dry ingredients.
Whisk or Electric Mixer:
A whisk can be used for mixing by hand, while an electric mixer can help you achieve a smoother batter more quickly.
Baking Pan:
A square (typically 9x9 inches) or rectangular baking pan is ideal for brownies. Glass or metal pans work well; just adjust baking times accordingly.
Cooling Rack:
Allows the brownies to cool evenly after baking, which helps maintain their texture.
How to store these Andes chocolate mint brownies
At Room Temperature:
- Store brownies in an airtight container at room temperature for up to 3 days. This keeps them moist and chewy.
Refrigerator:
- If you want to extend their shelf life, you can refrigerate brownies in an airtight container for up to a week. Just note that refrigeration can slightly change their texture, making them firmer. So before serving just heat it up in the microwave for 30 seconds.
Freezer:
- For long-term storage, brownies can be frozen. Wrap individual pieces tightly in plastic wrap, then place them in an airtight container or a freezer bag. They can last for up to 3 months in the freezer. You can also warm them in the microwave for a few seconds for a freshly-baked taste after thawing the brownies for 30 minutes.
Top Tip
An important tip to remember while making these brownies is not to overmix the batter after adding the dry ingredients. Overmixing can cause the brownies to become dense and lose that fudgy texture. Gently fold the ingredients until just combined to maintain the perfect chewy, rich consistency!
FAQ
To achieve the perfect slice of brownies, allow them to cool completely in the pan before cutting. This helps the brownies set, making it much easier to slice without them falling apart.
Use a sharp knife, and for even cleaner cuts, run it under hot water and dry it thoroughly before slicing. After each cut, wipe the knife with a paper towel to remove any residue. This will help ensure you get clean, beautiful slices every time!
Before inserting a toothpick, look for a shiny, crackled top and edges that are slightly pulling away from the sides of the pan. The center should appear set but may still look a bit soft. Now try to insert a toothpick or a thin knife into the center of the brownies. If it comes out with a few moist crumbs, they are done or if it comes out wet with batter, they need more time. If it comes out completely clean, they may be overbaked.
Using too much flour can lead to a drier, cakey texture. Make sure to measure your flour accurately, using the spoon-and-level method instead of scooping directly from the bag. Mixing the batter too much can incorporate excess air, resulting in a lighter, cakey texture and also overbaking your brownies can also lead to a cakey texture. So keep an eye on the timing when it comes to baking brownies.
Related
Looking for other recipes like this? Try these:
Andes Chocolate Mint Brownies - Rich , chewy and Fudgy Recipe!

Andes Chocolate Mint Brownies
Equipment
- Mixing Bowl
- Hand Mixer
- Square Baking pan (8X8)
- Cooling rack
Ingredients
- ¾ cup all-purpose flour
- ¾ cup Dutch processed cocoa powder Unsweetened
- 1 teaspoon espresso powder
- ¼ teaspoon salt
- 10 tablespoons unsalted butter at room temperature
- 2 tablespoon oil any flavorless oil
- ½ cup light brown sugar
- 1 cup granulated sugar divided
- 2 whole eggs at room temperature
- 1 egg yolk
- 1 tablespoon vanilla extract
- ½ cup dark chocolate chips
- 1 pack Andes Mint (Creme de Menthe Chocolate Thin) 4.67 ounce (28 counts)
Instructions
- Preheat the oven to 350°F. Grease an 8x8-inch square pan with cooking spray, and line it with parchment paper, leaving extra over the sides for easy removal of the brownies.
- Unwrap and roughly chop the Andes mint chocolate; set aside.
- In a medium bowl, whisk together the dry ingredients: flour, cocoa powder, espresso powder, and salt. Set aside.
- In a separate microwave-safe bowl, combine the butter, oil, brown sugar, and ½ cup of granulated sugar. Microwave for 30 seconds, stir, then microwave for another minute, stirring every 30 seconds, until the butter is fully melted and the sugar dissolves. Let it cool to room temperature.
- In another bowl, beat the eggs, egg yolk, and the remaining ½ cup of granulated sugar on medium speed using a hand mixer or whisk for 4-5 minutes, until the sugar is dissolved and the mixture turns pale.
- Add the cooled butter mixture to the egg mixture and mix until just combined.
- Using a spatula, fold in the dry ingredients in batches, mixing until just incorporated. Be careful not to overmix. Gently fold in the dark chocolate chips and most of the chopped Andes mint chocolate, reserving some for the top.
- Pour the brownie batter into the prepared pan, tapping it on the counter to ensure even spreading. Sprinkle the reserved Andes mint chocolate on top.
- Place the pan on the top rack of the oven and bake for 27-30 minutes, until a toothpick inserted in the center comes out with moist crumbs for that perfect fudgy texture.
- Let the brownies cool in the pan for 10 minutes, then use the parchment overhang to lift them out onto a cooling rack. Once fully cooled, slice into 8 or 12 squares and enjoy!
Notes
- Make sure your eggs and butter are at room temperature for better mixing and texture. If you forget, place the eggs in warm water for 10 minutes.
- Mix the batter just until the ingredients are combined. Overmixing can lead to tough brownies. Allow the brownies to cool completely in the pan before cutting. This helps them set and makes for cleaner edges.
- Oven temperatures can vary from home to home, so keep a close eye on the brownies after 20 minutes of baking.
Nutrition
If you try this recipe, please leave a STAR rating in the comment section below! Your feedback helps a small blogger like me stay motivated in creating content for my readers. Also, feel free to follow me at Food Exit on Instagram, TikTok, and Pinterest for the latest recipe updates!







Madhu says
This recipe was so easy to follow, and the result was fantastic. I’ll make it again!
Abi Guna says
I am so glad to hear that recipe turned out great, thank you so much for your feedback!
Thiya says
Love how fudgy and gooey!
Abi Guna says
Thank you so much! Hope you loved the recipe!